How to Take Portraits: Lighting Tips and Techniques

Lighting: Something All Photos Need
You don't have to be a professional photographer to take great portraits!
Of course, taking a quality picture of someone involves many factors: the composition, proper framing, aperture, shutter speed, ISO settings and more.
There is one element that is critically important to creating a quality portrait: lighting. Proper lighting will determine whether you have a picture that is stunning or one that needs to stay hidden in your camera’s memory banks.
This article assumes that you are familiar with DSLR cameras, and that you have some familiarity with aperture, ISO and shutter speed settings.
Natural Lighting
Many photographers will tell you that natural lighting is the best way to achieve the stunning portraits you want.
But not just any natural lighting will do.
The Best Times of Day to Shoot Portraits
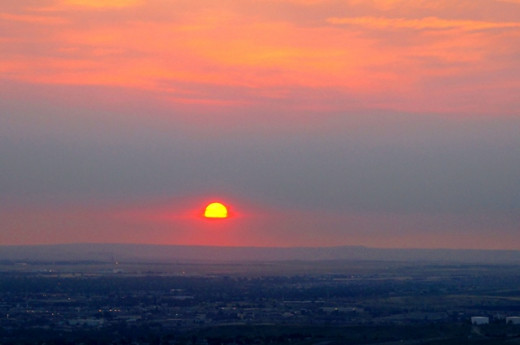
Early morning as the sun is rising or in the late afternoon when the sun is setting are both great times to shoot portraits.
- Because the sun is low in the sky and casts a golden hue over your subject, you can create some beautiful photos with warm tones.
- Shadows are less pronounced at these times of day and create softer gradations of color and contrast, which can enhance the photo.
- This is a great time to use the sun as a sidelight, and then use a reflector to highlight the other side of the person’s facial features.
Sometimes it can be difficult to shoot your subjects at these times. Getting up at 4 a.m. isn’t always easy. If it’s awhile before sunset or an hour or two after sunrise, your chances of taking a good portrait are good as long as the sun doesn’t get too high overhead.
The Worst Time of Day to Shoot Portraits
Midday in the sun is the most challenging time to try to shoot a portrait.
- When the sun is high in the sky, it can cast harsh shadows on your subject, emphasizing less desirable features. Harsh shadows typically will show up under the eyes and under the chin.
- Color can sometimes seem flat and washed out due to the extreme brightness from the sunlight.
- It’s best to move to a shady spot to help reduce the harsh contrasts that strong sunlight creates if you must photograph at this time of day.
Other Considerations for Natural Lighting
Foggy or cloudy conditions
- Fog and clouds help to make ambient lighting more diffused and smooth. The drawback is that the lighting can also appear somewhat flat.
- While this type of light can help create a misty and softer image, it’s important to experiment with different angles when taking pictures to see how the light and shadow falls on someone’s face.
- It’s a good idea to strive for a little bit of shadow to add a bit of interest and natural contrast.
Indoor Lighting
If you need to photograph your subject indoors, there are a few things you can do to ensure that your portrait shots look their best.
- Select a room that has the largest amount of natural light possible – think big windows but non-direct sunlight.
- If you find that even the brightest room still doesn’t offer adequate lighting, consider using lamps and overhead lights to help brighten your subject.
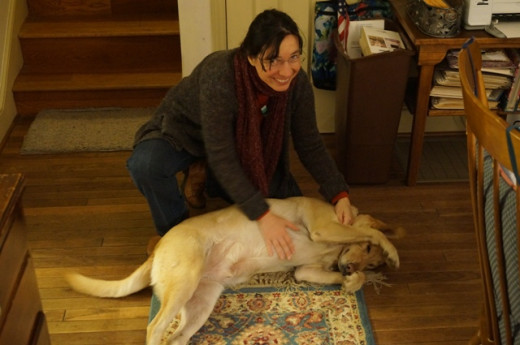
- Avoid using the flash because it can simulate the same conditions as bright midday sunlight and create harsh shadows; it can also “wash out” the person’s features.
- If you must use flash, experiment by shooting at different angles to see how light and shadow will work.
- If you’re not a professional photographer, chances are you don’t have one of those nifty reflectors on hand (this is a great gift idea for budding photographers). Experiment with white poster board, a framed white canvas, or even a mirror draped with a light cloth to reflect light back onto the person you want to photograph.
A great 4-minute portrait tutorial
Do you like to experiement with the manual settings on your DSLR camera?
Quick Tips and Guidelines for Camera Settings and Lighting
Lighting Conditions
| ISO
| Shutter Speed
| Aperture
| Other Notes
|
|---|---|---|---|---|
Sunrise/Sunset
| 200
| 1/250
| 4.5-5.6 (1.2 and up if you have that capability on your lens)
| Higher probability of a warmer-toned photograph
|
Midday
| 100
| 1/250 up to 1/1000
| 5.6 and up
| Try to avoid midday shots because of "washing out" and deep shadows; move into the shade
|
Cloudy Day
| 400
| 1/125
| 4.5-5.6
| Experiment with different angles to avoid "flat" shots; can create mystical images with fog
|
Indoors - Bright Room
| 400 - 1600
| 1/125
| 4.5
| It's best to use the brightest room possible with natural, indirect light
|
Indoors - Dim Room
| 1600 - 3200
| 1/50
| 4.5
| Avoid dimly lit rooms. If that's all you have to work with, increase your aperture (1.2-4.5), raise the ISO, and decrease shutter speed; tripods can help; risk of noisy, speckled shots increase
|
These are just guidelines and provide a good place to start when adjusting your manual camera settings. Of course, you can change them and play with the settings because sometimes you get great results on a unexpected setting.
Backlighting
Depending on the type of shot you’re going for, backlighting can be a nuisance or it can be your friend. If you want to create silhouettes and not use the flash, then shooting into the sun or other light source can win you great results.
What if you have no choice but to shoot into the sun and you want a portrait? What if you’re at the beach and the sun is setting and you want to get a picture of your niece playing in the waves?
You have a couple of options.
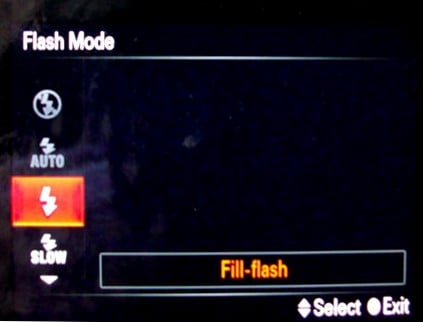
· Set your flash settings to fill-flash
You have to be careful here, though. The natural light will be golden, but your camera flash will wash over your subject with a cooler light color.
- You can help avoid unnatural shadows and lighting by grabbing one of those neat orange, clear gel envelopes you see at office supply stores. “Cover” the flash with it and try shooting the photo that way.
· You can try using a reflector
- Some people balk at shooting into the sun. However, if you angle yourself just right, you can capture the sun casting a warm glow over the person’s hair.
- To overcome a darkened face, use a reflector or some type of reflective material – a white beach towel could even work in a pinch – to reflect the sun’s golden rays onto your subject. You’ll have to turn it in such a way as to not make his or her face too bright, but still casts a warm glow and flatters facial features.
Tips on Using Your Camera’s Settings to Help Create Well-Lit Portraits
Aperture
· The larger the aperture, the better.
- If you have a lens that can get as big as 1.2 or 1.8, go for it. Many kit lenses will start at 4.0 or 4.5 and you can still work with that up to about 5.6 for good results.
ISO Settings
- If you’re outside and it’s sunny, start with an ISO setting at 100. If it’s a dark, overcast day, try higher ISO settings up to 400.
Shutter Speed
- Use a slower shutter speed if you want to help lighten your photo a bit. 1/250, 1/125 are both good speeds to start with.
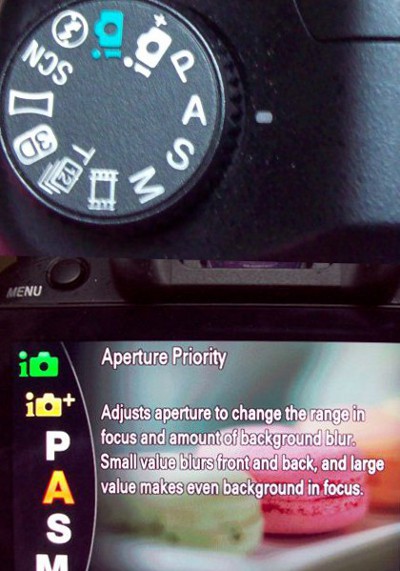
- When in doubt, switch your camera to “aperture priority” and press the shutter button halfway down to let it determine what the ideal shutter speed should be. Then, you can start with that.
Camera Settings for Indoors
- Once again, you want a large aperture.
- Change your ISO settings to 400 and start with that.
- Don’t go too high with your ISO settings, though. If you go above 1600, you risk getting a grainy image. Some photographers will tell you not to go above 800.
- Work with a low-contrast setting.
- Turn on surrounding lights and lamps and move them closer to your subject (but don’t get them in the picture).
Have Fun and Experiment!
The really neat thing about photography is that these are only guidelines.
Some people have achieved beautiful photos indoors with ISO settings at 3200 and higher. Other people have used flash settings that totally flattered their subject.
Photography is as much about experimentation as knowing some of the rules so that you can bend and play with them.
© 2012 Cyn Lee


