How to Create Seamless Svg Polka Dots Patterns in Inkscape

Download Inkscape
If you have not installed Inkscape on you computer, you can download it from the below link. It will take you to Inkscape official webpage. Please just make sure that you select and download the right version for your operating system.
Inkscape website
- Draw Freely | Inkscape
Inkscape is professional quality vector graphics software which runs on Linux, Mac OS X and Windows desktop computers.
Once the download has finished, you can install it. You can open it and follow the following steps to create a seamless svg pattern.
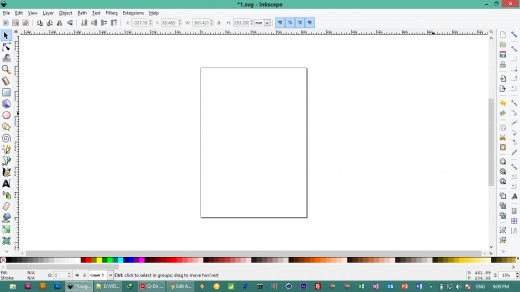
Step 1
Open your Inkscape with a blank page.
Step 2
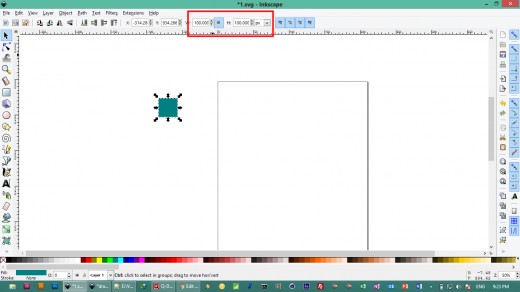
Click each of the snapping buttons of the snapping tools (red box).
If you cannot see the snapping tools, go to View > Show/Hide and make sure the Snap Control Bar is selected.

Step 3
Create a rectangle and fill it with any color.
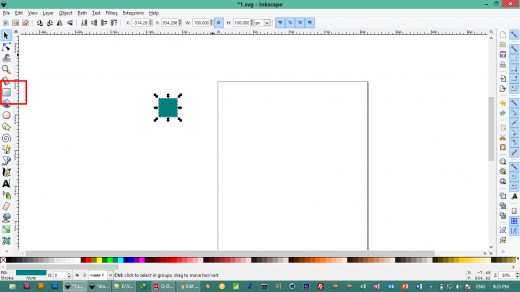
Step 5
Set the size of the rectangle to be about 100 x 100 pixels. But you can choose whichever size you want. This will be the base for the repeating unit of our pattern.
Step 6
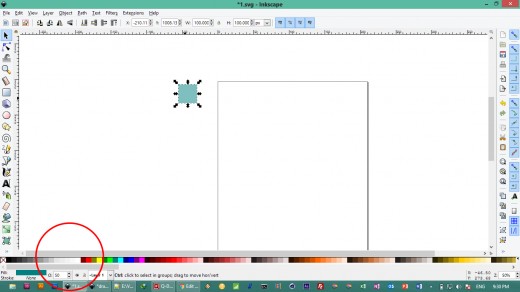
Bring the opacity of the rectangle down to about 50%. You can change the opacity by entering the opacity percentage at the box (red circle).
Step 7
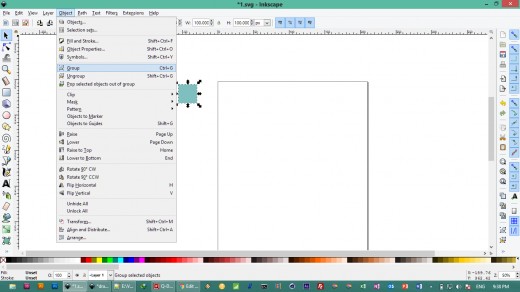
Group the rectangle by itself. To do so, select the rectangle and go to Object > Group.
Step 8
We are now about to create the pattern.
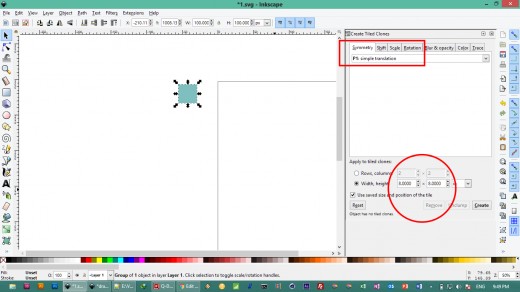
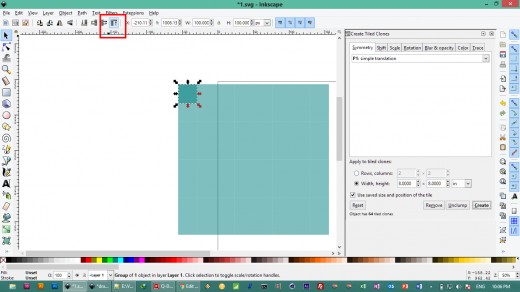
- Select the rectangle and go to Edit > Clone > Create Tiled Clone.
- In the appearing window, select P1: simple translation under Symmetry box.
- Under Apply to tiled clone, select the radio button next to Width, height and set 8 x 8 inches.
Step 9
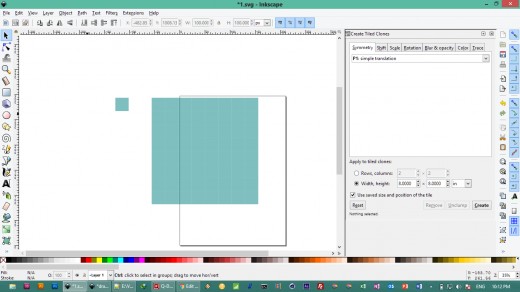
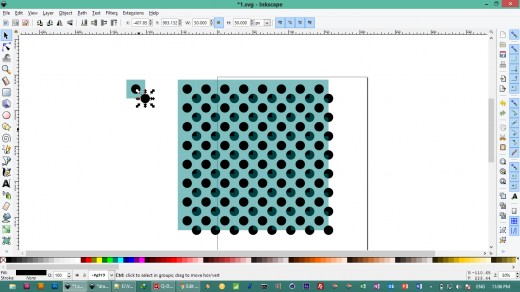
Once you hit the Create button, it will create your rectangle pattern like below.

Step 10
Now, we are going to take the original square out of the pattern.
- To do so, go Edit > Clone > Select Original
- The original square will be selected.
- Bring the original square to the top by clicking the button shown in the red box below.
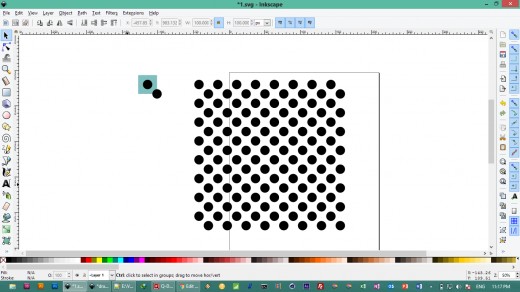
Step 11
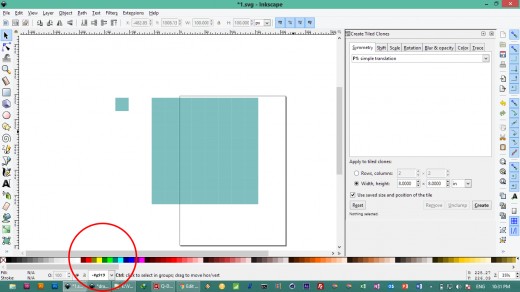
Drag the original square to the left away from the clones.
Step 12
- Double click the original square until you see a special code in the Layer box like shown below (rec circle).
- Double clicking again outside the original square will release the selection and the special code will get back to the current layer name.
Step 12
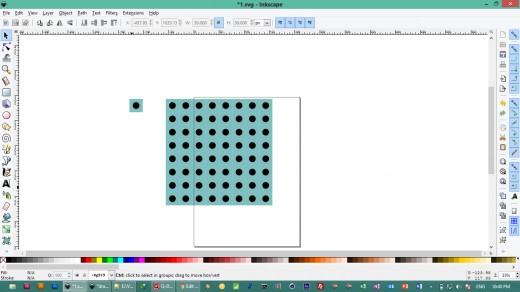
- While in the position of the original square being doubled click, create a circle by first clicking the circle icons on the left.
- As you can see that the circle will also be automatically cloned.
- Set the size of circle to be about 50 x 50 pixels.
- Set the opacity of the circle to be 100%.
- Give the circle a dark color like black.
- Drag the circle onto the original square until it is perfectly snapped to the center of the original square.
Step 13
We are now going to duplicate the circle
- Right click the original circle.
- Click Duplicate.
- Drag the duplicate of the circle to the corner of the square until it perfectly snaps to the corner of the square.
Step 14
- Double click anywhere outside the design.
- Create a new below the current layer by going to Layer menu > Add Layer > Bellow Current in Position box.
- Go back to Layer 1 and select the original square with its two circles and paste it on Layer 2.
- On Layer 2, double click the square with its circles and delete both circle, leaving only the Square on Layer 2.
- Drag the square on Layer 2 to below the square on Layer 1 (both squares will snap each other perfectly)
- Lock Layer 2 (click the paddle sign next to the layer name on the status bar at bottom of the screen)
- Go to Layer 1, double click, and delete the original square on Layer 1 (leaving only the 2 circles and their clones).
- It should be something like below.
What we just did above is to create a drawing guide on Layer 2 (that is the copy of the square) and then lock it so it won't be selected. We can make any modifications to the design on Layer 1 that will automatically be reflected in the clones as our pattern.