How to design status indicators and icons of an iPhone in CorelDraw- Part 3

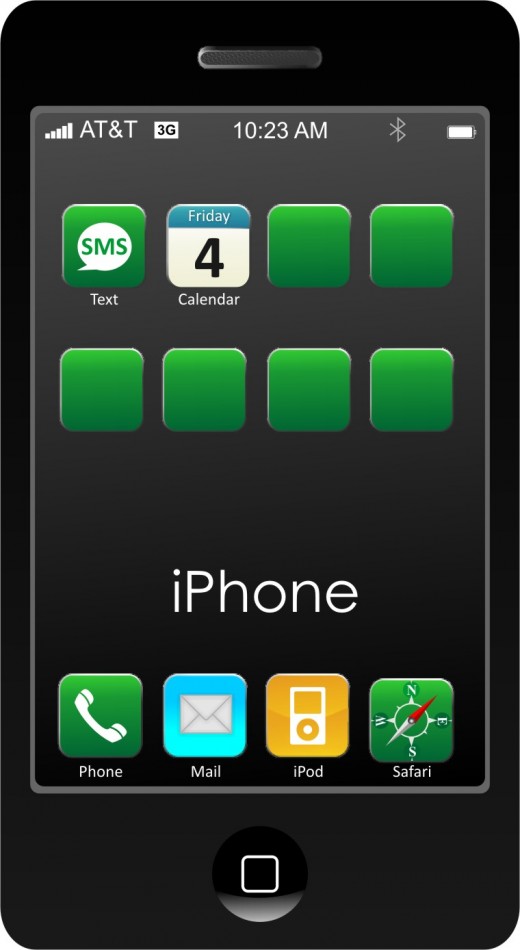
Today, I am going to continue my tutorial on designing an iPhone using CorelDraw. In this hub, we are going to learn, how to create some icons in CorelDraw.
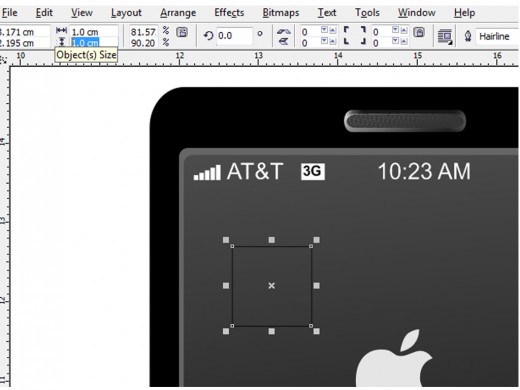
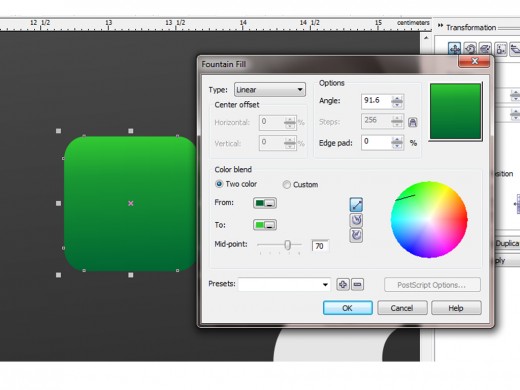
First we are creating the SMS icon in iPhone. For doing that just use the rectangle tool and draw a rectangle and change the width and height of the rectangle equal to form a squire. After that just round the corners using shape tool. After that use fountain fill to fill the square with a gradient of green color.
Now take the 'callout shapes' from the tool box and use a sign as in the picture below.
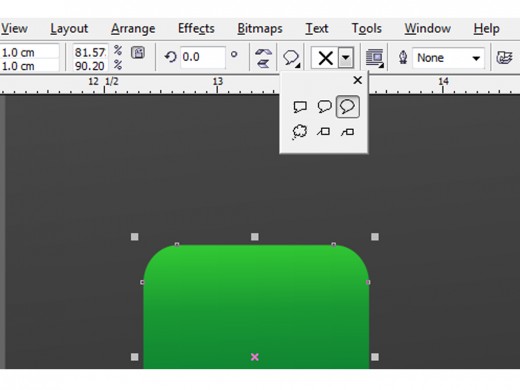
Now draw the sign and adjust as in the picture. Fill it with a white color and type SMS on it in green color.
Now we have to give the icon a 3D look. for this, we have different 2 ideas.
First idea
Select the icon shape and convert it to bitmap. For that just go to 'bitmap' menu and click on 'Convert to bitmap' and do the following steps as in the picture below.
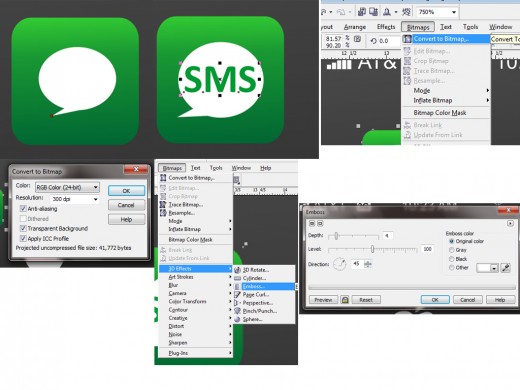
We had used, Bitmap > 3D effects > Emboss option for the 3D effect.
The main limitation of this idea is that, it is not a vector graphics anymore, after we had changed it to bitmap image. So the, we are using the second idea for this tutorial.
Second idea
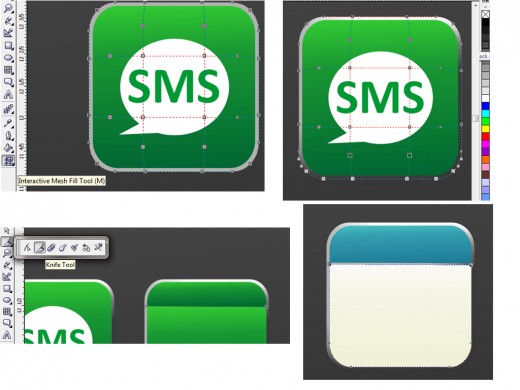
In this idea, we have to duplicate the icon shape and just enlarge it a bit and send it backwards by Ctrl+Page Down. Use the interactive mesh fill tool(M) for coloring the background as shown in the picture. While using interactive mesh tool, we can add the more nods by just double clicking the shape. For coloring a particular spot, just select the nodes in that spot and click the color on the color palette. Use black color in the bottom right and bright color in top right corner.
After creating our first icon, it is easy to create the next. We are creating the calender icon now. For doing that, first duplicate our basic green icon and cut the upper part with knife tool like in the picture. Also change the color of upper part to blue.
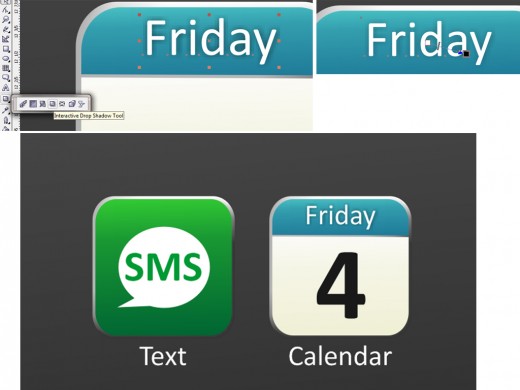
Now type a day for the calender. and give it a drop shadow by using the interactive drop shadow tool.
Now our two icons are ready. Now it's time to create the Mail icon. Use the Character Map to easily create a mail icon. We can also draw it our self. Access the Character map from Start > Programs > Accessories > System tools > Character map. Just copy the mail icon from the wingdings font and paste it in the document. After pasting the font must be changed to wingdings.
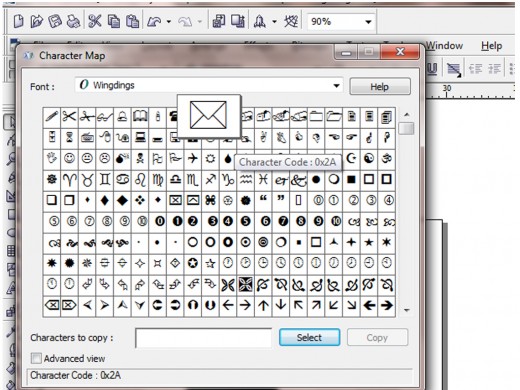
Use a rectangle of 20% black, behind the mail character.

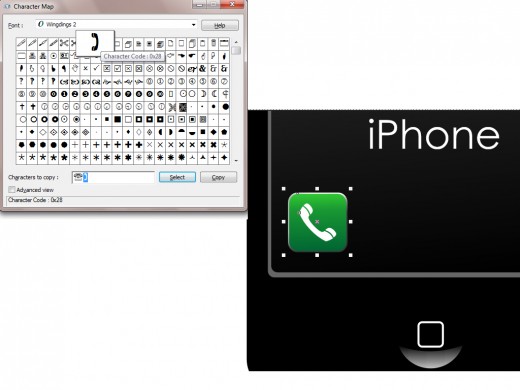
Create the phone icon also using the same procedure. But the phone icon is in the wingdings 2 font.
Now we are creating the iPod icon. For that, just duplicate the shape and and change the color to a orange gradient using fountain fill dialog (F11). Cut the center of the shape using knife tool and make a curve using the below part. We can make the ipod by using two slightly rounded rectangles and two circles. First select the two circles and simplify it and after that delete the simplified outer parts. After that select the rest of the shapes and simplify once more and delete the unwanted parts.


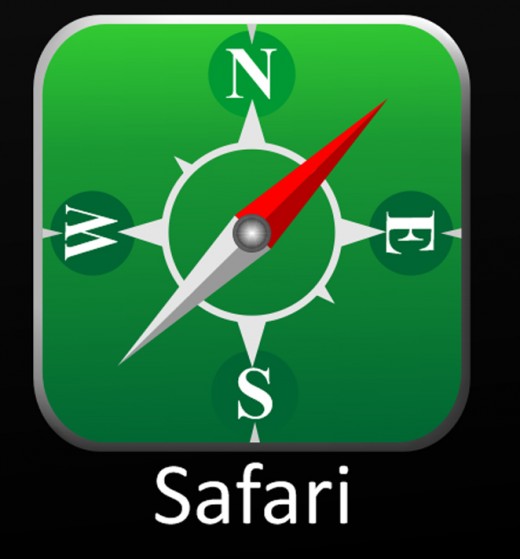
We will discuss, how to create the 'safari icon' in the next tutorial hub. Hope you enjoy this tutorial.


