- HubPages»
- Arts and Design»
- Drawing»
- Drawing Tutorials
How to draw a Simple Teapot
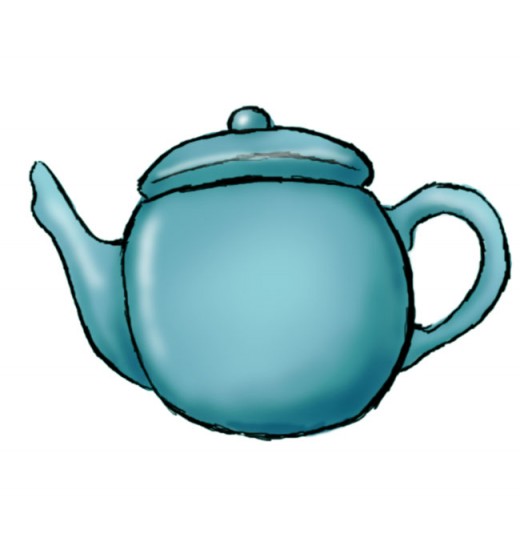
In today's hub, I will be showing you how to draw a teapot step by step. Surprisingly, there is not much to drawing a teapot once you see the steps. As always, I will try my best to present this tutorial as best as I can. I want to try to make this as easy to understand as possible, so if you have any suggestions, feel free to tell me. I'd like to improve my "how to" methods so to say :).
So if you want to learn how to draw a simple teapot in just a few steps, keep on reading below ^^.
Step 1
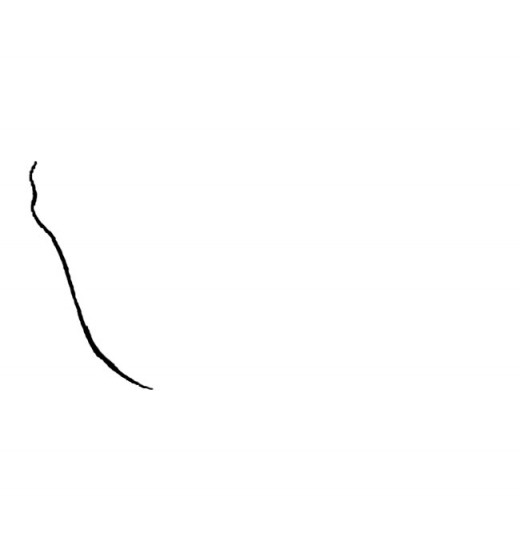
Start out by drawing the top portion of the spout. Then begin working your way down to form a round curvature of the spout. I know that there are a lot of different teapot makes with different looking spouts, but in today's hub, we're gonna focus on drawing a round bellied teapot!
Step 2
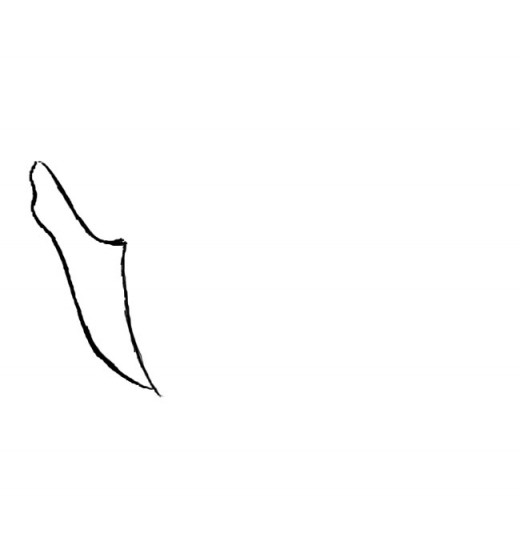
Finish up drawing the rest of the spout. When I think of a spout, I think of a bird's neck. Like that of a quail, peacock or turkey. If it helps any, try making the mid section of your spout as if you were drawing the side profile of a peacock.
Step 3
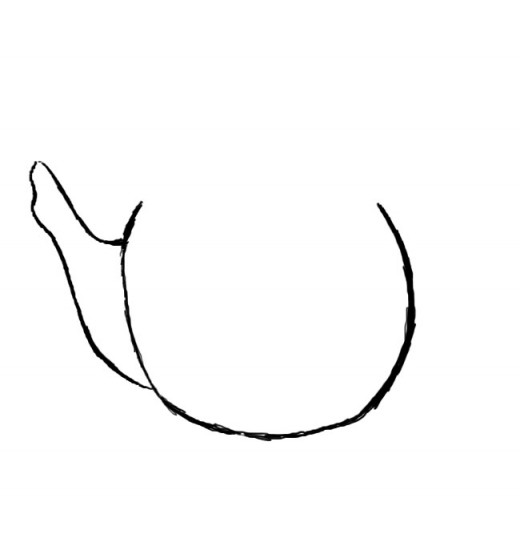
On the right of the spout, start drawing the pot itself. The pot will be somewhat round shaped like in the example photo of this step.
Step 4
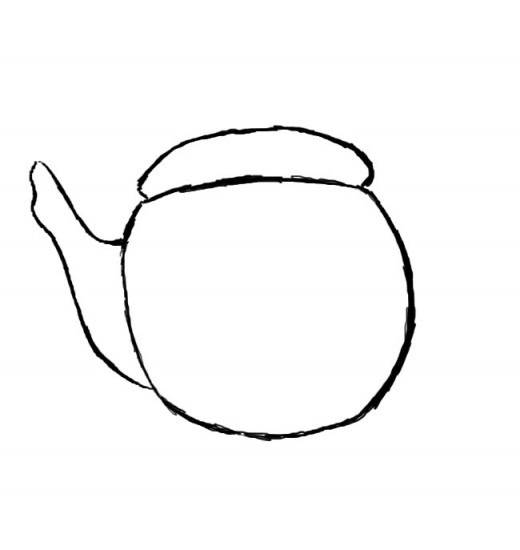
Once you are finished drawing your pot, work on the pot cover. It doesn't have to be anything special, just a simple pot cover.
Step 5
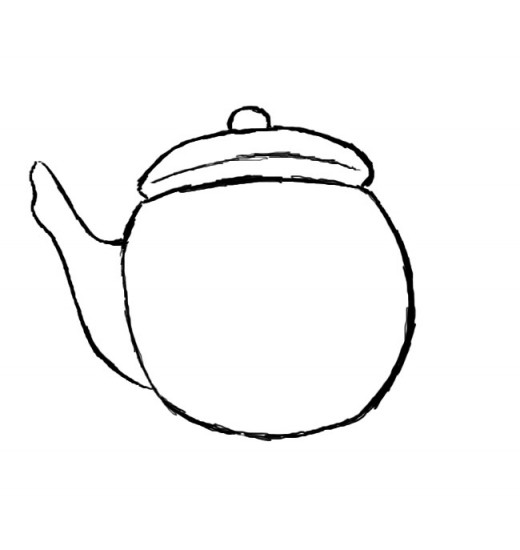
Add some detail to the pot cover. Also include the round pot cover holder that is seen in this step's photo.
Step 6
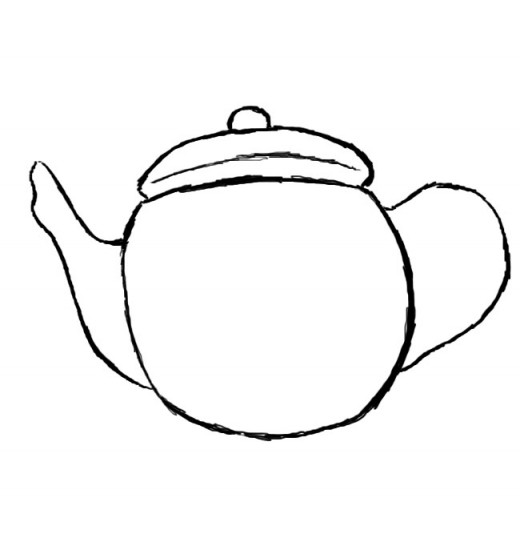
Now you can finally start drawing the handle of your pot. The handle can be of any shape really, but I wanted this one to have a little style. This potholder is a little curvy as you can see ^^.
Step 7
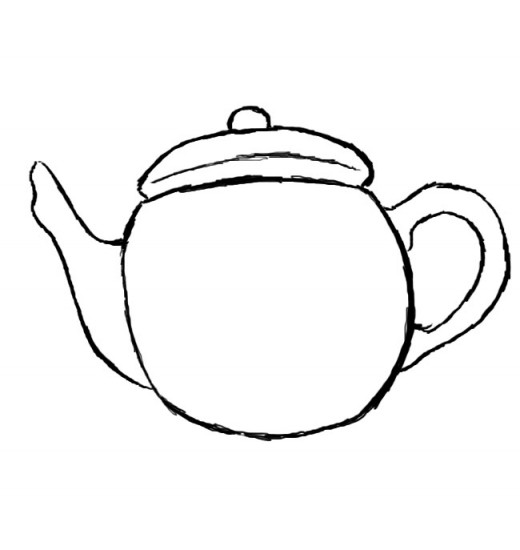
Once you are finished drawing the pot holder, that is basically it! Tada! Was that easy or what? If you had a lot of trouble with this, please let me know so I can try to make things more simpler in my future hubs.
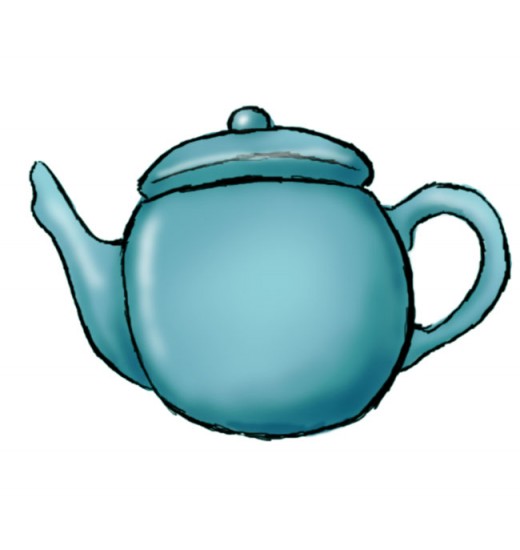
Till next time!


