How to Draw a Beautiful Rose

There's honestly nothing more beautiful than a rose! I thought I'd present you all with a tutorial based off of one of my favorite things of all time. In this hub, I will be teaching you how to draw a lovely rose in just a few easy steps. Maybe you're someone who doesn't have a lot of money to spare this year so why not learn how to draw a rose to give as a gift to your friend or loved one? Art is one of the greatest gifts you can give. Not only does it hold sentimental value, but it is a timeless gift that comes directly from the heart.
You don't have to be a skilled artist to follow this tutorial. I feel I've made this hub as easy to follow as possible. Simply refer to the list of tools needed for this down below. Let's get started, shall we?

Origin Of The Rose
According to research, the rose flower has existed for more than 35 million years! That's older than the human race! There are many different species of roses around the world, many of them being native to Asia, as well as various parts of Europe and North America.
The rose is widely known for it's beauty and intoxicating fragrance. Not only is the rose beautiful in its appearance, but it also holds some significants in many cultures around the world. Roses come in many colors and sizes, ranging from small to large. Some notable rose colors are red, yellow, pink, white orange purple and and green. Yes, green, believe it or not!

Things You'll Need
Before we begin, I have made a checklist of some of the supplies you'll be needing to draw your rose. Let's go through the list together!
- A sharpened pencil. This doesn't have to be anything special. A standard pencil will do for beginners.
- A good eraser. Large rubber erasers work best for this!
- A4 sheet of paper
- A flat surface like a desk or table. If you're drawing this in a public space, a hard textbook can be used for a sufficient surface as well.
- Last but not least, you will need a little bit of patience depending on your level of experience. You might need to erase and redraw things often, which is all just part of the learning process!
- Rose references (optional)
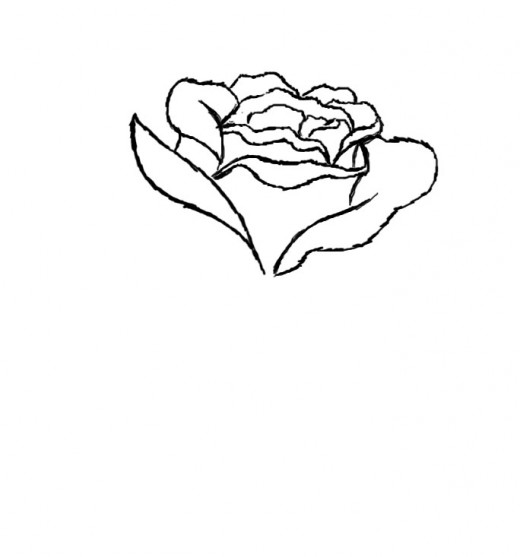
Step 1
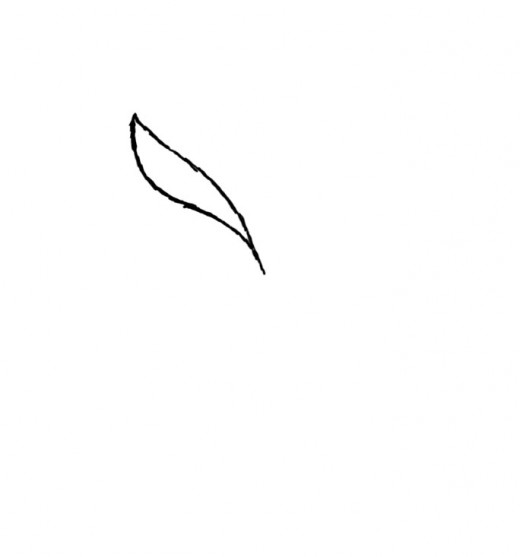
Start off by drawing the petals one by one. Each petal should look somewhat different from one another. This is where a good reference might come in handy. You might find it easier to do this is if you're able to get a hold some rose pictures or even a live flower to draw in real time.
Step 2
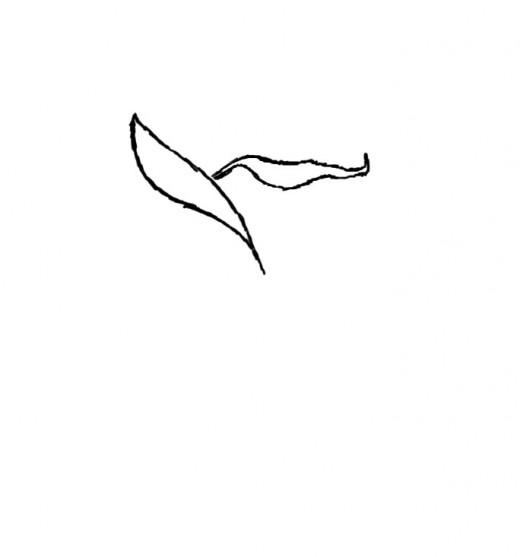
Keep in mind that a rose is unlike any other flower. The petals take on unique shapes and features from one another. Let's just say that no two roses look exactly alike! As you can see, one of the pedals I've drawn curls over at the top somewhat. Small details like these can help in bringing your drawing to life!
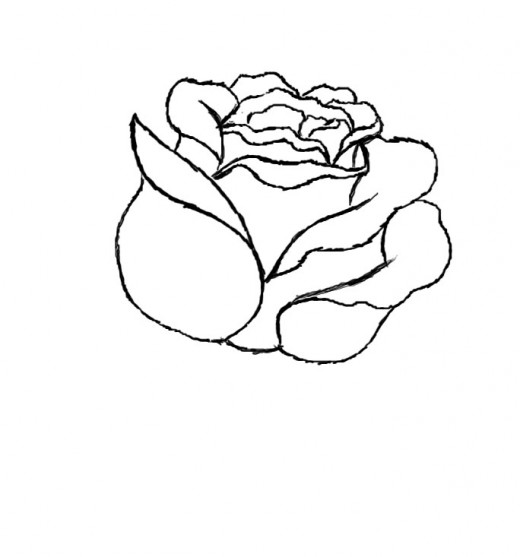
Step 3
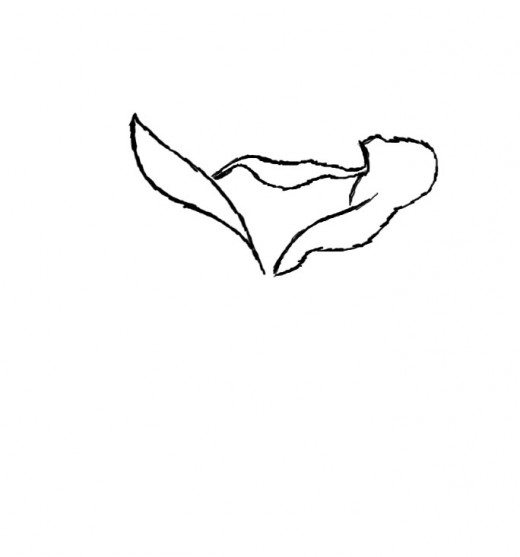
Side petals usually curl inward more. The above image should give you an idea of the look you should aim for when drawing the side petals. Be creative and try to have a little fun with it!
Step 4
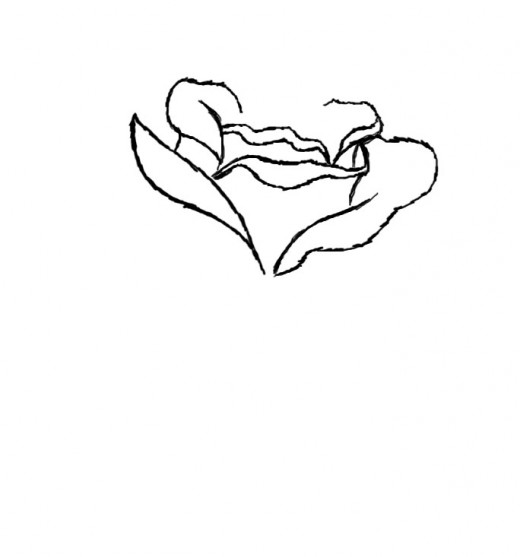
As you continue to work on the petals, try to make your rose appear as if it is blooming. The inner petals should be a lot smaller than the outer ones on most roses.
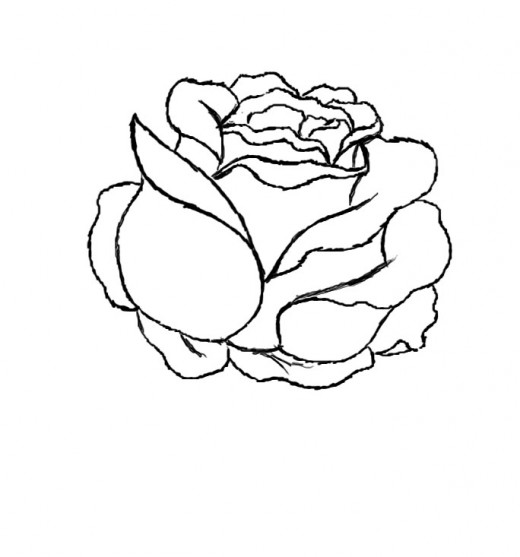
Step 5
Focus on the detail of the central petals in this step. Draw them as neatly as you can if at all possible.
Step 6
Once you are finished with drawing the petals in the center, start working on the outer portions of the rose. Remember, outer petals are usually quite a bit larger than the ones closer to the center of the rose.
Step 7
Your completed rose bud should look something like this! Again, it doesn't have to look exactly identical to what I've drawn here, but the finished results should serve as a reference for how your finalized rose bud should look. Now, it's finally time to draw the stem!
Step 8
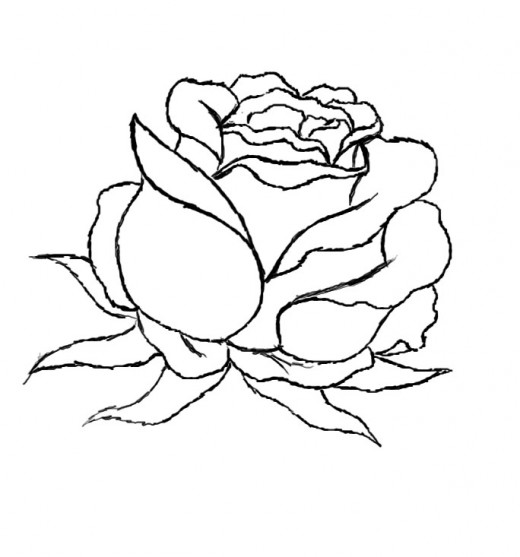
As you can see, I draw on several small leaves at the base of my rose bud.
Step 9
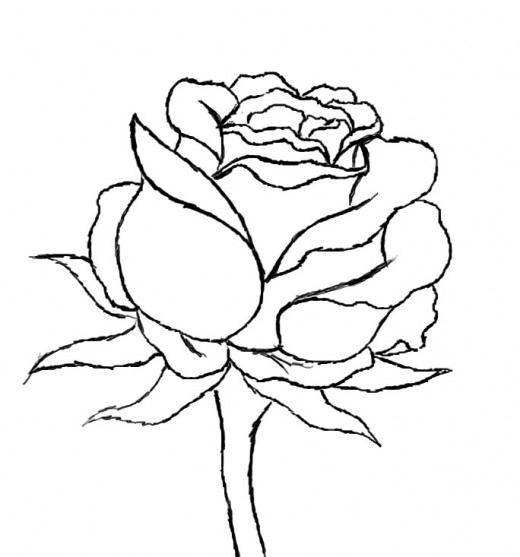
Now, just below the bottom portion of the leaves, just draw in a simple looking stem. Your rose should be complete after this step! Your finished drawing should look similar to what is pictured above.

Final Thoughts
How did you do? Did you find my article to be helpful? If so, feel free to leave a comment and/or an image link to your completed rose. Also, feel free to share this hub with friends, family and beginner artists who might also find this tutorial helpful.
*All images used in this hub are drawn by myself. Photographs used in this hub were obtained legally through google.*
© 2012 Shawnte

")
")


")
