How to draw a boot
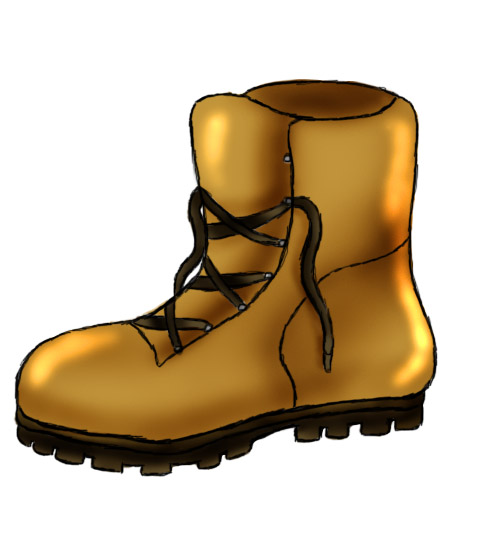
Today's hub will be quite a treat for those of you who are currently learning how to draw. In this hub, I will show you how to draw a fairly elaborate looking work boot from scratch on paper and pencil.
Unlike drawing other types of footwear, a boot tends to have much more detail than say a tennis show or a stiletto for example. So just a heads up, this is going to be a little bit longer and in depth than my other hubs and I will describe each step in the best way that I can and I will include images to accompany each step as well. Before we even begin, as always be sure to have a blank sheet of paper, a pencil and a good eraser next to you. These steps are quite easy so I doubt you'll have to use the eraser too often. When you are ready to begin, just scroll down to the very first step and you'll be on your way to drawing your very own boot.
Step 1
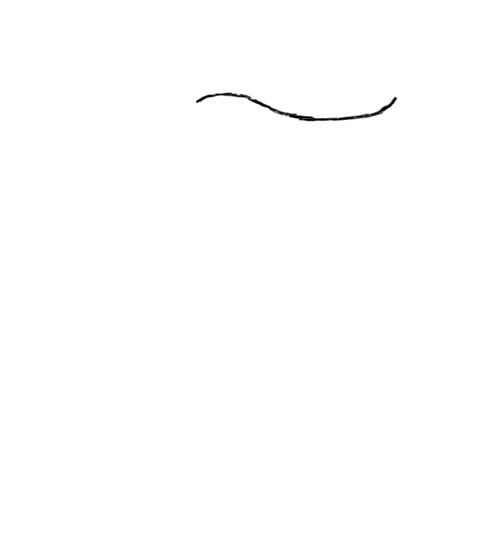
In this first step, you are going to draw a curvey line similar to the ~ the top left of your keyboard . This curvey line will represent the top flap of your boot.
Step 2
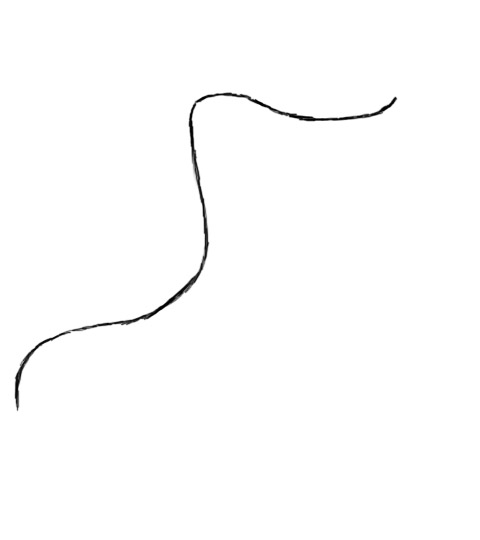
Next, start drawing the front of the boot all the way down to the toe.
Step 3
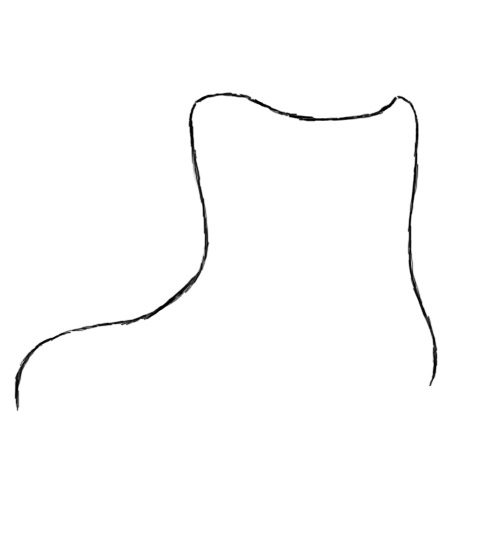
Starting from the top right of the drawing, draw the back of the boot to the back of the heel. Our boot is beginning to look like a boot. On to the next step!
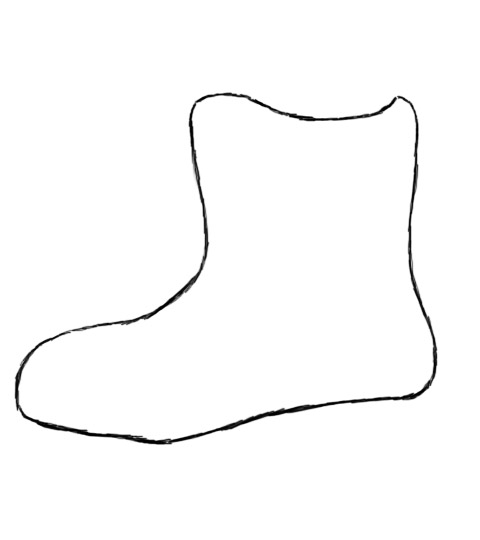
Step 4
In this step, I have drawn the top of the shoe's sole. We finally have a basic shape for the boot. From the next step forward, we will beginning drawing in the details for the boot.
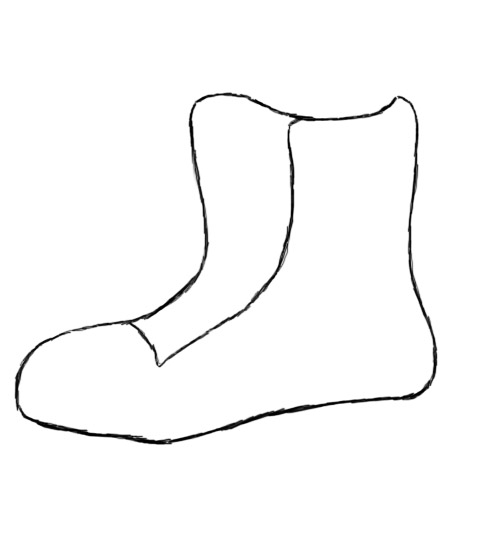
Step 5
Next, I have drawn in the part of the boot that would be considered as the front flap. It is very simple and un-detailed for now, but we will soon add on to the flap.
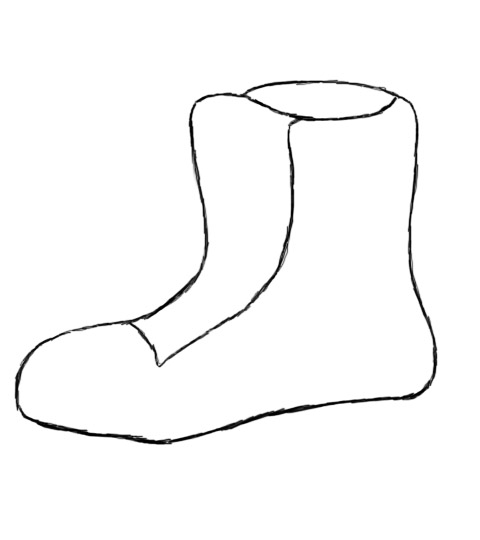
Step 6
This step is basically adding in the part of the boot where a foot would be able to slip in to, the opening in other words. The opening of the boot is ovular, just a simple oval/circle shape will suffice here.
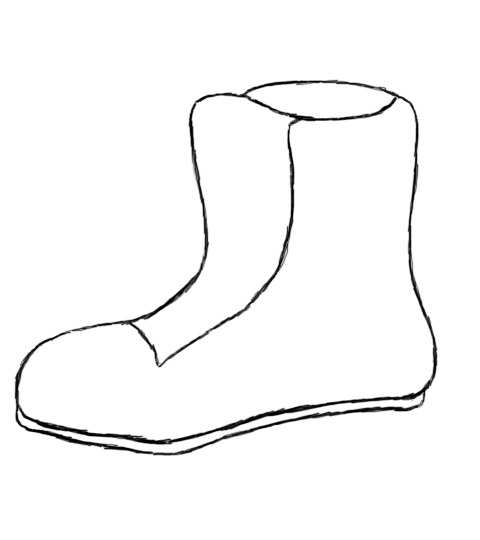
Step
We're not quite finished with the main section of the boot but I have already went ahead and hopped down to the top of boot's sole. Under the lined section will be the complete boot sole which will be seen in the following step.
Step 8
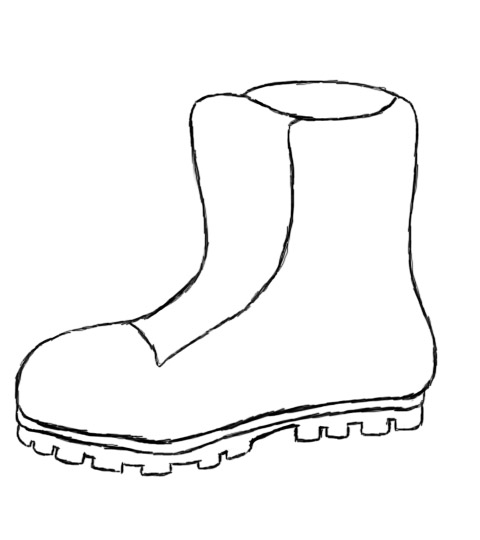
If you have seen the average work boot, you probably may have noticed the semi-spiked ridges at the bottom of the boot. Draw in the ridges that are shown in this steps example image. I kind of see the bottom ridges to take on the appearance of half squares, as it is pretty much almost like drawing little half squares!
Step 9
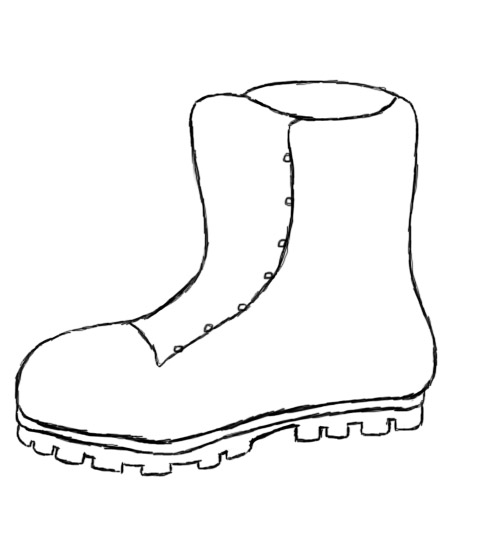
As you can see, the example shows tiny circles going up and down near the outside of the boot's flap. These are little grommet like shapes that are meant for the boot's laces to go through them. Don't worry too much about the detail in this step. It's just small circular shapes along the flap once again.
Step 10
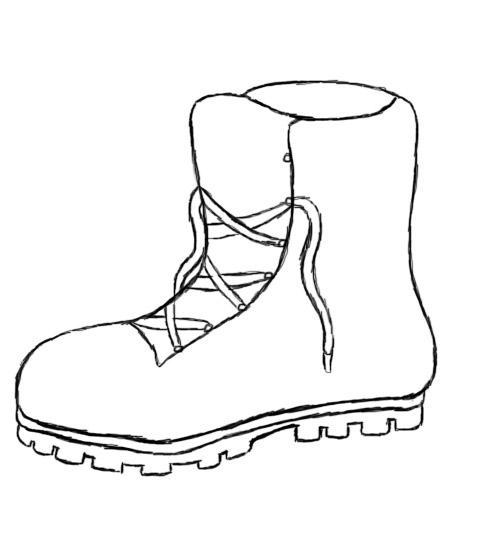
Now here comes the fun part! Well, at least I think it's the fun part. Boot laces! Simple draw in some laces for your drawn in boots. The front of the boot where the flap sits should have an appearance of shoe laces crossing over and under one another.
Step 11
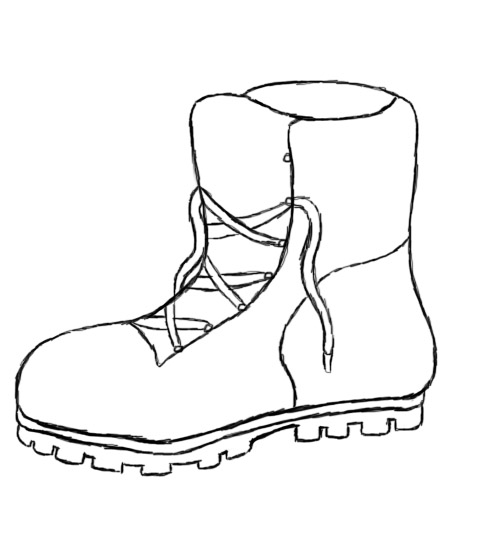
This is not really a necessary step but if you want to include some more simple details in your boot drawing, I recommend including a design or shape where the heel of the boot is.
And that's that! If you have followed the directions correctly and in order, you will have a very nice looking work boot that you can show off to friends and family! As always, it was very enjoyable to create this tutorial, please tune in for more or check out my other drawing tutorials. If you found this tutorial to be enjoyable, feel free to share it with those closest to you who might be interested in learning how to draw things in free hand. :)


