How to draw a comb

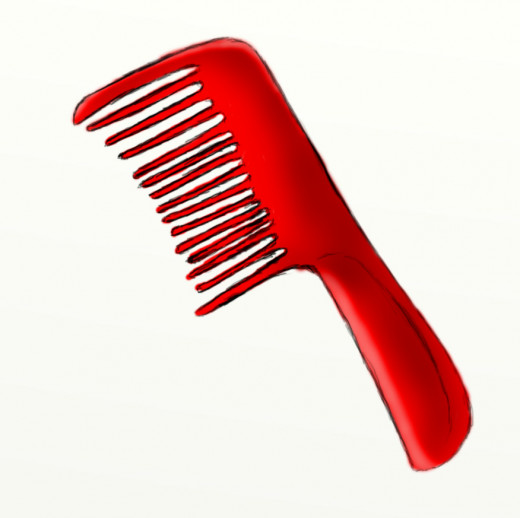
Today, I bring you yet another somewhat unusual drawing tutorial hub. In this hub, you will be learning how to draw a fine tooth comb in several steps. A comb is pretty self explanatory and is not very difficult to draw at all. The only tricky part to drawing a fine tooth comb is that there are a lot of lines and alignment involved with drawing the teeth.
Keep reading below to begin on the first step. Make sure you have a blank sheet of paper and pencil ready. If you are drawing digitally, be sure to have your tablet ready as well as any photo editing program of your choice opened. :)
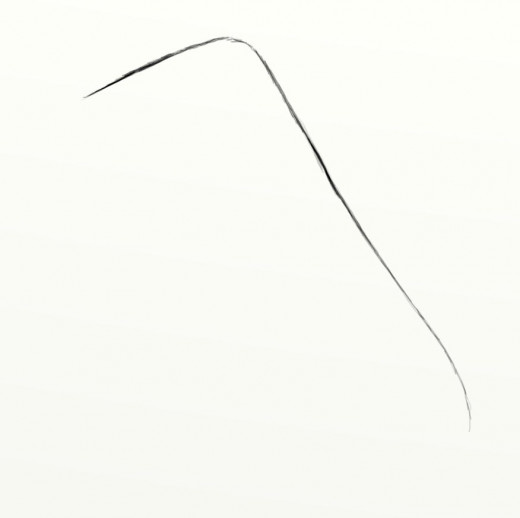
Step 1
The lines are to be very neat looking in this tutorial. Firstly, start off by drawing the back of the comb. You should have the outline of the comb drawn first before you start on the teeth.
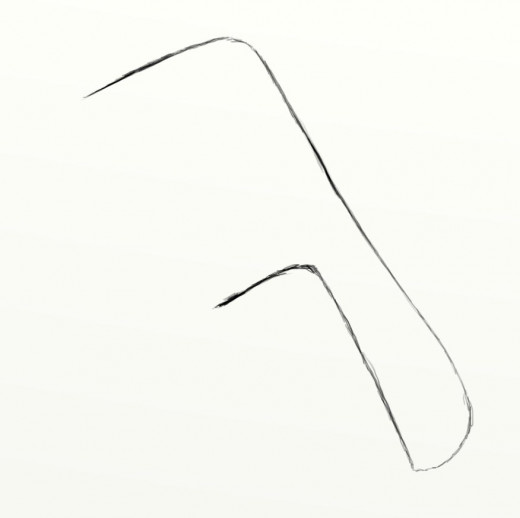
Step 2
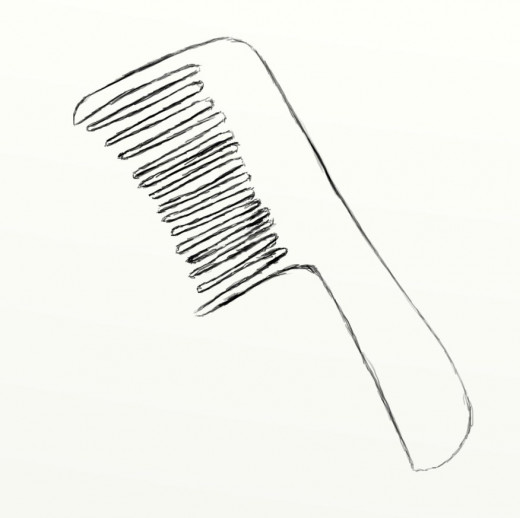
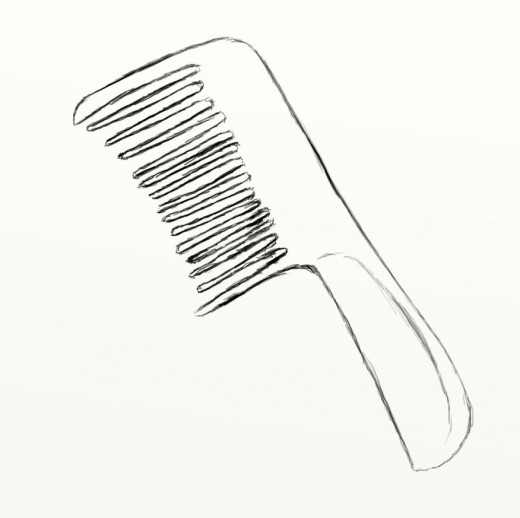
Once you have finished drawing the back, you may begin drawing the comb's handle as shown on the right.
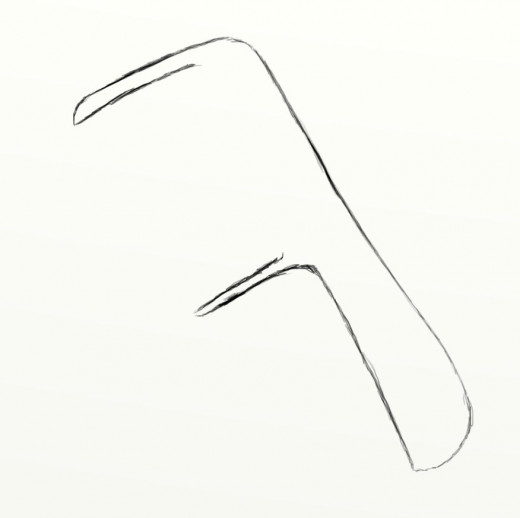
Step 3
Now we are ready to begin drawing the teeth. Start off by drawing the top and bottom teeth first. We will draw the ones in the middle next.

Step 4
I decided to start from the first comb tooth and work my way down all the way to the bottom. The ones starting from the first tooth will be thinner and slightly shorter. Try to make these teeth look consistent with one another. It's kind of hard to do I admit, but it should be done.
Step 5
Keep going until you reach the bottom tooth. Remember, try to be consistent. :)
Step 6
Last but not least, you can add a little design on the comb's handle. Maybe just a curvy line to represent the part where the handle is held.
That's all! Be sure to check back for more tutorial hubs in the future. :)


")


