How to Make a Face Mask (Quick and Easy)
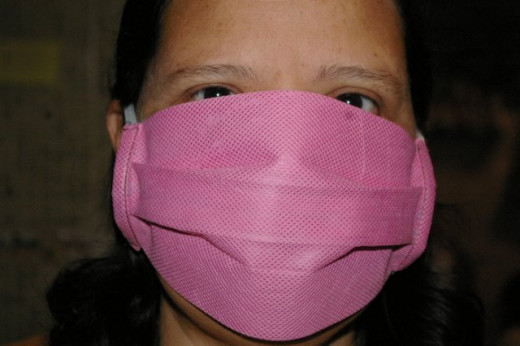
Greetings, today I bring you a post in which you will learn to make your own masks at home. Something that apart from protecting you from COVID-19, can also help you save a little money (something that is not bad in these times of crisis)

Materials:
A piece of POP fabric
Elastic
Thread
Needle
Scissors
Measuring tape
By the way, I apologize, because drawing is not exactly my greatest skill, but I did the best I could.
The type of material used for these masks is "POP fabric". I knew the type of fabric because it is the one used to make ecological bags, party favors for children, even some handbags come with a bag that we call a dust cover, which are also made of that material. It is likely that, if they search their homes well, they will find one and be able to use it; that is, they would also be recycling. I recently found out that it is called POP fabric, because it was asked for from my daughter's preschool supply list.

Already having clear the material that you will use, you will start in the following way:
Step 1
Draw the pattern, nothing to worry about, it will be very easy.
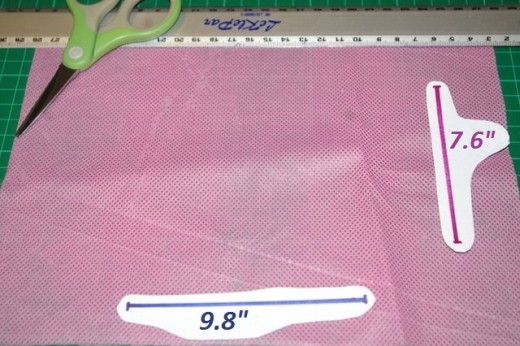
Since the measures of the mask are 7.6 "(long) x 4.9" (tall) I cut a rectangle with the measures 7.6 "x 9.8". You may wonder, why use 9.8 ", the answer is simple, I doubled the height, so that I could fold it in half and it would be left with double fabric. In this way I could join the two ends with a seam. In addition to being more neat, That would mean more protection on the mask and you would save yourself from doing an additional seam.
Step 2
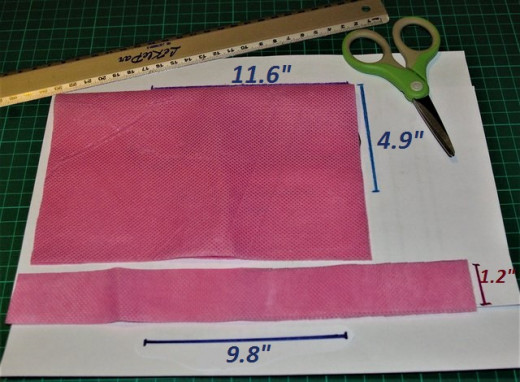
You will also cut a strip approximately 1.2 "(tall) x 9.8" (long), to use as a bias, you will see later where they will place it.
Step 3
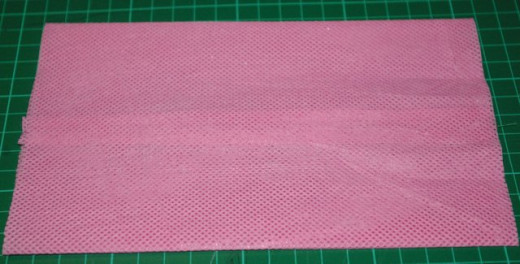
When you have the 22.6 "(long) x 4.9" (tall) rectangle. The next thing you should do is make a horizontal plank on both sides, that is what will allow the mask to fit and cover our nose and mouth better.

Try to make the plank as uniform as possible and fix it only at the ends, as shown in the image.
With the plank, both ends were approximately 2.8 "(tall). As it is fastened only at the edges, in the center it retains the original 4.9".
Step 4

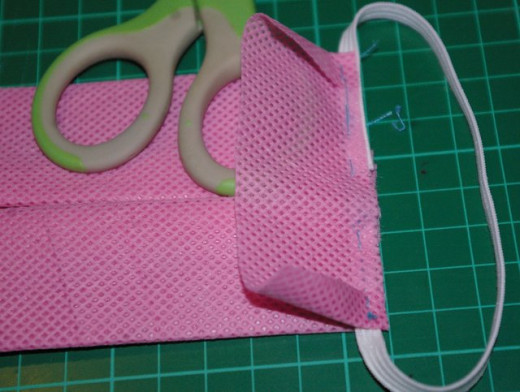
Cut two pieces of thin elastic about 4.3 "each and attach them to the ends where you made the planks.
Once you have everything adjusted, you must join it with a seam (I did it with my sewing machine). Of course if you do not have a machine, you can sew it by hand with a strong stitch, so that it is resistant and does not fall apart.
Step 5
Remember the strip from step 2 ?, Well they will cut it in two halves and fix them at both ends where you made the planks. This not only serves to cover them and make the job look better finished, it also reinforces the mask.
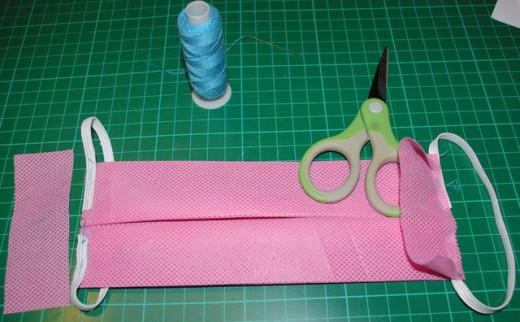
With that last detail you will finish your mask and it will not take long to do it. So, if you need it you can encourage yourself to do it, the best thing is that you will be recycling and saving money.

