How to Make Some Amazing Crafts From Old T-Shirts

The big question.. Why do I want to recycle my old t-shirts?
I am here to answer that question and broaden your mind to the wonderful world of up-cycling... if you have not dipped your toe into this unique art form all ready.
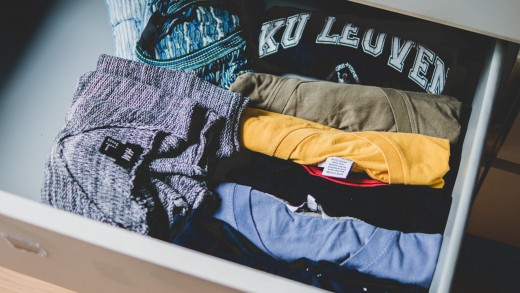
And let's face it, we all have t-shirts. T-shirts we love and wear for a reason. Be it their colour, the graphic on the front, the shape, or perhaps it's the sequins all over it. But whatever the reason, there are so many ways to breath new life into a favourite shirt, and keep fond memories alive while making new ones.
In this article we will look at some of the most effective, quick and creative ways to turn an old pre-loved shirt into everything from an artwork in the home, to a practical item you can use every day.
"Recycling turns things into other things. Which is like MAGIC"
ANONYMOUS
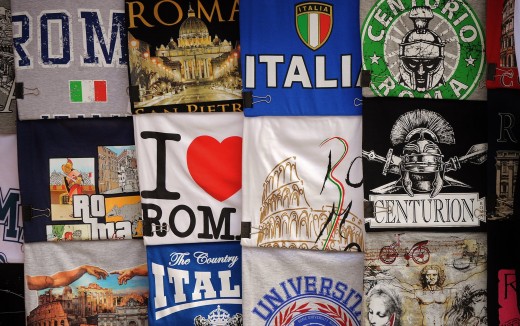
T-Shirt Wall Canvas
What a unique keepsake and room feature! A faster and cheaper way to frame and hang those gorgeous graphic design shirts. Brilliant and effective, especially to hang up in children and teen bedrooms.
You will need:
- An old T-shirt that has been ironed to smooth out creases
- Rubber band
- Marker
- Sharp scissors
- Canvas smaller than your T-shirt
- Staple gun
Instructions:
- Slide the canvas inside the T-shirt, and line up where you would like your design to be
- Gather the excess material at the back of the canvas and pop a rubber band around it to keep it in place
- Using a marker, draw a line around the inside border of the canvas at the back, keeping in mind that you will be stapling the T-shirt to the wooden frame, so leave yourself a decent amount of space along the edges to cover all of the wooden frame
- Remove the rubber band and gently slide out the canvas
- Cut along your marker line. You should be left with a square or rectangular piece of cloth, depending on the shape of your desired canvas
- Place your material face down on a flat surface
- Place your canvas face down exactly in the middle of your material, making sure your excess material is even all the way around the canvas
- Carefully fold each edge and, using your staple gun, staple every two inches all around the wooden frame along the back of your canvas
- Turn over and you are done! One perfect T-shirt Art Print Canvas.
- (Optional. You can either lean your canvas against a wall or shelf, but you can also use a non-permanent sticky hook or a real wall hanging hook attached to the back of the canvas if you wish)
"Consuming less means throwing away less, while reusing things actually helps to save the planet as well as the pennies."
Sheherazade Goldsmith
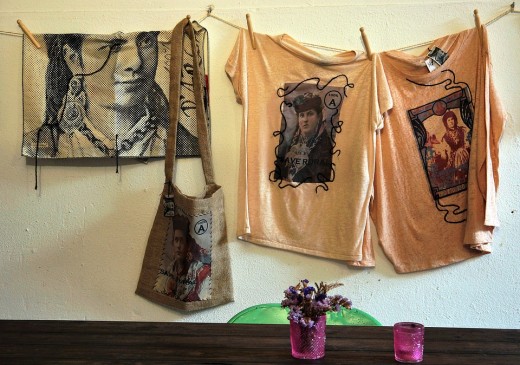
T-Shirt Tote Bag
I personally use two of these for shopping. So easy to clean, to roll up and pop in my handbag and best of all, they look so funky! Simple, fun and effective and they last much longer than re-usable bags from the supermarket.
You will need:
- An old T-shirt that has been ironed to smooth out creases
- Sewing pins
- Marker
- Sewing thread in your own choice of colour
- Standard sized dinner plate
- Sharp scissors
- Sewing Machine
Instructions:
- Cut off T-shirt sleeves, leaving the seams above and below the sleeves in place
- Place the dinner plate upside down, past the neck opening of your T-shirt. Trace around the plate with your marker.
- Remove plate and cut around the marker line in the semi-circle you have traced
- Turn the shirt inside out, and using 4 - 6 pins, pin along the bottom of the shirt leaving about an inch from the bottom
- Use the sewing machine to sew the bottom of the T-shirt closed
- Remove your pins
- Turn the shirt outside in
- Well done! You now have a unique tote bag!
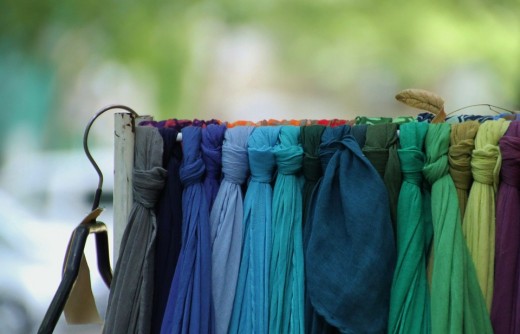
T-Shirt Scarf
T-Shirt material is generally comfy, so the idea of making a warm scarf out of some old shirts sounds good to me! You can mix and match different sections from different shirts and make all kinds of colourful scarves for all tastes.
You will need:
- Old T-shirts that have been ironed to smooth out creases
- Sewing pins
- Sewing thread in your own choice of colour
- Measuring tape
- Marker
- Sewing machine
Instructions:
- Decide how big you would like your scarf to be, keeping in mind how big your shirt material is and the sections you wish to use
- Once you have decided on a size, decide how big you would like each square of your scarf to be. Take note of your square size, all of the squares you cut out will need to be the same size so they sew together nicely
- Measure your shirts and using your marker, mark out squares using the sections of your shirts you would like to feature in your scarf
- Cut out each square, making an even number of squares
- Select squares in pairs. They will be sewn back to back.
- Line up your back to back squares until you reach the desired length of your scarf
- Pin your squares together, all the way around each square. Leaving at least a 1cm gap all the way around the edge to allow for your inside seam
- Select one long length side. Sew the entire side together.
- Sew down the inside of each square. Leaving the other long length side not sewn
- Remove your pins
- Turn outside in
- Re-pin your one long length side that is not sewn leaving your 1cm seam gap
- Sew along your long length side and the top and bottom of your scarf so all seams are now closed
- Congratulations, you now have a beautiful and unique scarf!
"There is no such thing as "away". When we throw anything away it must go somewhere."
ANNIE LEONARD
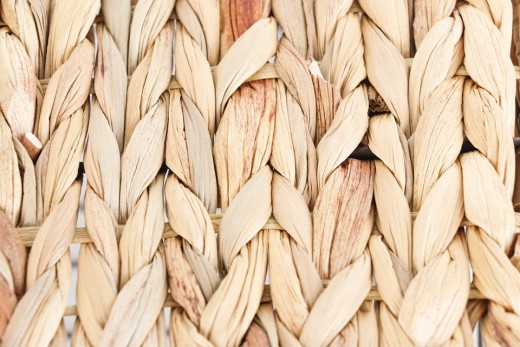
Easy Braided T-Shirt Throw Rug
I have made these for gifts many times. Quick, beautiful, practical and so much fun. The best part? You can use a multitude of different shirts and mix and match colours as you go. I always find, the more colours, the better!
You will need:
- A large variety of old T-Shirts, and guess what? They do not have to be ironed!
- Scissors
- Ruler
Instructions:
- Using your ruler and scissors, cut your shirts into strips measuring roughly 1.5cm in width.
- Cut off any bulging seams. Your strips do not have to be the same lengths, the width is the most important part
- Choose 3 strips that are similar in length, different colours look the most effective
- Gather the 3 strips together, and tie them into one large knot at the top
- Braid them together until your braided section is approximately five inches long
- Coil the braid around the knot so it begins to form a flat circle
- Select the strip closest to the centre and pass it under and through one of the loops in the braid you have coiled. This is how you will attach the braid you have made so far to the next coil
- Continue your braid another two inches. It should be attached to the centre coil where you passed the middle strip through
- Every two to four inches you braid, pass the strip that is the closest to the centre under and through the existing braid to attach it. This step you will do continuously until your entire throw rug is complete
- When your reach the end of a strip, fold over the end about an inch and cut a tiny slit in the middle, almost like a button hole.
- Repeat step ten with the new strip you wish to attach
- Line up both slits, one will be the strip in your braid and the other the new strip
- Take the far end of the new strip and pull it through the back of the slits towards the front
- Pull both strips tightly so they are joined together
- Keep repeating from steps 6 to 14 until you reach the desired size of your throw rug - or you run out of t-shirt strips!
- And your gorgeous rug is complete
What else can I make out of old T-Shirts?
Now you have started on your recycled t-shirt journey, there are many more creative tutorials available to watch on platforms such as Youtube or sites like Pintrest if you prefer text instructions.
Some other fun and creative ideas for t-shirts are:
- Hanging Planters using T-Shirt macrame
- Braided T-Shirt Coasters
- Kids T-Shirt Tutu's
- T-Shirt bed quilts
- T-Shirt yarn balls
- Necklaces, bracelets and anklets made from T-Shirts
- Stuffed toys using old T-Shirts
- Baby bibs from T-Shirts
- and the list goes on...... enjoy!
This content is accurate and true to the best of the author’s knowledge and is not meant to substitute for formal and individualized advice from a qualified professional.
© 2019 Mel Richards


