How to make clay at home

History
From being used for ornamental reasons by cavemen, to helping transport and store food and water, cook and serve meals, clay has been a resource of significant importance to manking of earlier days, having the oldest artifacts estimated to have about 20.000 years old found in Jiangxi, China.
Over time, clay's use has expanded into construction (bricks, wall and floor tiles), as a writting medium, sling ammo, as a filter for dams and landfils and recent studies even suggest a possibility of cleaning waste water from heavy metals with clay.
Ingredients
- 1/4 cup flour
- 1/4 cup salt
- 1 tablespoon cream of tartar
- 3/4 cup warm water
- 1 tablespoon cooking oil
Extras: Food Coloring, Varnish, Glitter, Paint or a Key ring.
Instructions
- Join the flour, salt and cream of tartar in a bowl and mix everything accordingly.
- Slowly begin to join the water to the mix and keep mashing the ingredients.
- If it's too hard to mix, add some oil, just the enough.
- If it's too watery, add some extra flour.
- You're done when you reach a good consistency.
- Opt: Add food coloring and mix it for a little longer.
- Finally refrigerate the clay for an hour.
- The instruments you use to mold or cut with food are a good choice to begin the fun but feel free to try with toothpicks, kid knives, etc
Alternative: Baking the Clay
When you're done following the instructions above, preheat the oven to 350ºF or 175ºC.
Lay your newest pieces of art on a tray, it's a good time to add a first layer of glitter or most important the key ring.
Bake for about 20 minutes.
Add an extra dose of paint, glitter and add some varnish for preservation and shiny finish.
For Safety Reasons: avoid overcooking or overheating the clay, ignoring the instructions might lead to the release of hydrogen chloride gas possibly causing nose and eye irritation. For this reason is not recommended being used with food or beverages.
— WikipediaCook Time
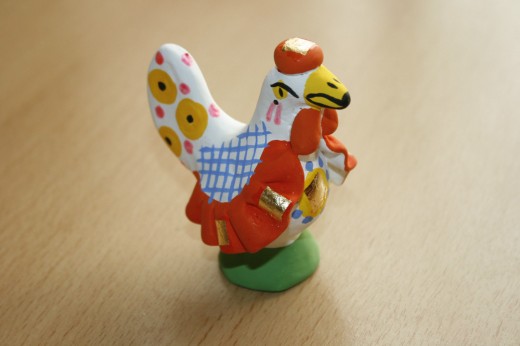
What the most skilled can achieve


")

