How to Make Fossils for Kids
Making Plaster of Paris fossils is a great way for budding scientists to learn more about rock and fossil formation. Real fossils may take many years to form, but for less than $5 your kids can make them in just a couple of days. This quick, inexpensive, and easy science project is also great way to use those seashells collected from the beach.
Before beginning your fossil craft you may want to give your child a simple lesson in sedimentary rocks and fossil formation. Here’s the gist of it….fossils are formed over millions of years anywhere that sedimentary rock can be found. Sedimentary rocks are rocks that are formed when layers of mud, sand or silt harden over time. When animal or plant remains make a rock a fossil is formed. Today fossils can be used by scientists to show them what livings of things looked like millions of years ago. Ok, lesson over, now on to the fun part.

Want to look for fossils instead of making them? Check out this book!
Supplies Needed to make Fossils
- Plaster of Paris (can be purchased in the hardware section at any discount store section for about $3)
- Petroleum Jelly
- Seashells
- Disposable cups or containers large enough to hold the seashells

How to make Fossils with Kids
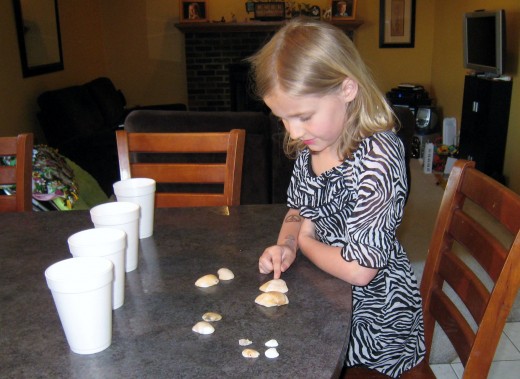
Before starting the project have your child pick out the seashells they want to use. We chose several different ones of varying sizes just to see how they would all turn out.
Next pick a container to make your fossils in. Since we had 16 ounce Styrofoam cups laying around the house, it was an easy choice. When choosing a container, keep in mind two things, it should be disposable (it may need to be completely destroyed to get your fossil out) and the seashell needs to completely fit inside of the container. Depending on the size of the seashells small Dixie cups could be used. For larger shells, you could cut the top off a milk carton or two liter bottle.
Once you have your seashells collected and your containers picked out, it is time to mix up the plaster of paris. To make two fossils in 16 ounce Styrofoam cups it takes a 3 cup batch of Plaster of Paris. The batch size, of course, is going to vary based on the container size. The plaster of paris will need to be deep enough in the container so that when the seashell is placed it will not touch the bottom of the container.

After the plaster of paris has been mixed, its time to put it into the containers. We filled our cups about two thirds full, which gave us ample depth and left enough room for little fingers to manipulate the shells when they were placed in the cups. I recommend that an adult does this step since plaster of paris can be messy if spilled all over the counter.

The next step is one that was hardest on my daughter…waiting. The shells will need to set up in the plaster of paris for 24 hours before moving on to the next step.

The next day, spread a thin layer of petroleum jelly over each of the shells with a crafting paint brush. This will aid in freeing the fossil from the next layer of plaster once is has dried. Make sure the petroleum jelly is not globbed on the shell or the plaster of paris may take on the shape of the petroleum jelly not the shape of the shell.
Once all the shells are covered with petroleum jelly, mix up some more plaster of paris. The plaster will need to cover the shell completely. Pour the plaster of paris on top of each of your shells. This layer of plaster of paris is going to be the fossil. Its depth will determine the height of the fossil.
Now again…more waiting. This layer will also have to dry for 24 hours.
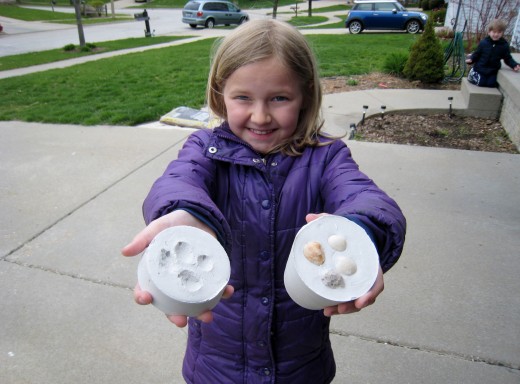
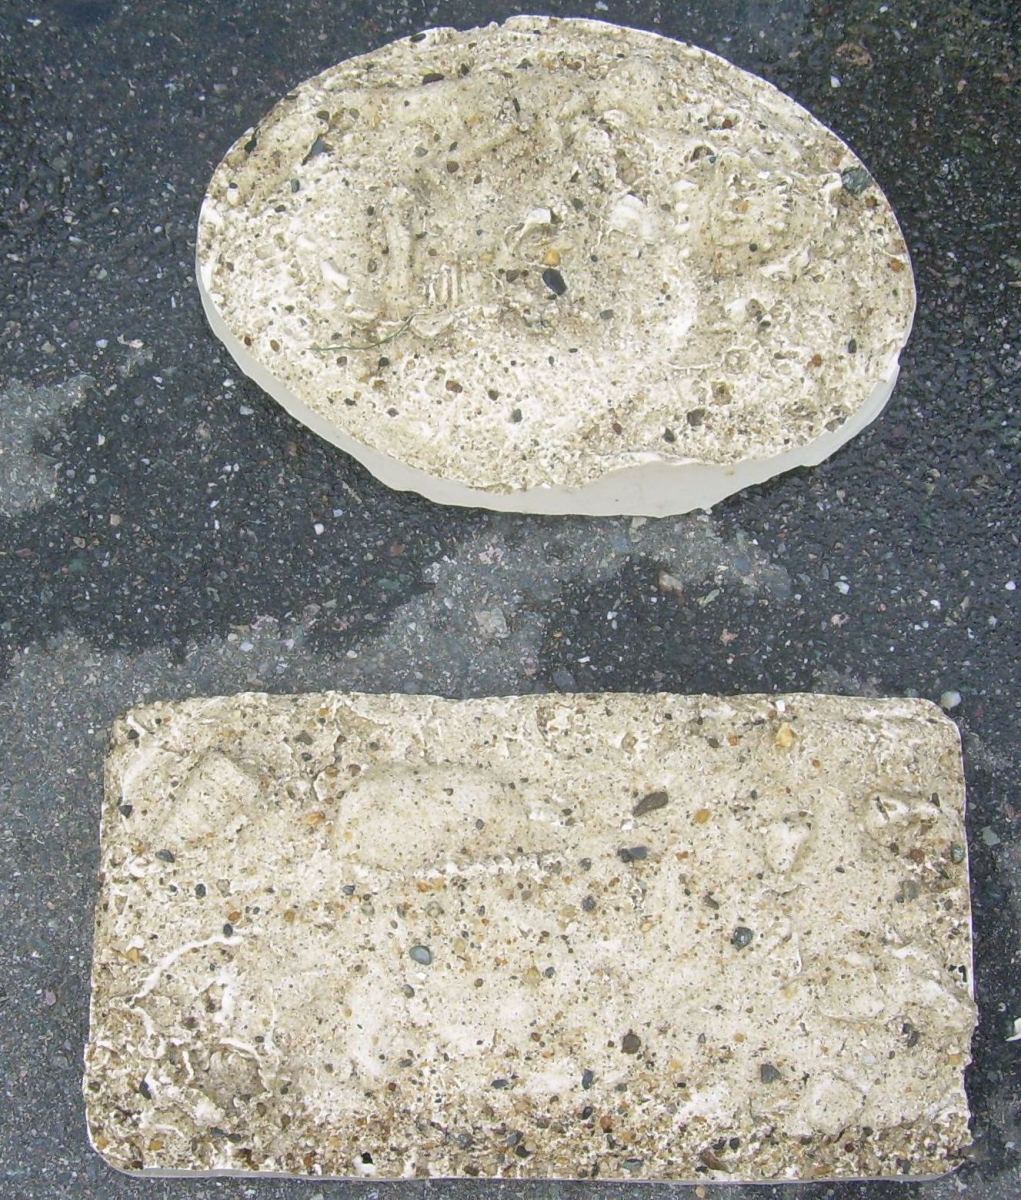
After 24 hours has passed, your child can remove the hardened plaster from the container. This is easier said than done. Since we used Styrofoam cups, it was fairly simple to tear off pieces of Styrofoam until it was easy to remove. The line from the two layers of plaster of paris should be visible when removed, and with a simple snap, your fossil is revealed.
You can leave your fossils as is, or your child can decorate them with paint.
For an alternative to seashells you could use other items: twigs, leaves, chicken bones or even small plastic toys such as bugs or dinosaurs.


