How to simply design an iPhone using CorelDraw

Today I am going to describe, how to design an iPhone, simply and quickly in few steps, in vector graphic software CorelDraw.
Start by creating a new document. Size of the document is not a matter, because it's vector graphics. I am using an A4 document in landscape mode for working.
Step 1
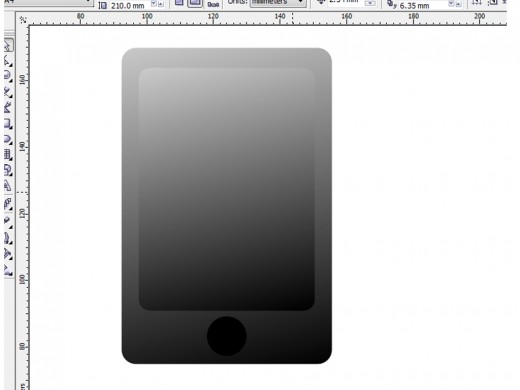
Draw a rectangle, using the rectangle tool like in the picture.
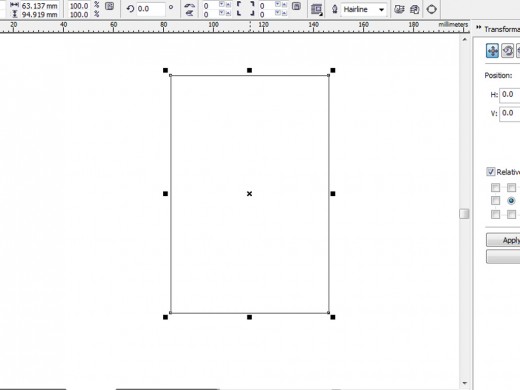
Then take the shape tool and click drag the corner of the rectangle a little bit for rounding the corners.

Step 2
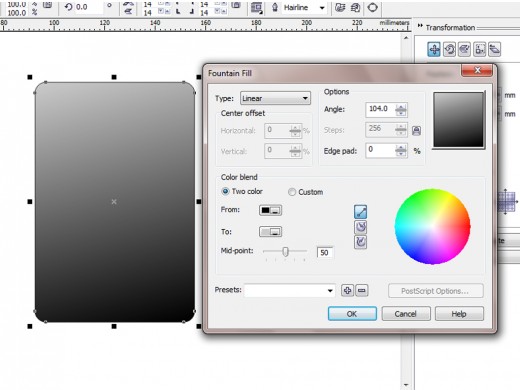
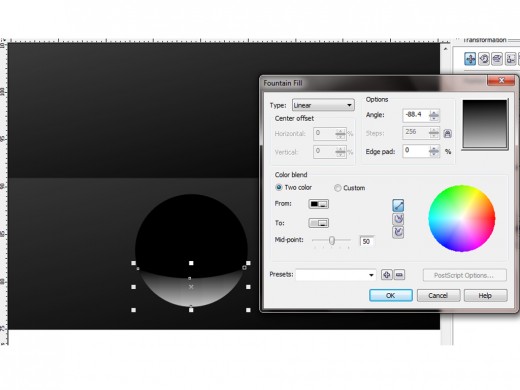
Take the gradient tool (G) and fill it with a black and gray linear gradient with the following settings like the below picture. For getting the 'Fountain fill dialog box', just hit F11.

Step 3
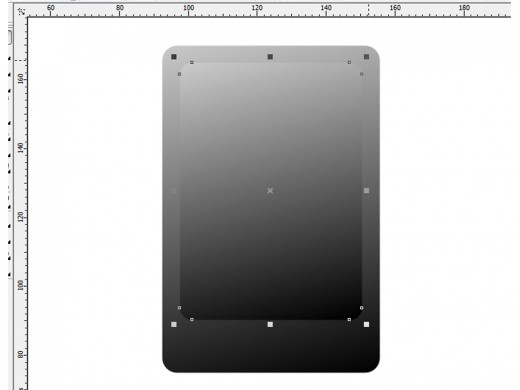
After filling the gradient, just remove the outline of the drawing by changing the outline width to 'none'.
Step 4
Now create a duplicate of the rectangle by selecting it and pressing Ctrl+C and Ctrl+V and reduce the size like the picture below.
Step 5
Now it's time for making the touch switch. Make it by drawing a ellipse shape by using the ellipse tool and fill it with a black color. Also remove the outline.
Step 6
Then duplicate the ellipse and change the color of the new ellipse to gray color. After that draw a shape using the ellipse tool like in the below picture. Select the two shapes just created and use the 'simplify' option for trim the shape as a shadow.

Step 7
Now delete the temp shape. After that fill the new shape with fountain fill dialog(F11) like the below picture.
Step 8
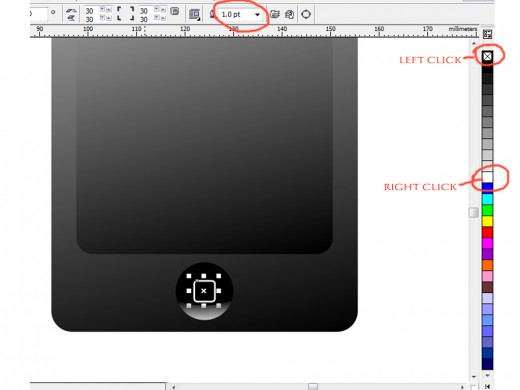
Now create a small rectangle and make the edges round by shape tool. remove the fill color of it by clicking the X mark above the color palette, and make the outline width to 1pt and also change the color of outline to white by just right clicking the white color from the color palette.
Step 9
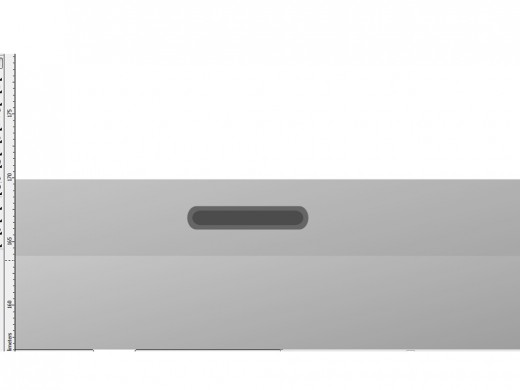
Now create the mic by creating a rectangle and round the corners maximum. After that, duplicate it and change the color of two shapes to different tones of gray color. Reduce the size of the duplicate and place it right at the center of the below shape. For doing this quickly and precisely, select the two shapes, and press 'c' and 'e' on the key board.
Step 10
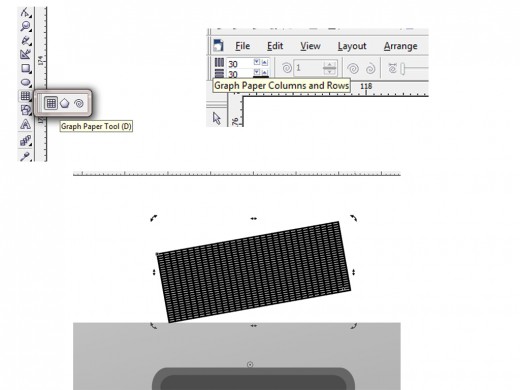
Now create the mic net by using the graph paper tool like the image below. After creating the graph paper convert it to curves by right clicking and selecting 'convert to curves'.
Now place the graph right at the center to cover the inner shape, and just 'intersect' the two by selecting two of them and use the intersect option as below.
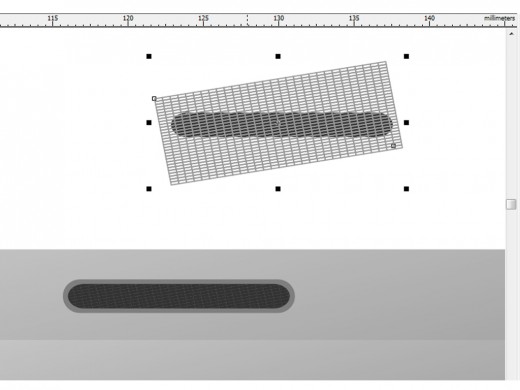
Also give a fountain fill to the below layer.
Step 11
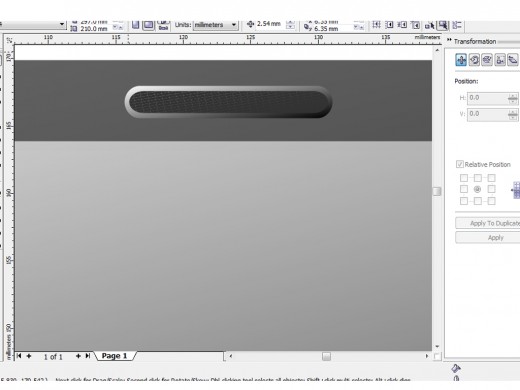
Modify the screen shape by reducing the corner radius and then duplicate it and reduce the size a bit and fill it with a dark gradient. Also change the phone body fountain fill color to a little bit more dark .
Final step
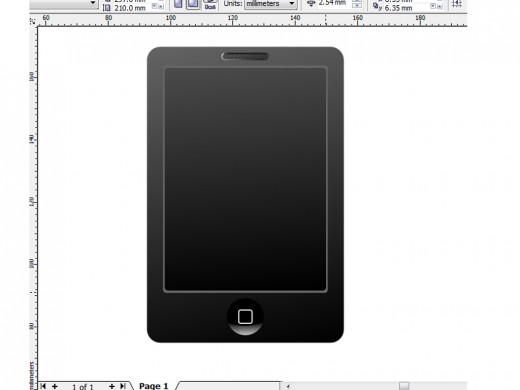
Now it's time to resize the display part according to your imagination. Also duplicate the main body layer and give it a black color. After increasing the size a bit, send back the layer to background by pressing 'Shift+Page Down'.
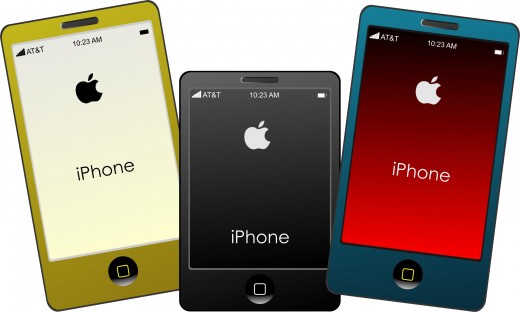
When our phone is ready, give it some details like network indicators, battery level, time, etc.
Final result
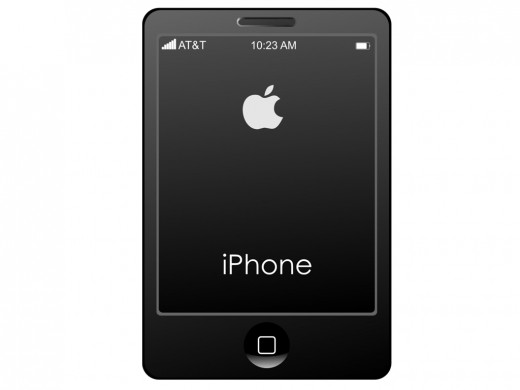
Hope you got some tips from CorelDraw and I also hope you enjoy this simple tutorial. We can change the look and size of the phone any time by changing the size and put some other colors also. Good luck...
")


