Jewellery Techniques 1: Bracelet

The Components

The Components
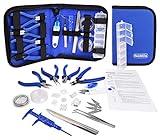
For this project you'll need a few basic jewellery-making supplies:
- Crimps (2)
- A lobster clasp (1)
- A Jump ring (1)
- Craft wire
Crimps are very small beads with large holes in, designed to be squashed. A lobster clasp is a clasp which looks a lot like a lobster's claw, with a small lever which opens the clasp. Jump rings are rings of thick wire, designed to be opened and closed with pliers. Craft wire is thicker than beading wire; the wire used in this project is tiger tail wire but there are many to choose from.

Laying Out Your Beads
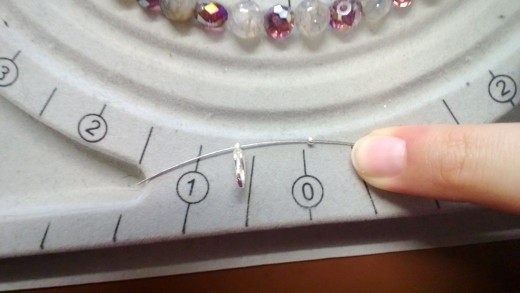
Start by laying out your design. This design is an alternating pattern, with one dragon-vein gemstone bead to one coloured crystal bead. Investing in a bead-board is a good idea, as the surface is indented so your beads don't roll away.
Adding Your Lobster Clasp
To make a neat and secure fastening for your lobster clasp, first thread a crimp onto your wire, followed by the lobster clasp. Loop the wire around and back through the crimp, so that your lobster clasp is sitting in a loop of wire. Slide the crimp up close to the clasp, then squash the crimp shut with flat-nosed pliers.

Threading Your Beads
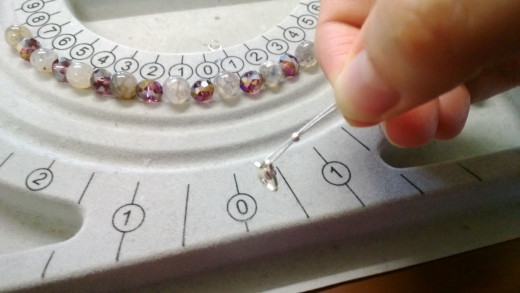
Thread your beads onto the wire, making sure to cover where the end of the wire wraps back around.
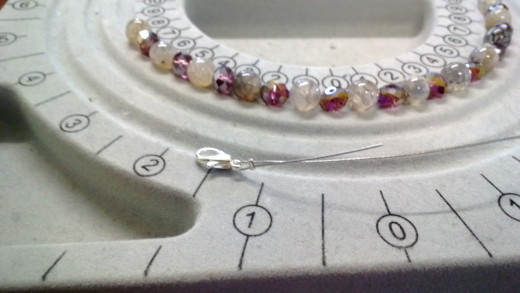
When you have threaded all your beads, thread another crimp onto the wire. Loop the wire and thread it back through the crimp and the last bead on the wire. This time, instead of making a loop for the lobster clasp to sit in, you're making a loop through which you'll attach the jump-ring. Pull it tight and squash the crimp shut.
Attaching the jump-ring is easy - thread the wire loop through the jump-ring, and close it using a pair of thin-nosed pliers.
Enjoy your piece!
The last step is the most important - wear and enjoy your piece, or give it to a friend! Congratulations on making your first piece of professional-looking jewellery!


