- HubPages»
- Arts and Design»
- Crafts & Handiwork»
- Textiles»
- Embroidery
Hand Embroidery: How to Make a Lazy Daisy Stitch
What is a lazy daisy stitch?
A lazy daisy stitch is a hand embroidery stitch used to create small, looped stitches that resemble petals. It is commonly used to create flowers, leaves, and other decorative elements in hand embroidery.
The stitch is created by making a small stitch in the fabric, bringing the needle back up to the surface a short distance away, and making a loop of thread that is secured with a small stitch at the base of the loop.
The lazy daisy stitch, also known as the detached chain stitch, is a really beautiful stitch and one of my personal favorites. This stitch requires a bit more technique than most stitches but is still fun to make. The nice thing about this stitch is that you can create a wide number of things with it.
The idea behind this stitch, which is essentially tying down a loose piece of floss, is one you'll be using a lot in embroidery. This stitch is related to a number of other stitches and you'll see later that you'll be either using this stitch quite a bit (or something very similar.) The reason I like this stitch so much is because it allows me to create quick, but pretty daisies. This is probably how the stitch got its name.
Step One
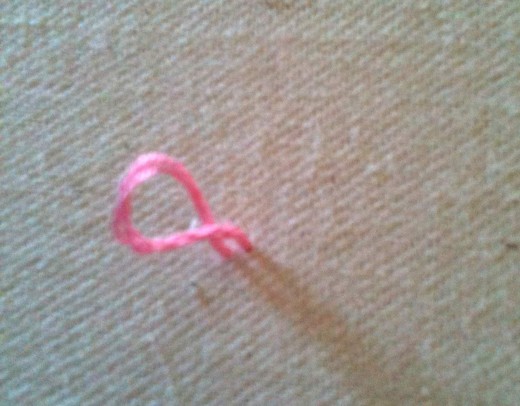
How to Make a Lazy Daisy Stitch
To create a lazy daisy, you will need to know how to make a running stitch.
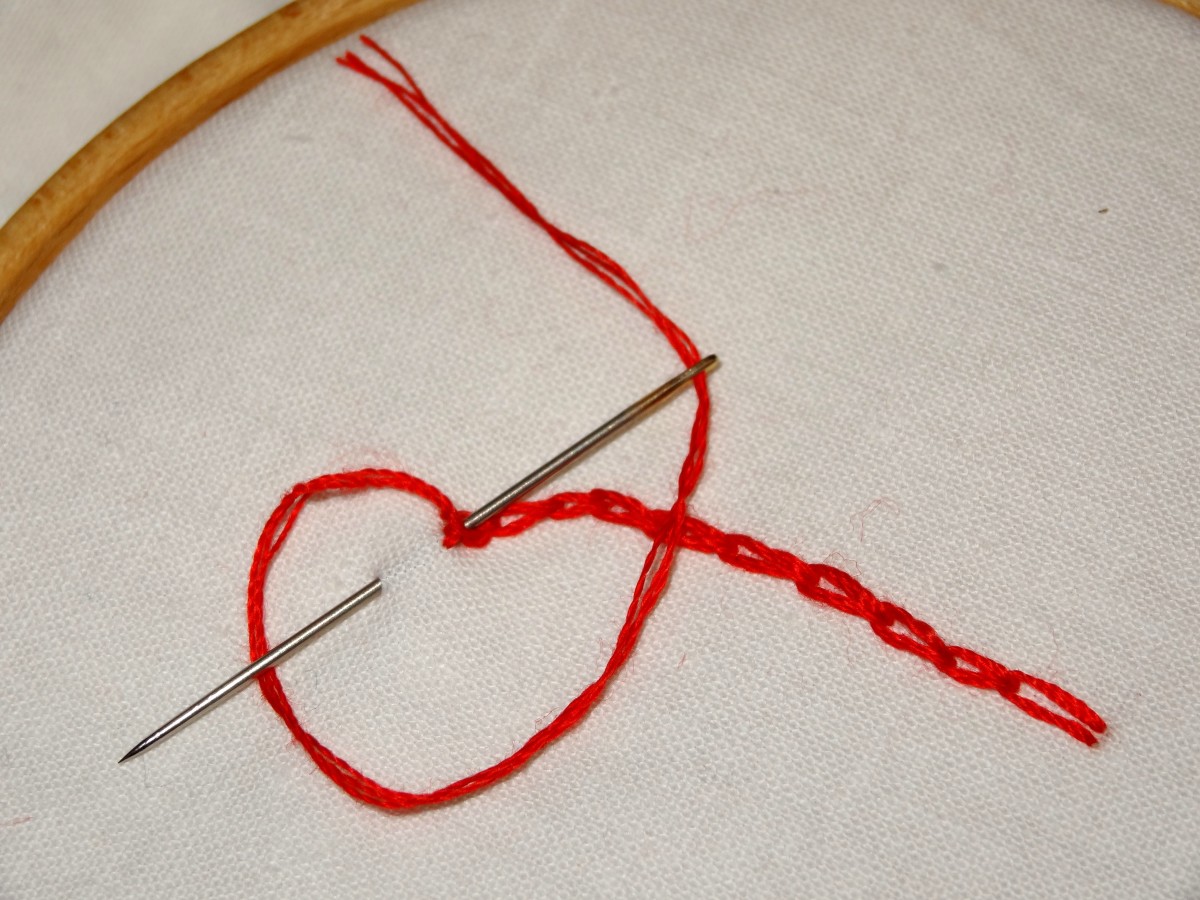
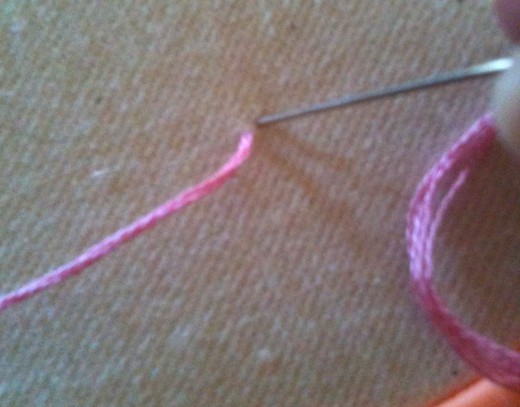
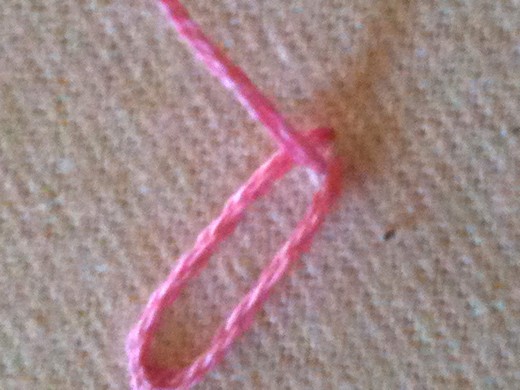
Step One: Start out by making a very small running stitch (see figure 1 on the right), but don't pull your thread so that it's taut as you would do with most stitches. Instead, leave a small loop (figure 2.)
This will later be the "petal" in your lazy daisy stitched flower. Using your fingers, flatten out your loop into the desired shape before moving on to the next part.
Step Two
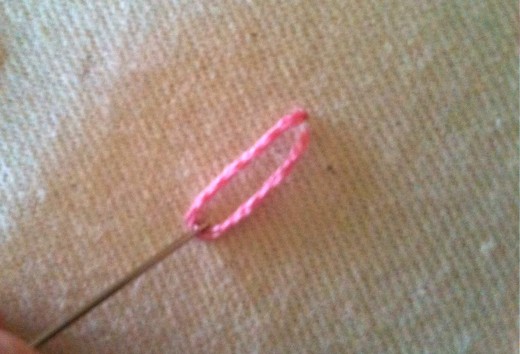
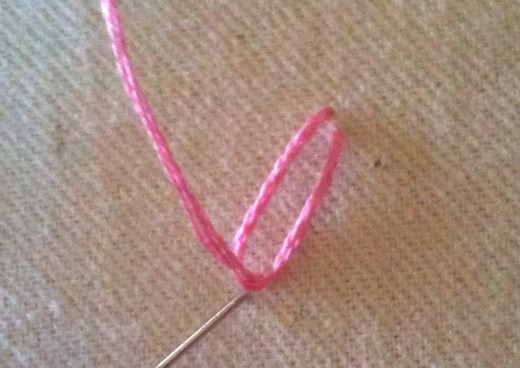
Step Two: Tie down the petal by pulling the needle through, while making sure not to pull on the loop on the inside of your loop (see figure 3.)
Then, push your needle down on the outside of the petal (see figure 4.)
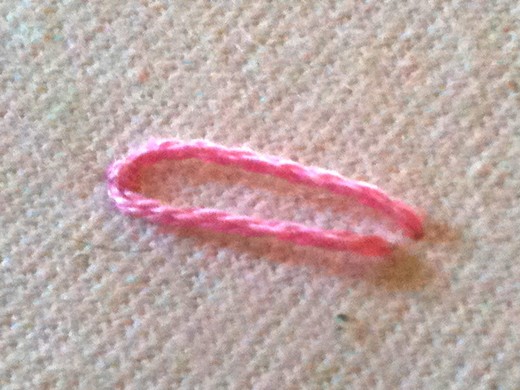
Congratulations, you've created your first lazy daisy stitch! It should look similar to that of figure 5.
To continue making more lazy daisy stitches (to make a flower design), pull your needle out near where your first running stitch (figure 6) was made (this will be located near the center of your flower) before making another loop.
Tips for Lazy Daisy Stitches
While making this stitch, it's important to avoid pulling on the loop while tying it down. This is the main challenge of lazy daisy stitches. Once you've got this technique down pat, you will ace the rest of the stitch.
Another thing to keep in mind is the size of the loops. A group of lazy daisy stitches looks best if all the loops have a similar size and shape. It's a good idea to compare your latest stitch with nearby stitches before tying it down.
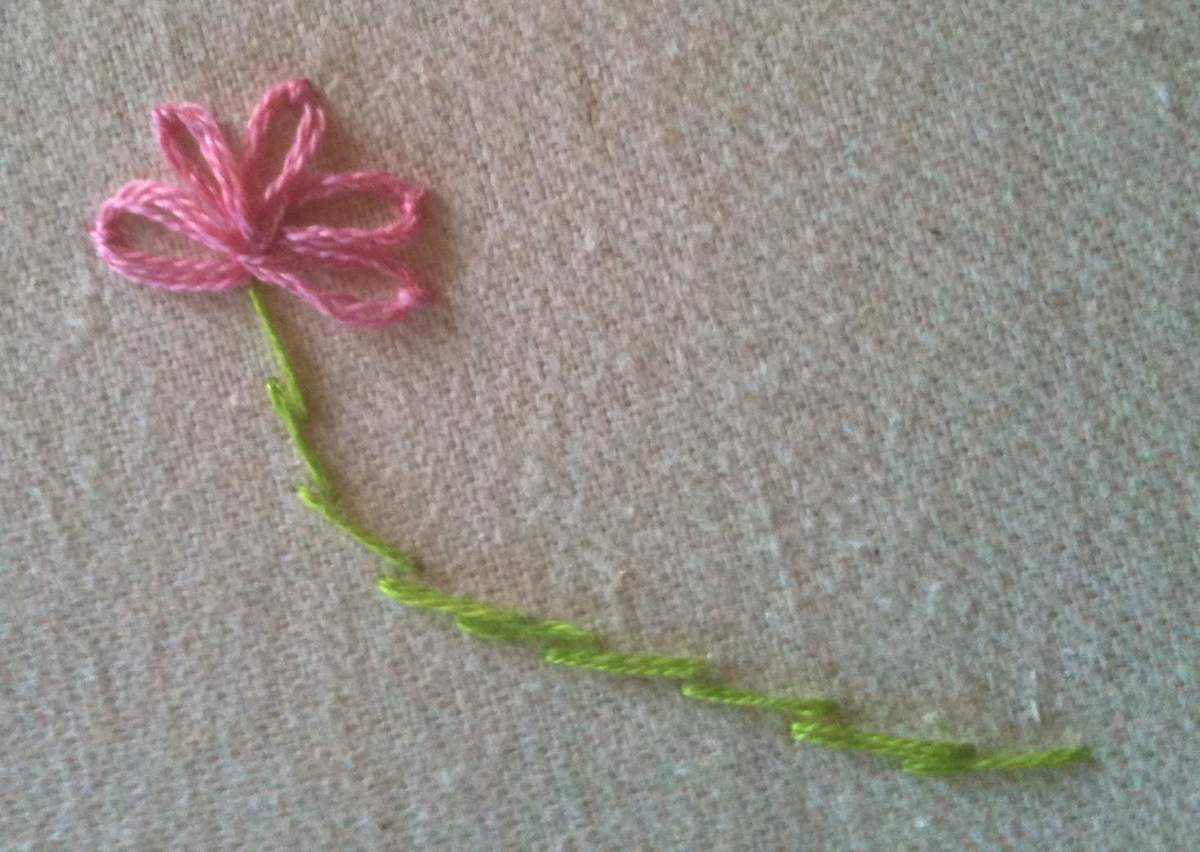
Practice makes perfect in embroidery. You'll ace this stitch in no time if you play around with it. Make tons of lazy daisy stitches. If you go around the "center" with your stitches, you'll create a flower (as pictured). You can try different colors and also alternate petal sizes to mix things up. You can also "stack" this stitch for a marigold-style flower.
If you want to add a stem to your flower, as pictured in the introduction, add some stem stitches. This flower design is cute and looks awesome (it's one of my favorite embroidered flower designs.) Bonus: While super impressive, the flower design is fairly easy to make!
© 2011 Melanie Palen

