Left Over Christmas Card Project

Make a gift box
What you will need:
Christmas Card
Ruler
scissors
glue
clothes pins
These boxes are big enough for jewelry, billfolds, and other small items. I gave one to my grandson with a wallet inside. He is happier about the box than the wallet.
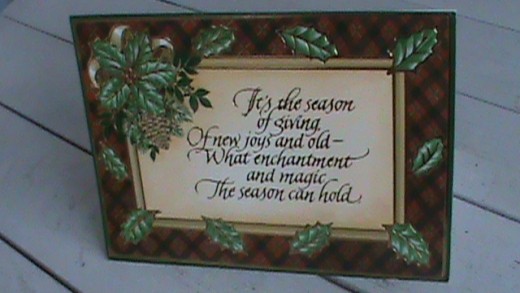
Choosing a card
Choose a card with some thickness. Cut the card in half, using the beautiful front for the top. Use a thin ruler to bend back the part to square off the top you want on the box. Crease the fold.
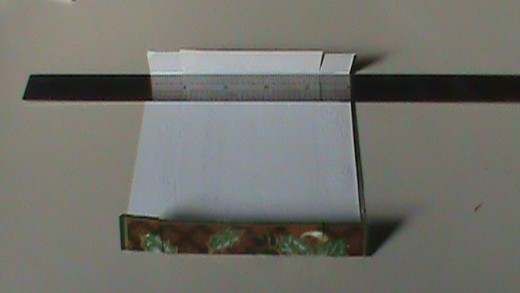
The sides should be about 1 inch all around.
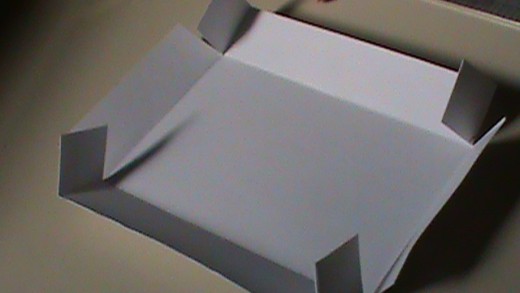
Then cut from the edge to the crease point with sissors in the four corners.
It should look like this...............................
Fold in the edge of the long sides inside the short end.
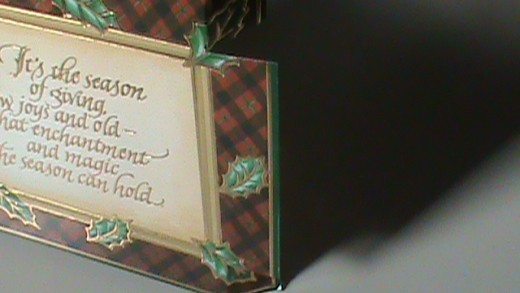
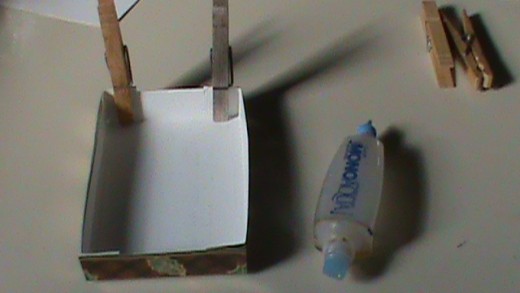
Glue to the inside...I use 'MonoAqua' because it dries quickly and is easy to adjust your project. Get at any fabric center.
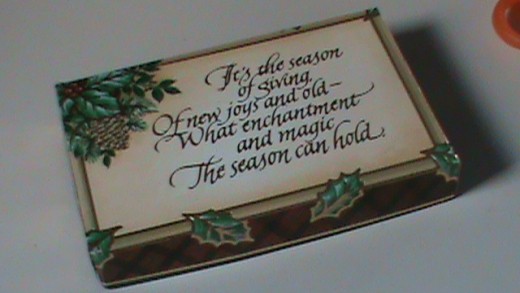
The finished top................
~ ~ ~ ~ ~ ~ ~ ~ ~ ~ ~ ~ ~ ~ ~ ~ ~ ~ ~ ~
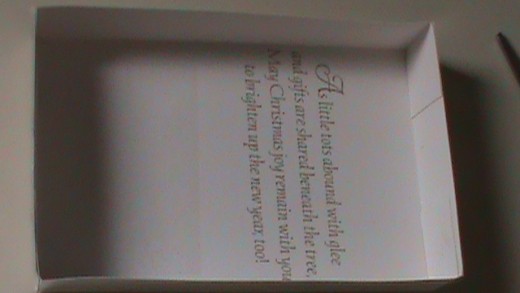
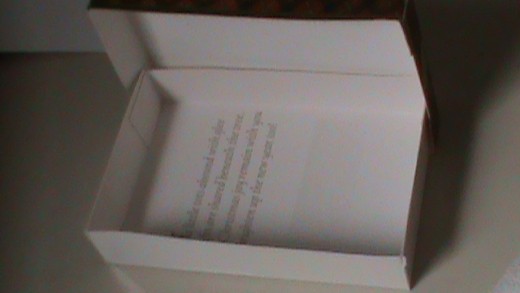
The Bottom of the Box
A duplicate of the top. You can use card stock if you want a clean bottom. But sometimes the verse on the card is just right for the 'inside bottom'. Place your finished top down on the bottom of your choice, and hold it in place while you lightly make a pencil mark along the edges.
Add one inch all around for the sides, then cut. Fold on your pencil marks.
Fold and glue the same way you did the top. I always make mine a smidgen smaller on the bottom to get an easy fit.

Finishing touches
You may have an edge or two that needs a little trim. It's easy and gives it a neat look.
You can sign the card
Before putting the bottom together, you can sign or write a personal note to the person for the bottom of the box. That will make the box special.
You may have to make one or two to get the hang of it. Practice on a couple before you get that special card. It is a wonderful gift in itself.
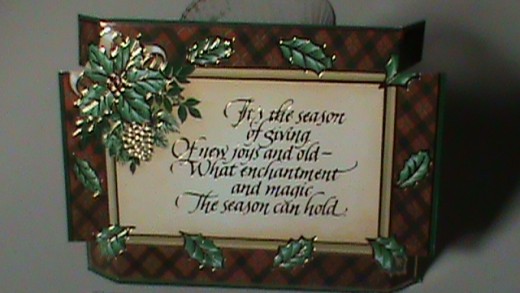
The Finished Box


