Make Your Own Paper Mache Piñatas
Grandson's Pinata
A Pinata's Purpose Is To Break
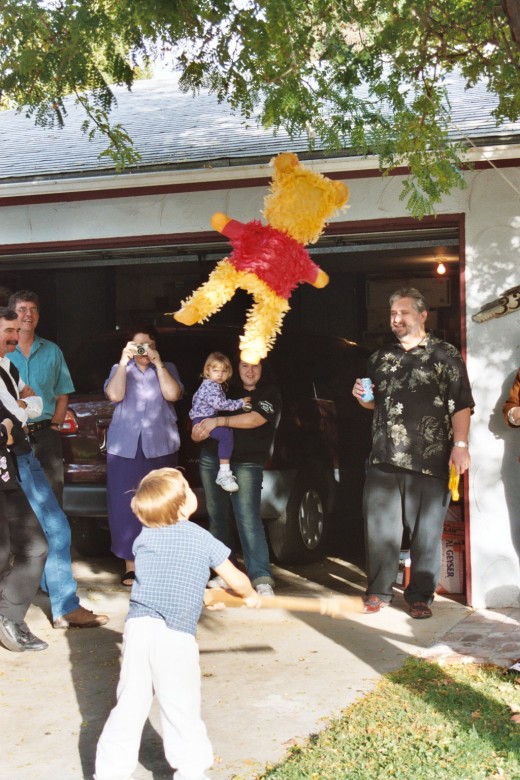
The purpose of a piñata is to break it. With this in mind, you don’t want to make it very solid. The cheap ones they sell in stores these days are made stuffed with newspaper. With many, you have to cut a hole near the top and pull out as much of the stuffing as possible before filling with candy and small presents.
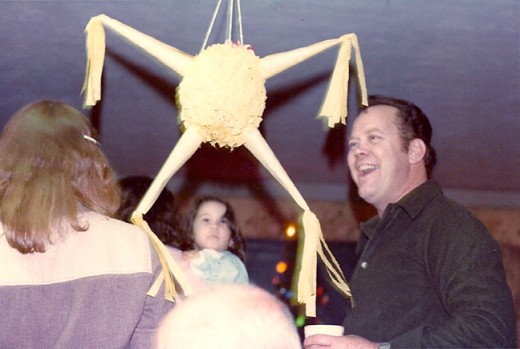
Christmas 1967
History
Paper maché is a technique long practiced in Eastern Asian countries. In about the middle of the 18th century, paper maché came into popularity in Europe. It was used to create trays, boxes, and other small domestic objects. Later during the Baroque period, it was used to make decorative and ornate additions to walls, moldings, and even carriages. In 1772 it was Henry Clay of Birmingham, England who patented the method of preparing paper mache for coaches, doors, and panels of furniture. It was used as a lightweight substitute for plaster ornamentation on roofs and walls.
For many years, I created a unique piñata for my family to break on Christmas Eve. This has given me great practical experience on what NOT to do. Here are a few hints.
Step 1


Step 1. Create An Armature
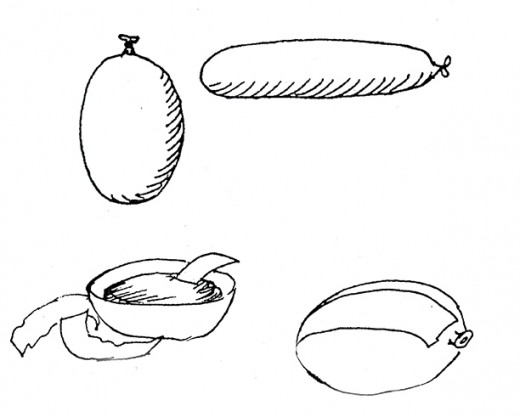
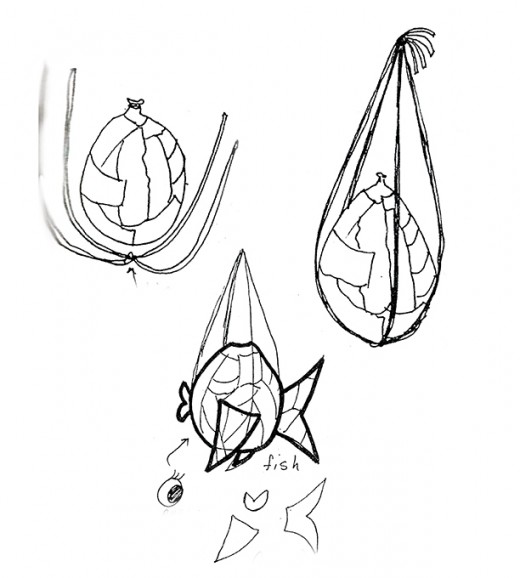
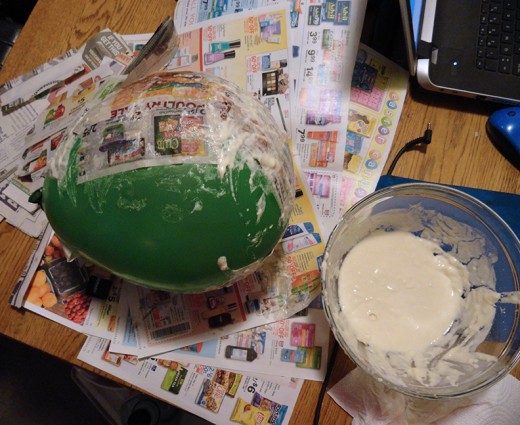
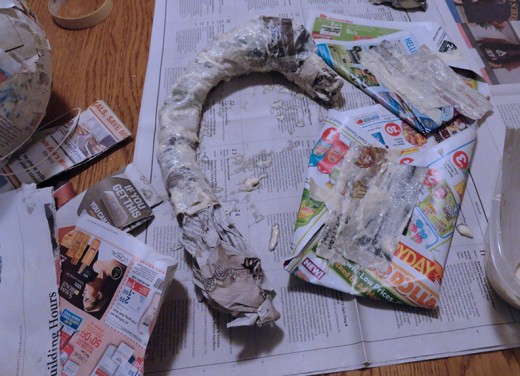
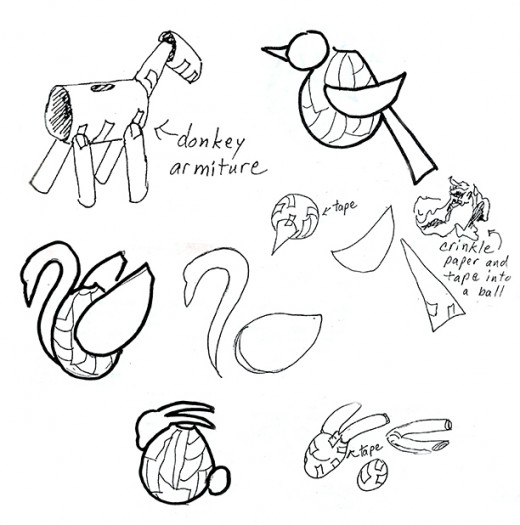
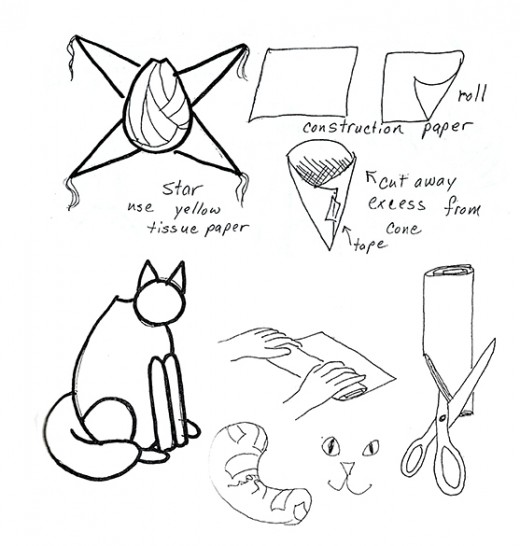
Using something to build the paper maché coating on top of does this best. You can roll pieces of newspapers or paper towel hollow tubes taped together, or blow up a balloon. My favorite method is using a balloon for the armature because the balloon is easy to remove after the paper maché dries. Also, balloons can be adapted to several shapes and animal forms as shown in the diagrams.
Once the balloon or armature shape is chosen, you need to tape support to hang the piñata from. This cannot be too strong. I made the mistake of creating a mesh of cotton cording to hang the piñata from one year and found that the cotton cord kept the piñata together even after the children had successfully broken it.
Celebrations
Have you ever had a pinata at your party?
Samples
Parts for the Swan
Add Paper Mache Paste
Click thumbnail to view full-size

Step 2. First Coat of Paper Maché Paste
Mix a paste of 2 cups of bleached flour with 1 cup water. If the paste is thicker than the consistency of pancake batter, add a little more water.
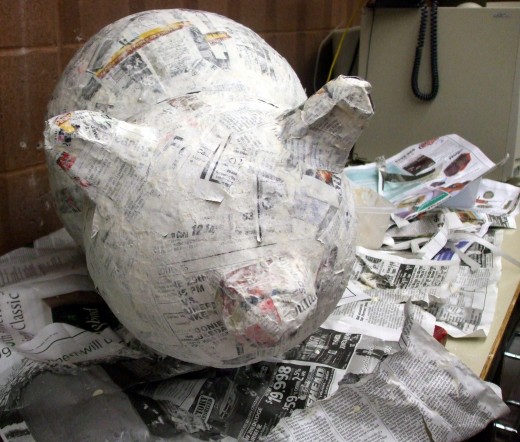
Mix the paste with a blender so it is smooth and the consistency of waffle or pancake batter. Dip strips of torn newsprint into the past and pull it between your finger and thumb to wipe off the excess paste. Overlap the strips slightly to cover the armature completely and allow drying in a well-ventilated place. I have found that hanging the piñata to dry works better than laying it on a table since the hanging object dries more evenly. Crochet thread or a lightweight cotton cording works best.
Second Coat of Paper Mache
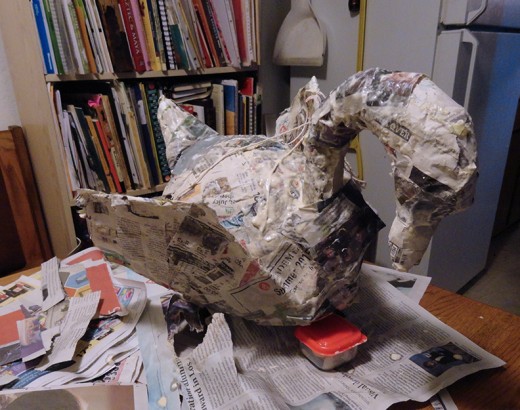
Add Elements of Design
Step 3. Second Coat of Paper Maché Paste
After a day or two, use masking tape to attach any design additions, like points for a star, legs for a donkey or dog, fins for the fish, etc. Then put on a second coat of paper maché covering the additions also. Hang to dry. It may take longer to dry than the first coat took.
Simple Designs
I have included a few simple designs that I tried over the years. I wish I had photos of each piñata but I wasn’t that diligent with a camera back then.
More Designs
Party Pinata
Ready To Hit
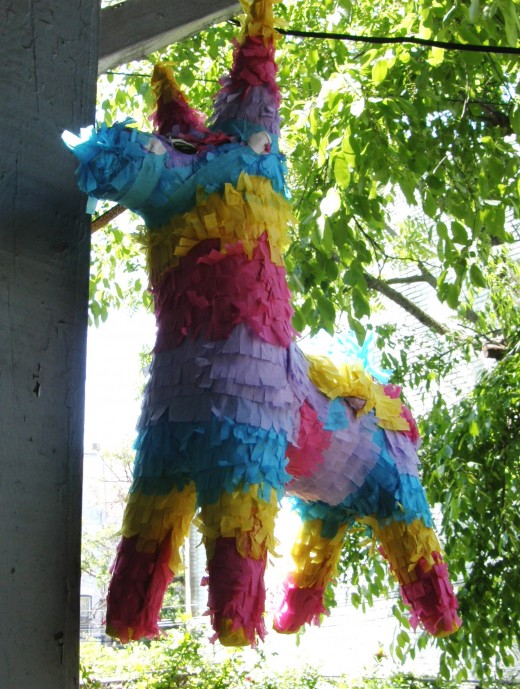
Ready for Christmas Eve
Do not put more than two coats of paper mache on a piñata or it will be too strong to break. It seemed to me that people were breaking the piñata too easily every Christmas Eve, and I figured this was because of my design flaw. I thought I didn’t make them strong enough. So that year I put four coats of paper mache on the piñata. Even the adults took a turn and couldn’t break it. Finally one of my uncles had to pound it without the blindfold to get it to break. Lesson learned. Two coats of paper mache are plenty.
Cover With Tissue Paper
Colored Tissue Paper
Step 4. Decorate
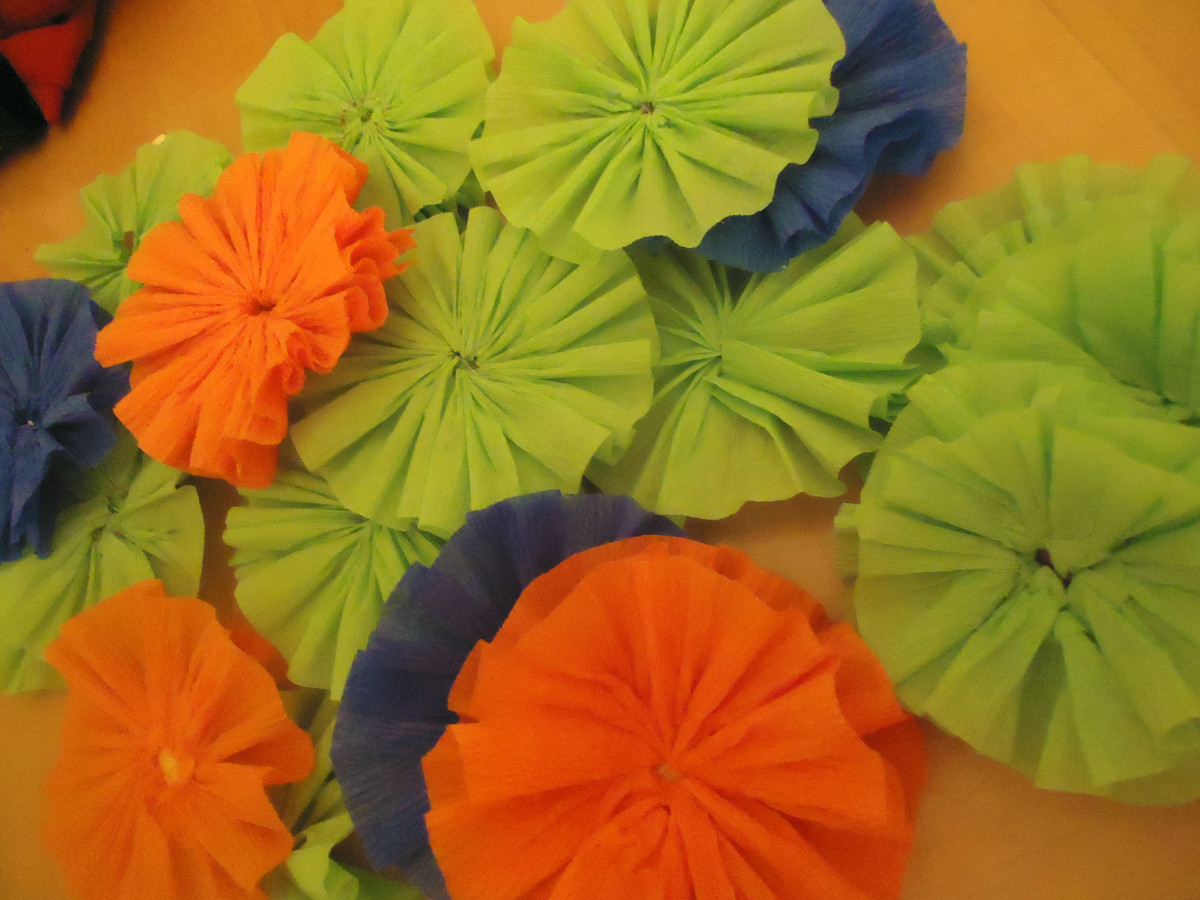
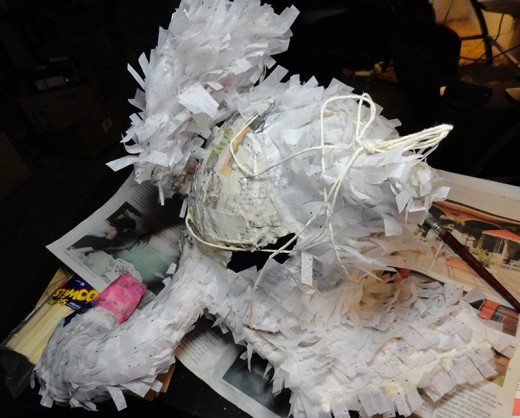
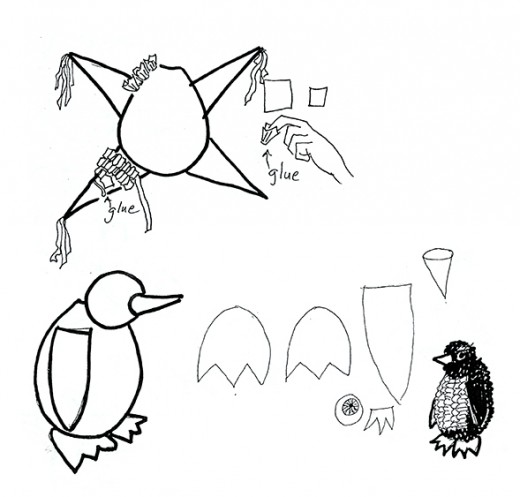
When the piñata is thoroughly dry, puncture the balloon and remove it. Make sure you have a hole near the top of the piñata for the addition of candy. Cut tissue paper in 1 or 2-inch squares or strips and glue them onto the piñata according to the diagram or as desired.
More History
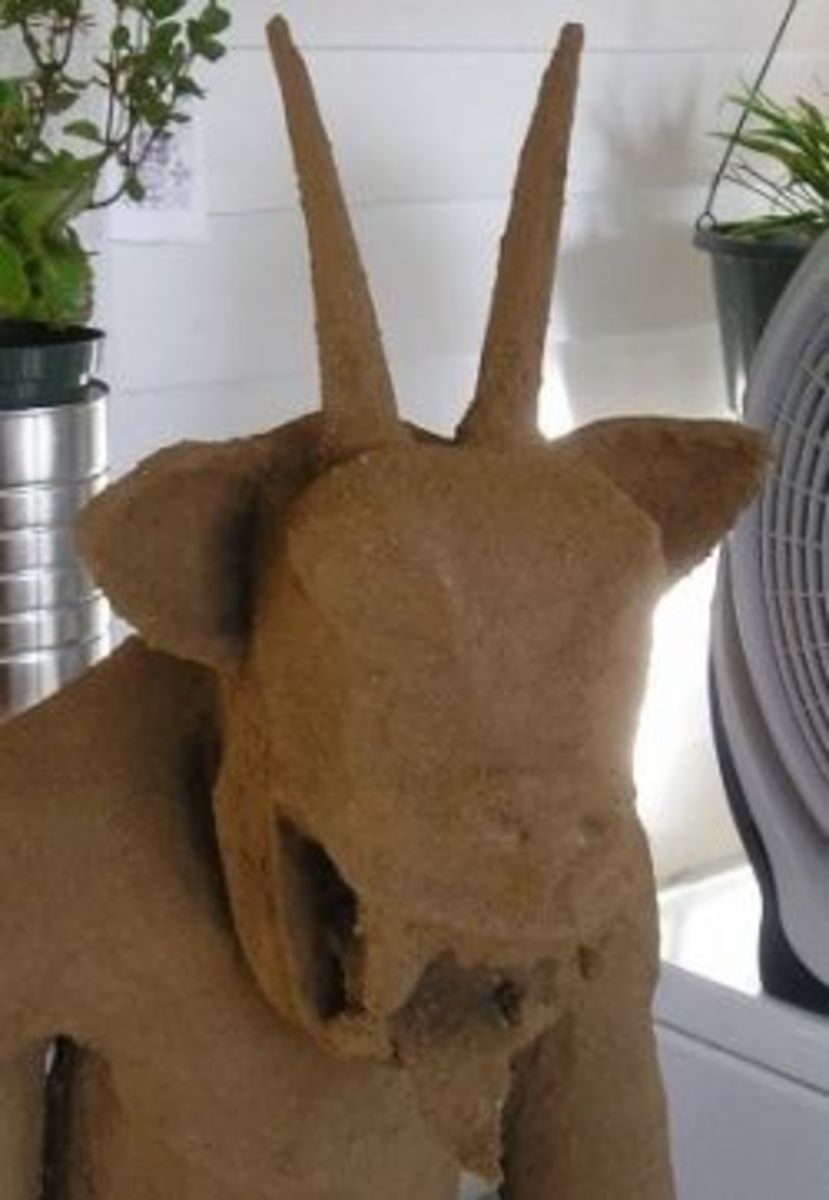
The history of the piñata is interesting. It may have originated in China. Marco Polo found the Chinese people fashioning figures of cows, oxen, and buffaloes, filled with seeds and hit with sticks as a New Year’s celebration. When the seeds came spilling out the remains were burned and the ashes gathered for good luck for the rest of the year.
Out Spills The Candy
Marco Polo
Marco Polo brought this custom back to Europe and it was later adapted to the celebration of Lent. The containers were shaped like pineapples or piñas and later became a fiesta in Spain called the Dance of the Piñata. In the new world the Mayans already had a celebration where a pot filled with treasures on the end of a pole, was hit with a stick that caused the treasures to spill out.
The missionaries gave the piñatas religious symbolism, with the 7 points symbolizing the 7 deadly sins and the faithful being blindfolded and fighting Satan with a stick. The gifts and candy pouring out was the reward to the faithful. The piñata has since lost all its religious symbolism but is still popular during processions, birthday parties and Christmas celebrations.
Get Every Last Piece
Blindfolded
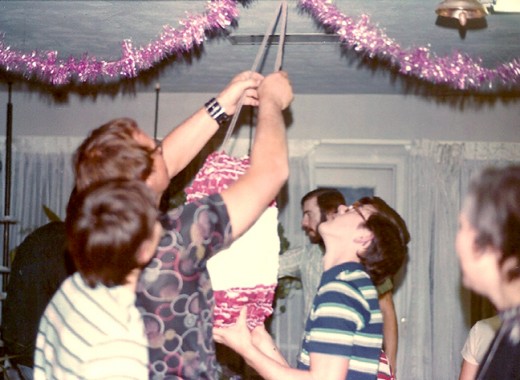
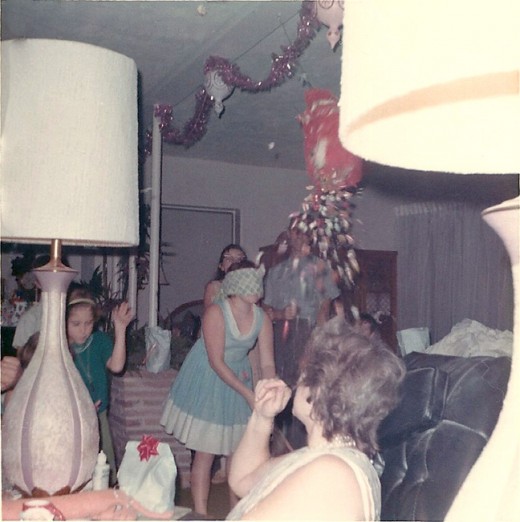
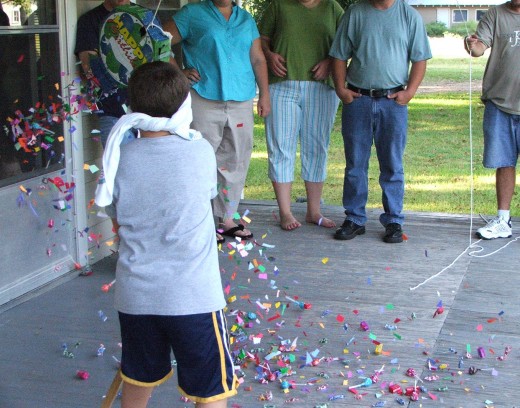
The children are blindfolded one by one getting a turn to hit at the swinging suspended piñata. In my family, an uncle was usually stationed by the rope and pulled on it to make the feat of hitting it even more difficult for the blindfolded victim. When the piñata was finally cracked open and the candy came pouring out all the children would dive for the booty, filling laps and shirts with treasures. Everyone went home with a bag of candy. What a wonderful tradition.
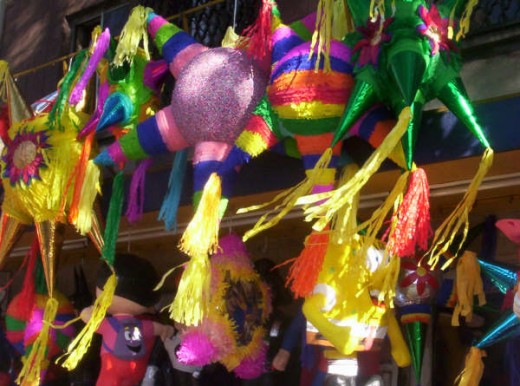
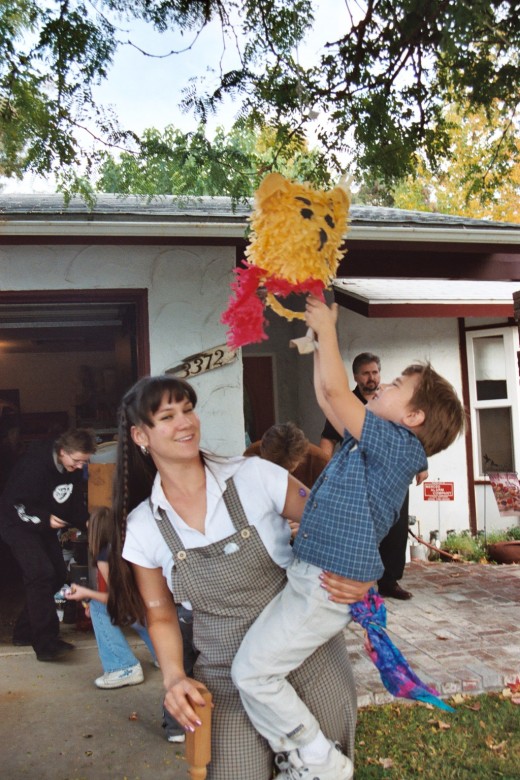
Traditionally, piñatas were filled with both candies and fruits and small gifts., including peanuts, guavas, oranges, sugar cane and tejocotes (a kind of crab apple). Piñatas can be found in many shapes and sizes; from cartoon characters to animals and stars. The creativity of the artist is the only limit to the possibilities.


Birthday Party
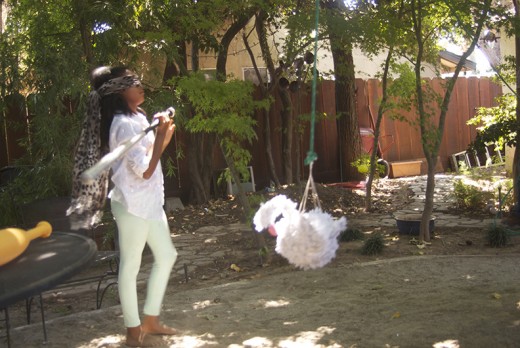
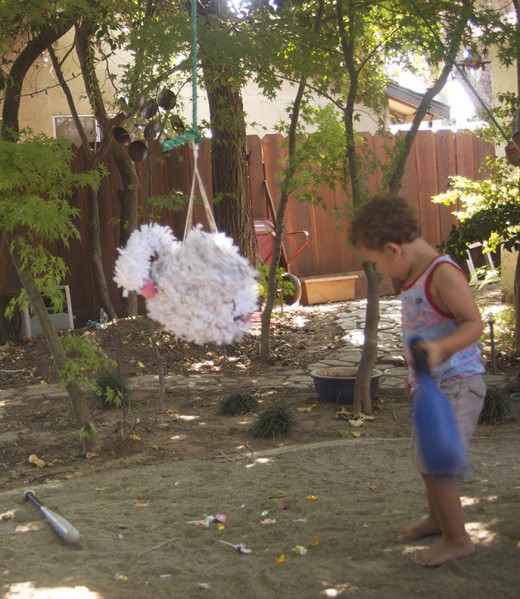
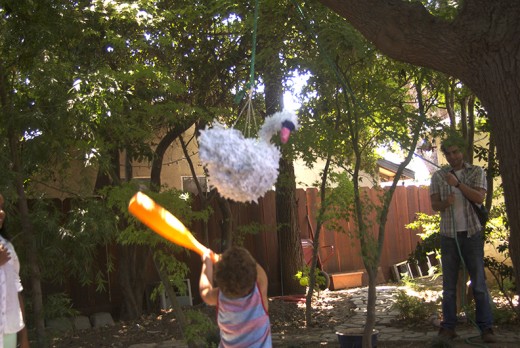
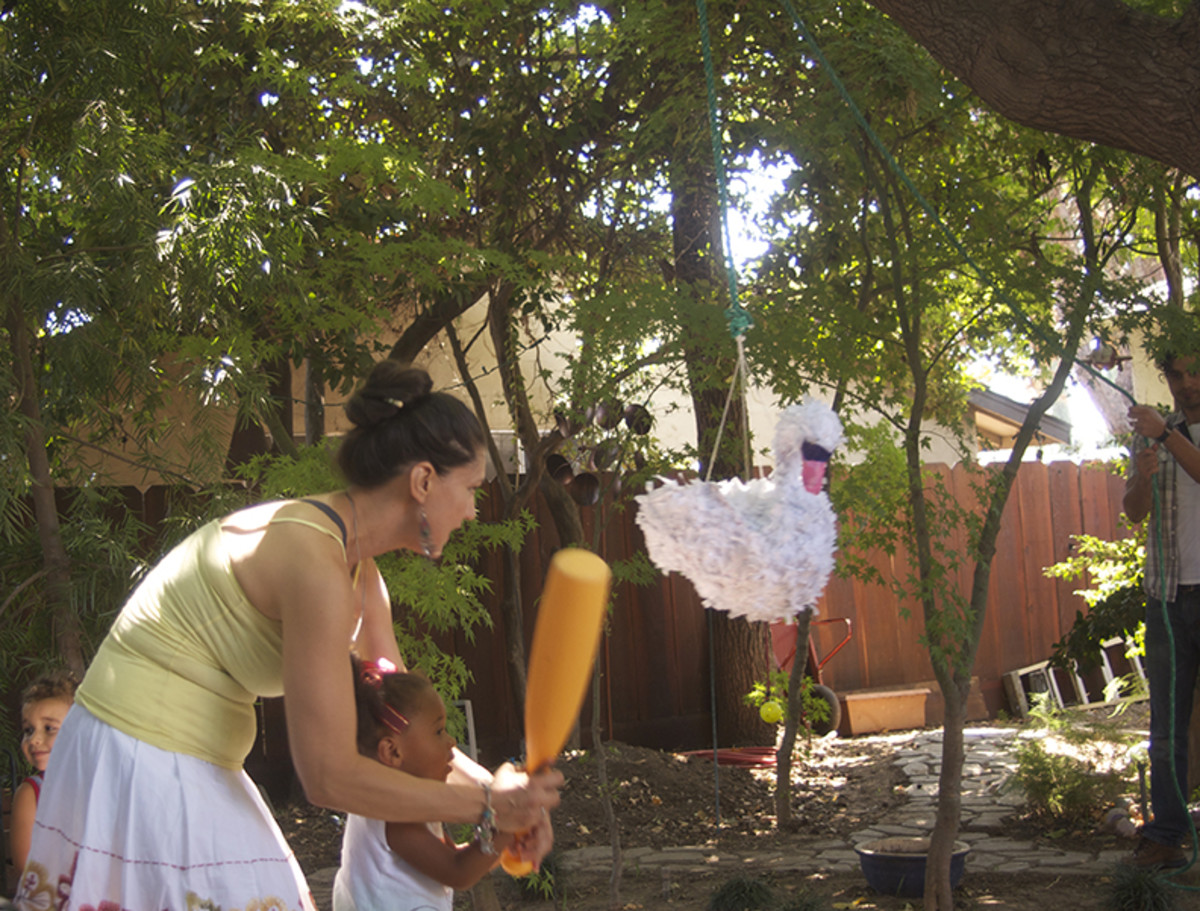
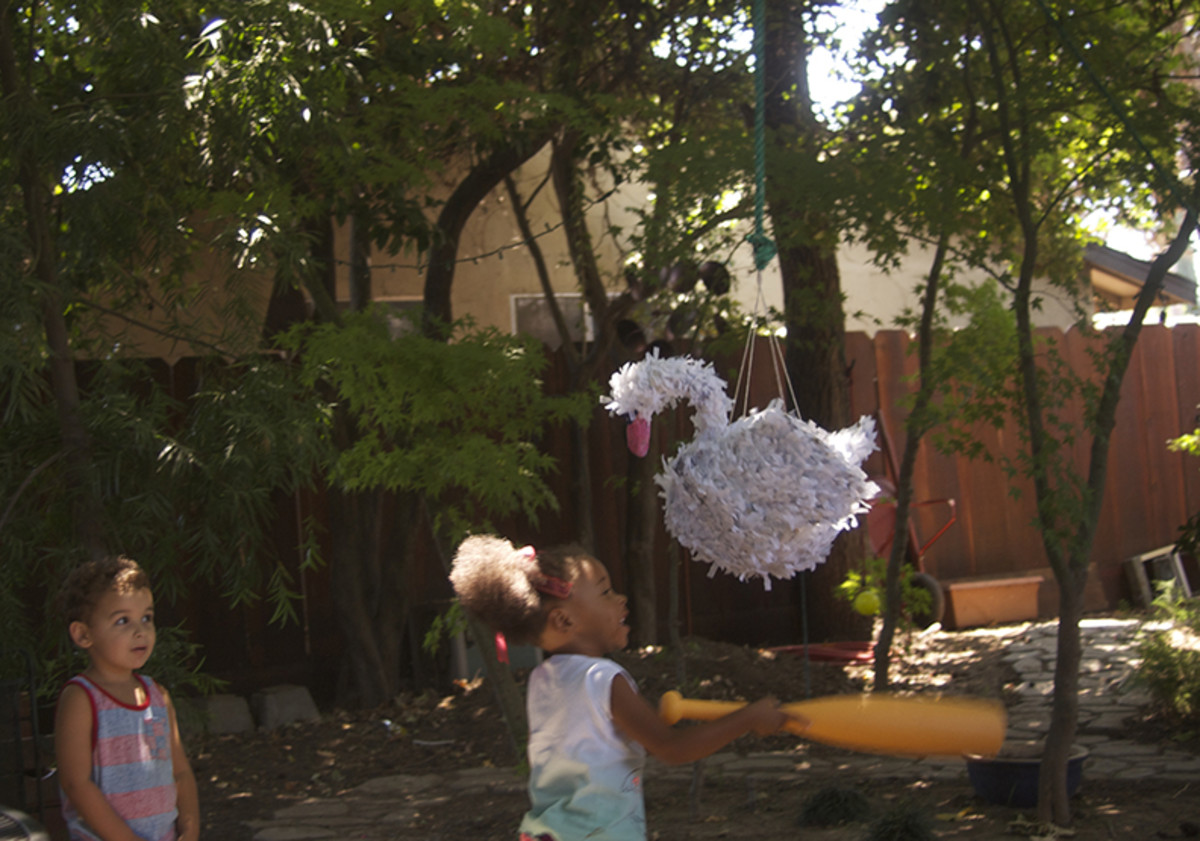
For my granddaughter’s birthday, I created a swan piñata and we broke it on her birthday. The 3-year-olds took turns with a plastic bat and the 9-year-old used a baseball bat. The two coats of Paper Mache made it fragile enough for the 3-year-olds to give it some serious damage and still it took 5 turns each for the children to break it open all the way. The sweet 3-year-olds kept stopping each time a blow caused the swan to poop out a few pieces of candy. It was a lot of fun in the end. A great show for even the elderly watchers.

