DIY Clay Princess Figurines
Tips for Working with Clay
- Use a Pasta Machine or a rolling pin for the pieces you want to make more flat.
- Use simple things around the house as clay tools, like toothpicks, straws, needles, and pencils for the fine details.
- Store your leftover clay in plastic bags and or plastic containers.
Sculpey Clay
Have you ever experimented with Sculpey clay to see what you can make? Did you know that you can mold and shape this clay and then bake it in order to create your own miniature figurines? That’s right, and in this tutorial I am going to explain how you can take just a few colors of Sculpey clay to make your own Disney Princess Figurines.
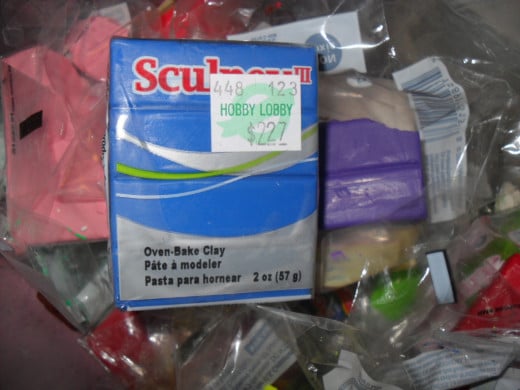
Supplies:
- Sculpey clay in the following colors:
- Green
- Red
- Cream/Peach
- Yellow
- Blue
- Purple
- Brown
- (If desired) Rolling pin or pasta machine
- Mechanical pencil or needle (for small details)
- Plastic container for leftover clay
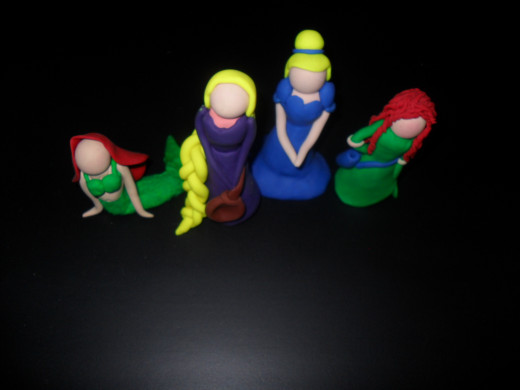
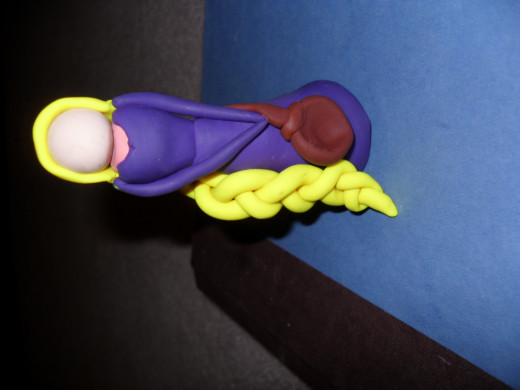
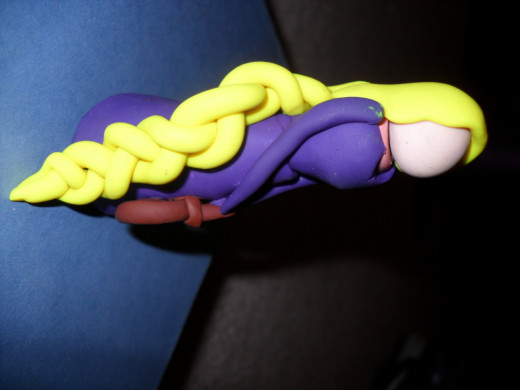
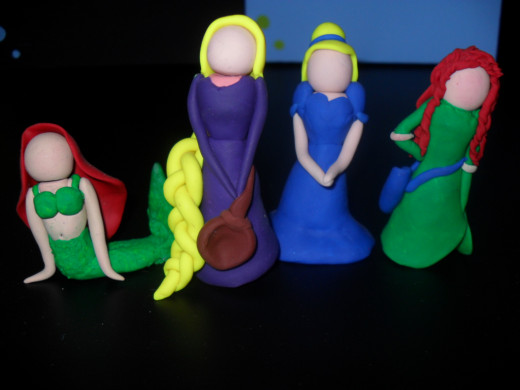
Rapunzel (Tangled)
- Head
Take a piece of the cream/peach colored clay about the size of a quarter and roll it around your palm to make your Rapunzel head. I made mine into more of an oval shape but you can make it more round if you want. - Torso
Take a chunk of purple clay and roll it in your palm putting more pressure on one side so that the side of the chest is larger than the waist side. - Skirt
Creating the skirt/dress for your Rapunzel is a little tricky because it is also the base that everything will stand on. Roll a thick piece of clay in any color to be your base, make sure the bottom is flat and that it is able to stand on its own. Now take more purple clay to make your skirt, use your palm or your rolling pin to roll this piece flat and then attach the skirt to the base you made. - Arms
For Rapunzel’s arms I used purple so that it looked like she is wearing long sleeves. Take two small pieces of the purple and roll them out in your palm so that one side (the shoulder) is thicker than the other (hand). - Hair
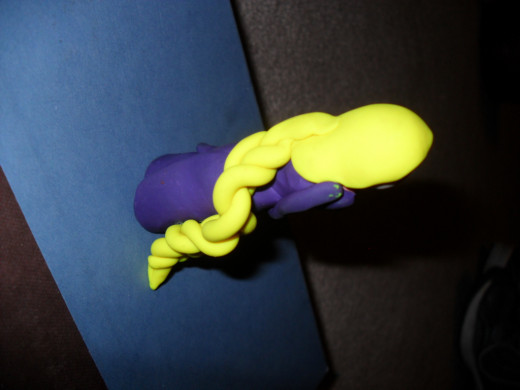
To make Rapunzel’s hair use a small round piece of yellow clay to cover her head. Next you will need to make her braid. Roll out three long pieces of yellow clay (your desired thickness) and braid them like you would with normal hair, being careful not to break any of the pieces off. Now attach the braid to the back of Rapunzel’s hair. - Frying Pan
Using a small round piece of brown clay (about the size of a dime) push your thumb into the circle to make a flat middle and thick edges. Next take a very small piece and roll it out for the handle.
Rapunzel
Click thumbnail to view full-size


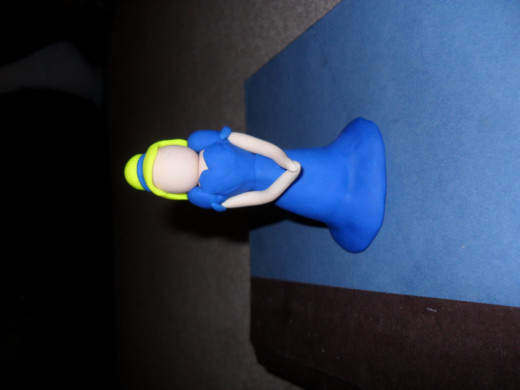
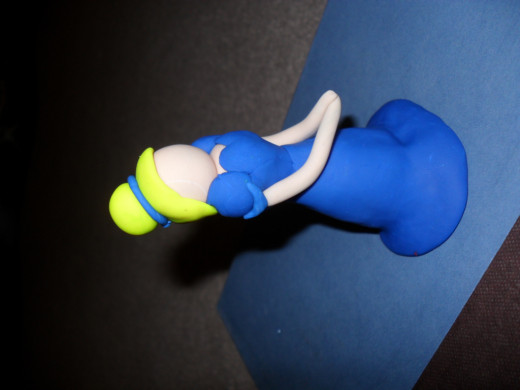
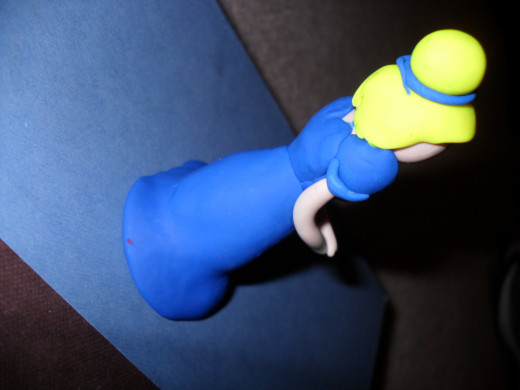
Cinderella (Cinderella)
- Head
Take a piece of the cream/peach colored clay about the size of a quarter and roll it around your palm to make your Cinderella head. I made mine into more of an oval shape but you can make it round if you want. - Torso
Take a chunk of blue clay and roll it in your palm putting more pressure on one side so that the side of the chest is larger than the waist side. Once you have the size and shape you want you can add a little shape to the bodice by using your fingernail in the middle/top of the chest piece to create a heart shaped top. - Skirt
Creating the skirt/dress for your Cinderella is a little tricky because it is also the base that everything will stand on. Roll a thick piece of clay in any color to be your base, make sure the bottom is flat and that it is able to stand on its own. Now take more blue clay to make your skirt, use your palm or your rolling pin to roll this piece flat and then attach the skirt to the base you made. - Arms
For Cinderella’s arms I used the cream/peach color so that it looked like she has short sleeves and the rest of her arms are bare. Take two small pieces of the cream/peach and roll them out in your palm so that one side (the shoulder) is thicker than the other (hand). - Sleeves
The sleeves for Cinderella are very easy. All you have to do is roll out two small balls of blue clay and attach them to her arms. - Hair
To make Cinderella’s hair use a small round piece of yellow clay to cover her head. Next you will need to make her bun. This part is very easy, simply take a small piece of yellow clay and roll it around in your palm then place it on the top of her head.
Cinderella
Click thumbnail to view full-size


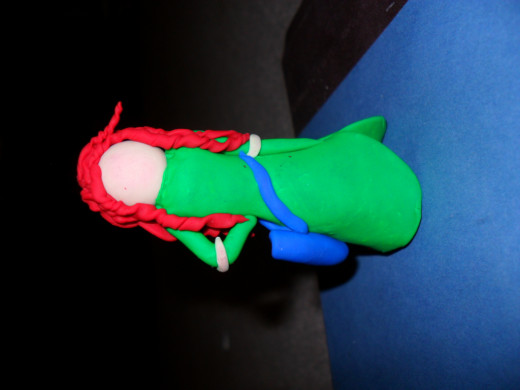
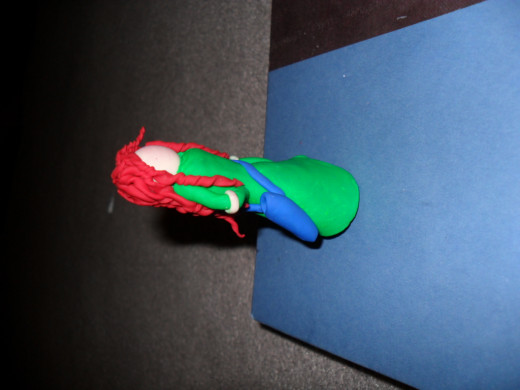
Merida (Brave)
- Head
Take a piece of the cream/peach colored clay about the size of a quarter and roll it around your palm to make your Merida head. I made mine into more of a round shape but you can make it oval if you want. - Dress
Merida’s torso/body/dress is all one large piece of green clay. First you will need to make the base so that she will be able to stand up. Roll a thick piece of clay in any color to be your base, make sure the bottom is flat and that it is able to stand on its own. No take your large piece of green clay and roll it out then wrap it around your base. Now you will need to work on forming the dress around the base, make sure the waist is smaller than the chest. - Arms
For Merida’s arms I used green clay so that it looked like she was wearing long sleeves. Take two small pieces of the green and roll them out in your palm so that one side (the shoulder) is thicker than the other (hand). - Hair
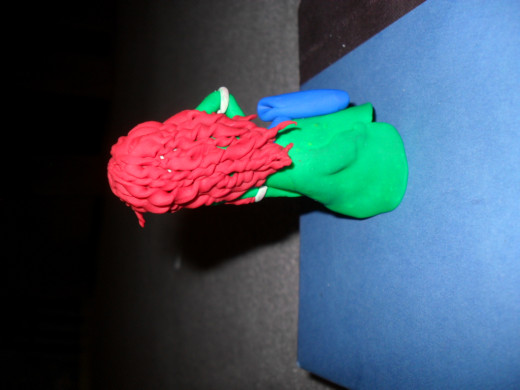
Merida’s hair is a lot of fun, using small/thin pieces of red clay roll them out in the palm of your hand then flatten them out to a little longer than the length you want it to be. Take either end of the flattened hair strands and twist them in opposite directions to create curls. Attach the pieces to the top of her head and place them around her shoulders and back. - Quiver
To make Merida’s quiver simply use blue clay, flatten it out, and roll it into the shape of the quiver you want. Next make a belt for the quiver by flattening a long piece of blue clay and placing it around her waist/torso.
Merida
Click thumbnail to view full-size


Ariel (The Little Mermaid)
- Head
Take a piece of the cream/peach colored clay about the size of a quarter and roll it around your palm to make your Ariel head. I made mine into more of an oval shape but you can make it round if you want. - Torso
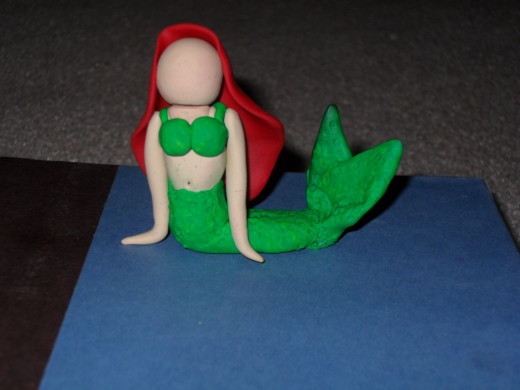
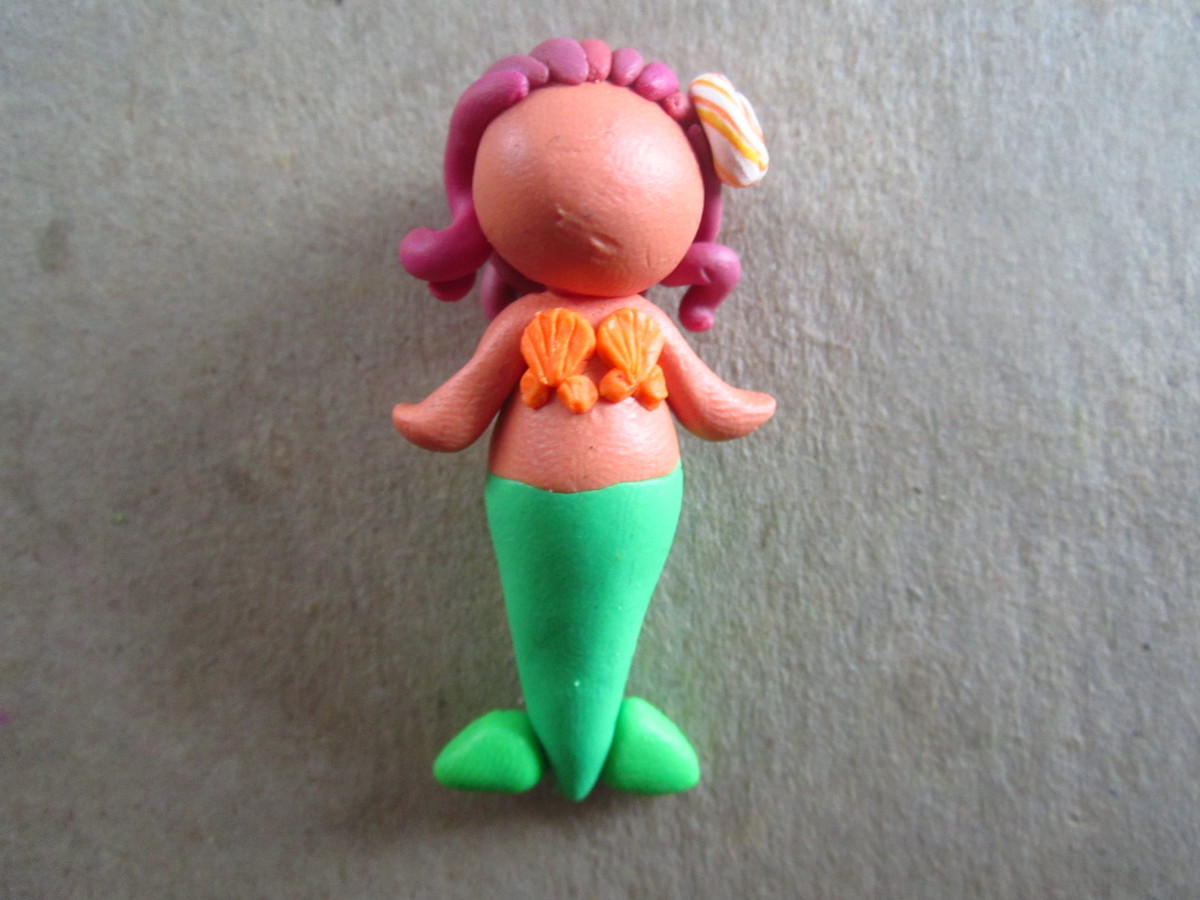
Ariel’s torso is unique because unlike the other princesses she does not have it covered by a dress. Using the cream/peach color of clay form the piece in your hands so that it looks something like a triangle, the top (her chest) being bigger than her waist. Connect the torso with a small piece of clay in the same color (her neck). - Belly Button
using a needle or a mechanical pencil point (just the empty point, no lead) poke a small hole into the torso to create Ariel’s belly button. - Shell Top
Using green clay roll out two small balls and attach them to Ariel’s chest, you can use the needle or mechanical pencil to create a shell like texture on her shell top. Using small green pieces of clay place two of them around her shoulder so that the shell top looks like an actual top. - Arms
For Ariel’s arms I used the cream/peach color so that it looked like her arms were bare. Take two small pieces of the cream/peach and roll them out in your palm so that one side (the shoulder) is thicker than the other (hand). - Tail
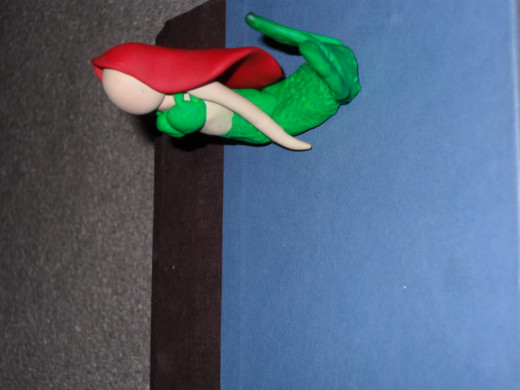
Ariel’s tail is made of a large piece of green clay and two smaller pieces of green clay. The large piece needs to be rolled out so it looks a little like a tree trunk, bend it at about 1/3 of the way down so that she has a way to sit and flatten the rest on a flat surface so that the tail will support the rest of her body. Take the other two pieces and shape them into fins, you can shape them into triangles then attach them to the thicker part of the tail. Use the mechanical pencil or a needle to create a textured look on the tail and the fins. - Hair
For Ariel’s hair, roll out a circled piece of red clay and then use your thumbs to flatten it out. Attach the hair to her head and flip the edges out a little so it looks a little more wind-blown.
Ariel
Click thumbnail to view full-size

Have Fun!
Remember to have fun! Make your own clay princess figurines and put your own twist on the classics.
What do you prefer to play/sculpt with?
© 2014 Maddi
