- HubPages»
- Arts and Design»
- Crafts & Handiwork»
- Jewelry Making
Making a Tree of Life Pendant
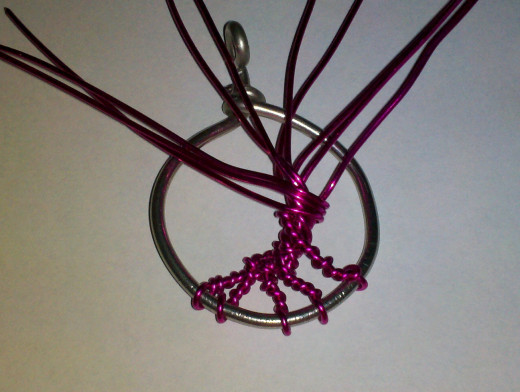
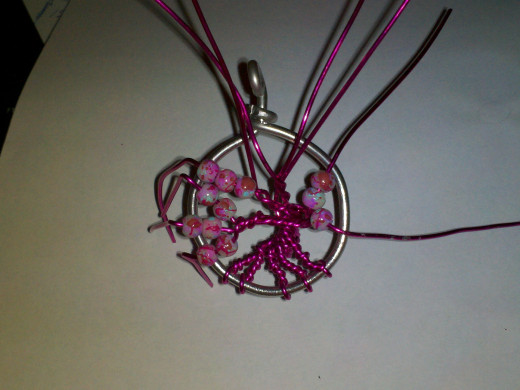
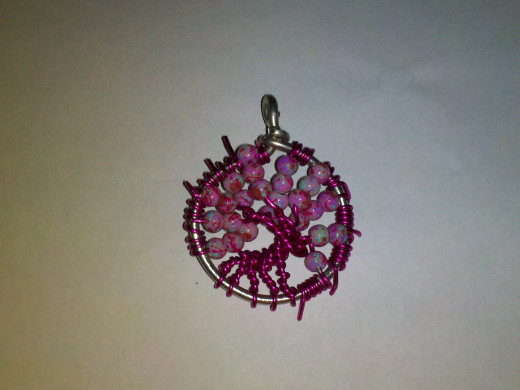
First Attempt Examples

Start With An Idea
I have made a couple of attempts at creating different designs from things I have seen and liked. This is something I found interesting and I will continue to perfect on this design, but here is the loose guideline for your own personal foray into designing or embellishing something like this.
You will need the following:
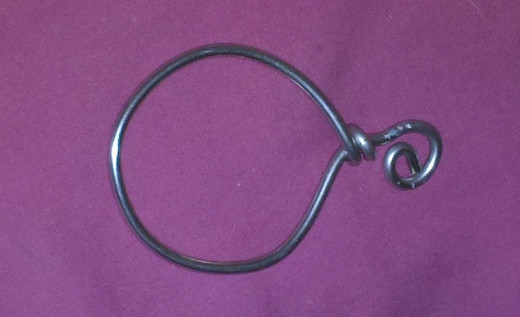
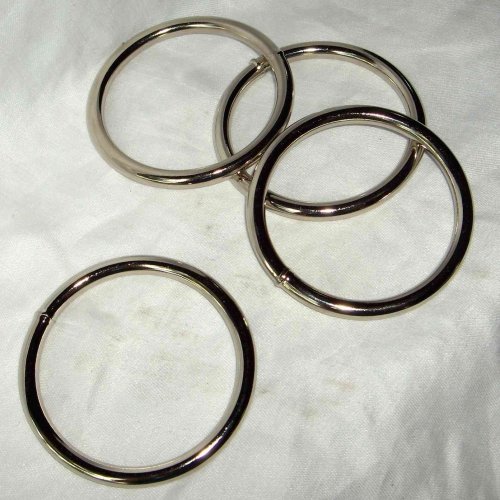
- A heavy gauge wire for making a circle or a pre-made circle. [see pictures below]
- Wire cutters [small jewelry making sized]
- Round nosed needle-nose pliers [jewelry making sized]
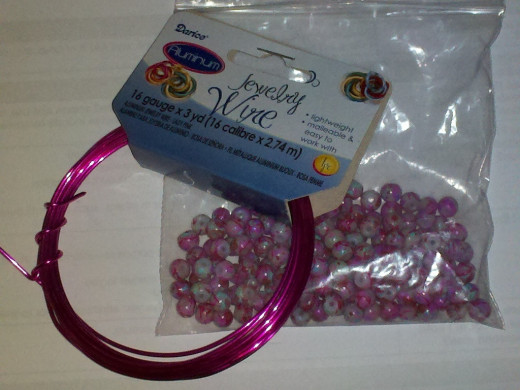
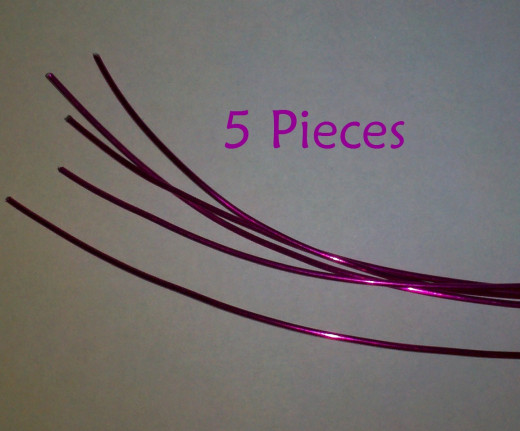
- 20 or 22 gauge wire; any type you want [five 10 to 12 inch segments]
- Beads or stone chips with large enough hole for wire
- Extra wire if you want to wrap the entire O-ring or Pendant blank you have made.
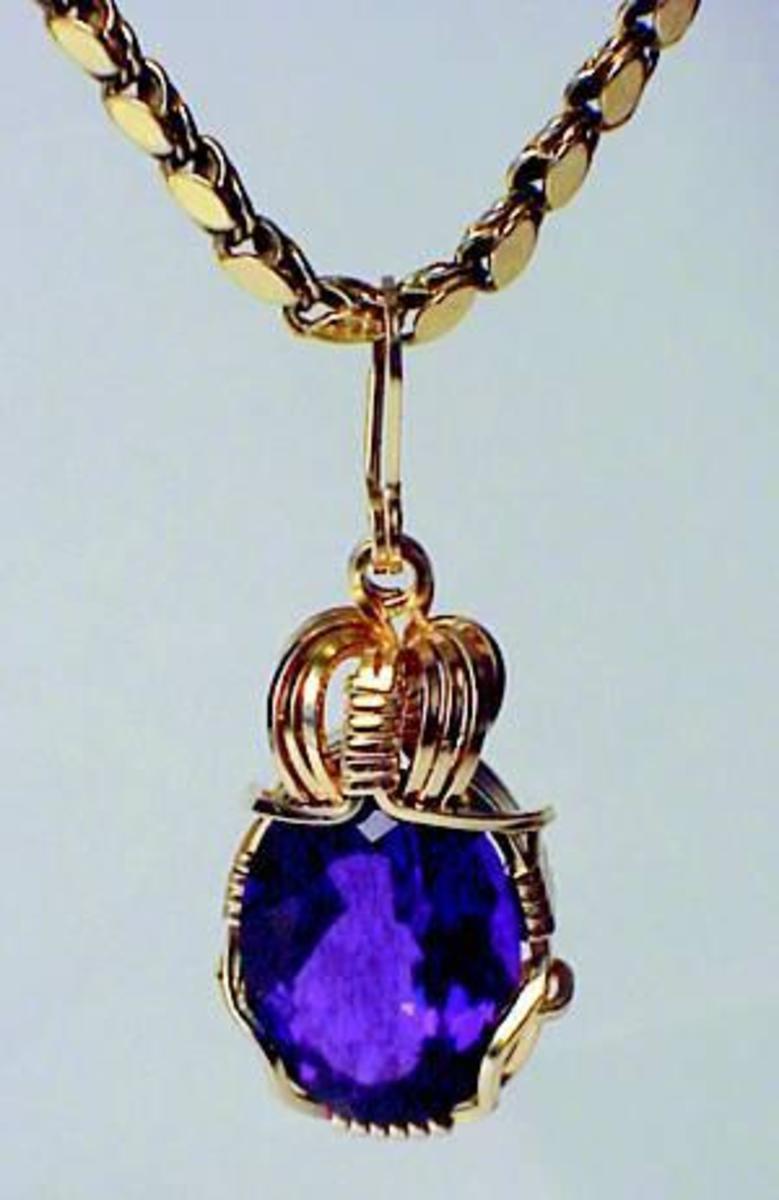
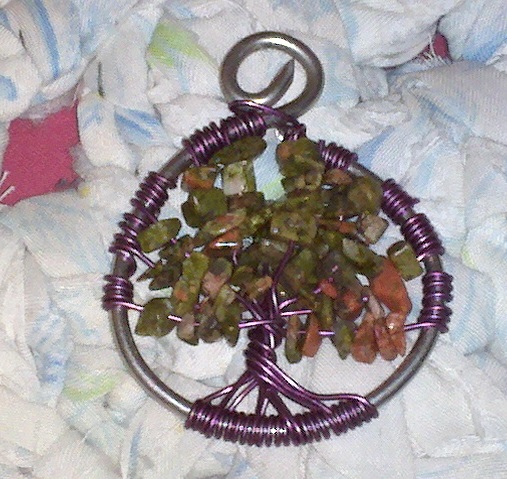
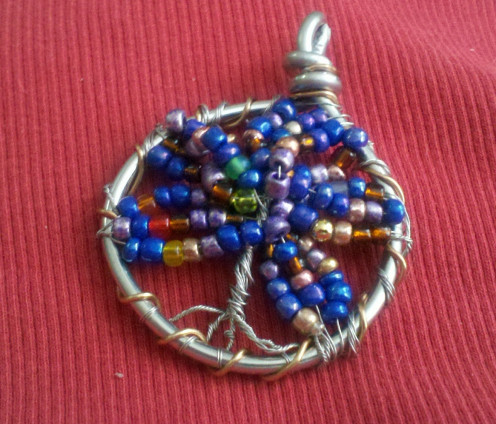
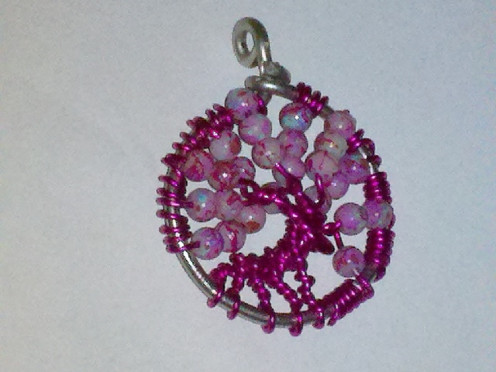
Decide how you want your finished tree to look. more realistic or surrealistic. The three pictures here are my very first attempts at getting what I want. Now that I have make these I shall focus on making one with all the aspects I like. Follow along if you want to make one of your own. I suggest you try a couple of practice pieces with inexpensive supplies before settling on the exact elements you want unless you are well versed in wire jewelry.
Making wire jewelry is not difficult, but you can't "pull out a row and start over" like in knitting or crochet. You could reuse the wire, but it would have kinks in it from the prior bending.
Today's Result for Example Pictures
Do like this type of craft or jewelry?
If I made one I would prefer...
Craft or Purchase the Pendant Form
Click thumbnail to view full-size![Silver, lead-free, 14 gauge solder [a very nice inexpensive starter wire for pendant blanks] Silver, lead-free, 14 gauge solder [a very nice inexpensive starter wire for pendant blanks]](https://usercontent1.hubstatic.com/8056340_50.jpg)


Putting It All Together
Click thumbnail to view full-size


Directions
Please note that the heavy wire I am using here is my practice wire. It is silver solder wire and softer than other wires you may purchase. It nicks more easily and for this practice piece I will wait till finished to decide whether or not to buff out the nicks.
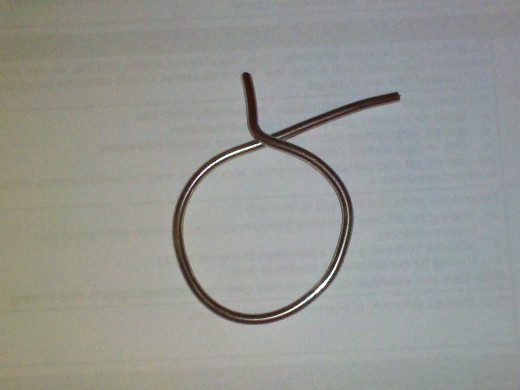
- Take the heavy wire you have chosen and wrap it around a shape you feel will be the right size for your pendant frame.
- Leave about 1/2" for wrapping around itself to form ring.
- Leave about 1" on other end for pendant hook, and snip with wire cutters. If you are practicing you will not need to file the ends, If however you are making this for a gift, artisan piece or to sell, I suggest filing or fine sanding the end to create a more finished piece.
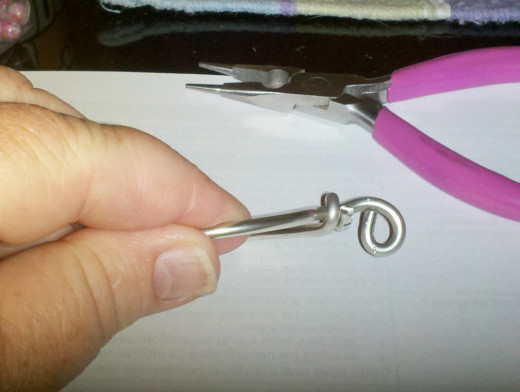
- Keep wire on form and bend the short end around itself. Use very fine sand paper to remove slight nicks. Over time you will get more proficient at not leaving nicks, If the wire you are using is very soft, you can wrap the ends of your tools with those really small bandages you always have left over in your assorted package, or use a little scotch tape.
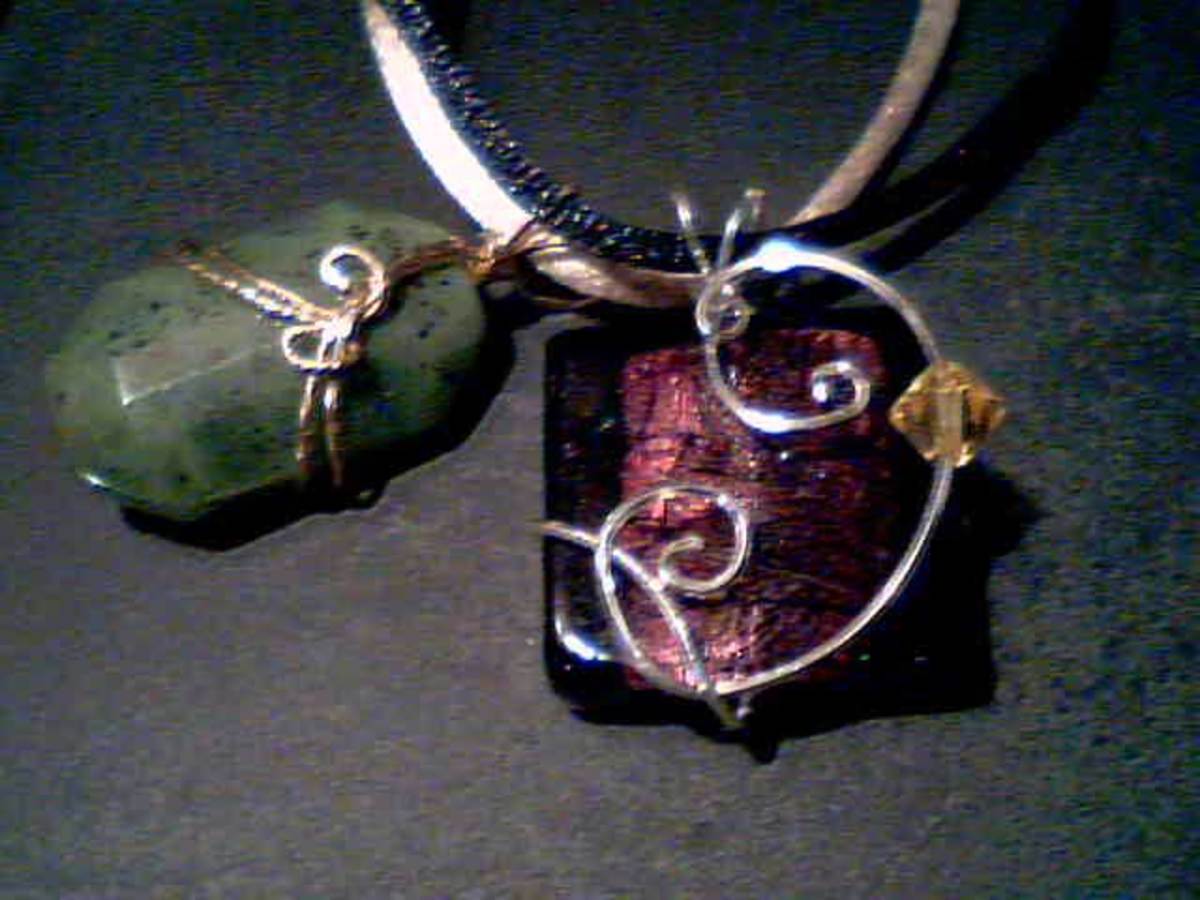
- Still keeping wire on form, bent the longer end into a curl. Curl should be same direction as pendant circle if you will be using a bail. If you want to string it with a chain or cording you will need to twist the curl 90 degrees to back. [pictures 7 & 8]
- Now lets look at your supplies. Cut 5 lengths of wire 10-12 inches or about the size of the long side of a piece of letter paper.
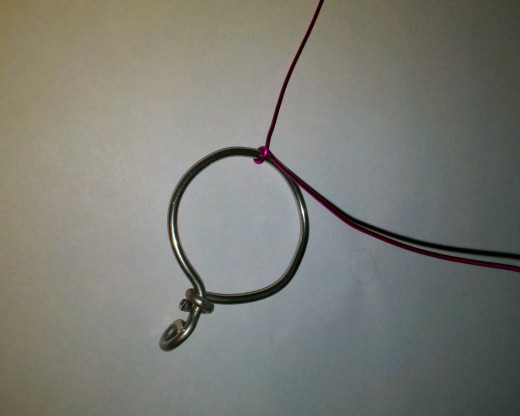
- Thread one of the wire segments through the pendant frame, bring the ends to meet and tug them with one hand while tugging the pendant frame with the other hand to create a bend in the middle of the wire.
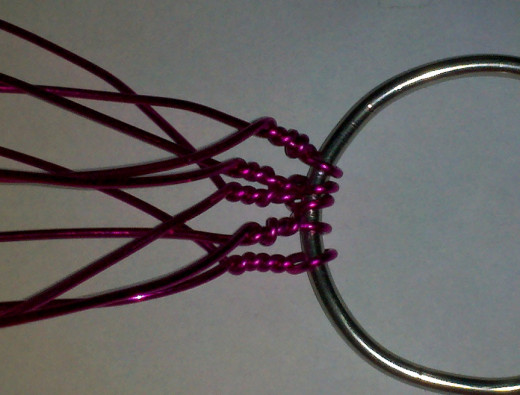
- Grasp an end with each hand and pull snugly apart to create the base of the wire twist. Grasp the wires with your dominant hand and twist as if you were twisting a bread tie. Continue twisting until you have about 8-10 twists in the wire. Twists should be done firmly and close together.
- Continue until all five twists have been completed.
- Turn so pendant is right side up and choose two twists. Spread them away from each other about 1/8th to 3/16th of an inch apart. Using your less dominant hand, pinch the space with your thumb and index finger to maintain the space as you twist two "roots" together continuing until all five roots have been twisted to form the trunk of tree.
- Spread the wire segments out in a fan shape ensuring that they are placed at bottom of pendant form and select a couple of random wires, twist them together a couple of times to form a limb. Repeat with some of the other wires. it is not necessary to make five "limbs" unless you are trying for a symmetrical finished piece.
- Arrange the limbs as you like and spread the wires apart. Slide beads onto each wire checking to ensure they will fit the segment to just meet the inner edge of the pendant frame. Bend the wire about 90 degrees to keep the beads from sliding off while stringing the other wire segments.
- Once you have all the beads on the wire segments, starting from right to left, thread end of the far right wire between the wire segment and the "root" to its right. Wrap the wire several times pulling snugly as you go. You will want to have about 5 wraps for the first one to delineate space between the "roots" and "limbs". Use your smooth end round needle nose pliers to pull the wire through each time and keep wraps snug.
- Continue doing this with each limb. Equal wraps are not required unless you are going for symmetrical. Looking at my finished example, you will see that some of mine had three or four wraps between some limbs.
- If you are going for asymmetrical as I did, you will continue to do the wraps on the right of each limb even on the left side. If however, you are going for symmetrical you will do the wraps to the left of the limbs on the left side.
- Once you have finished all your wraps, check the finished piece to see if any segments need to be adjusted slightly. This will be easily accomplished by holding the pendant form firmly with one hand and tugging the segment by the loose end of the wire segment.
- Finally, wrap the loose ends to back of pendant and snip as close to the frame as possible without nicking the other wires. Grasp the pendant firmly in you non-dominant hand and using the end of a rubber handle from your tools, press the rough ends down towards the center back of pendant.
You are done!
Techniques for twisting wires
- 6 Techniques to Get Perfect Twisted Jewelry Wire Every Time | Brandywine Jewelry Supply Blog
This link includes videos on twisting wires and some selling links for wire as well.

![Silver, lead-free, 14 gauge solder [a very nice inexpensive starter wire for pendant blanks] Silver, lead-free, 14 gauge solder [a very nice inexpensive starter wire for pendant blanks]](https://usercontent1.hubstatic.com/8056340_f520.jpg)
