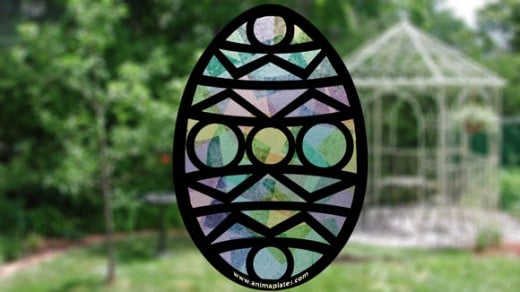
Paper stained glass Easter Egg craft
When the Spring sun shines through this paper stained glass creation, it will light up with the tender colours of Easter.
This Easter craft is easier than it seems. For younger children you can keep the frame very simple, but if you help them you can design your own frame or use the pattern below.
What you'll need
• black construction paper
• waxed paper
• tissue paper in different colours
• small pointy scissors
• x-acto knife
• large scissors
• Mod Podge or white glue diluted with water
• white glue
• brush
• nylon thread (optional)
• small suction cup (optional)
Patterns
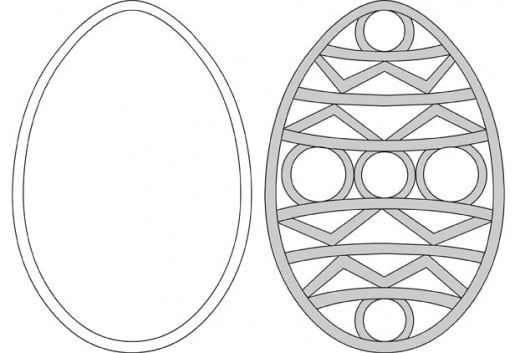

How to Proceed
Trace the pattern of the egg shape on the black construction paper.
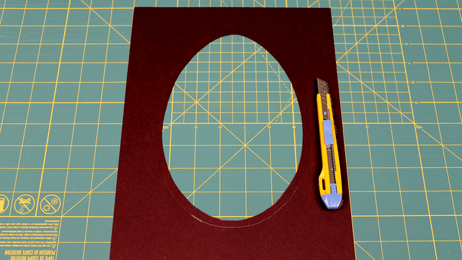
Cut the inside of the egg shape with an x-acto knife or a pair of small pointy scissors.
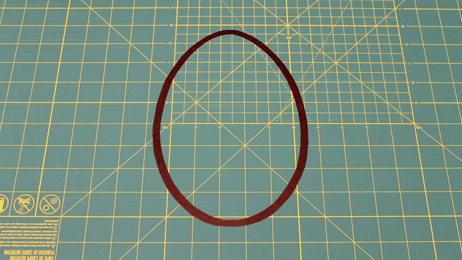
Cut the outside of the egg shape with big scissors.
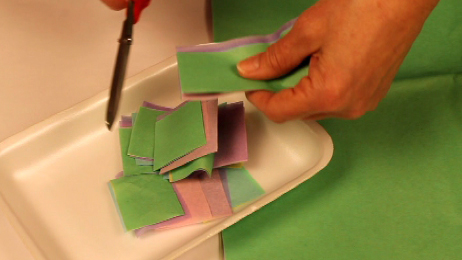
Cut various colours of tissue paper into small pieces.
Alternatively, you can tear pieces of tissue paper, that will give a very nice result as well.
Note: If you're using pre-cut 1 inch tissue paper squares, you can skip this step.
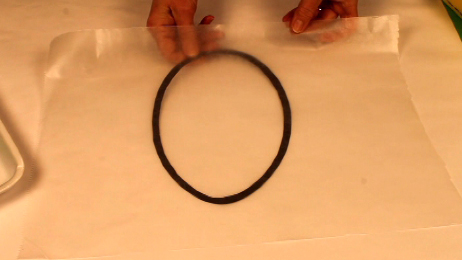
Cut a piece of waxed paper and place the "frame" (the black construction paper egg shape) underneath the waxed paper.
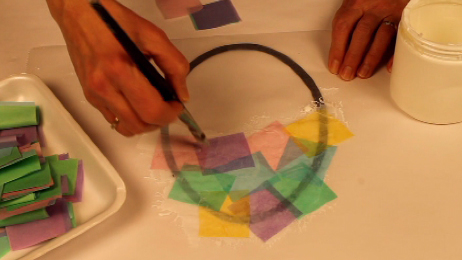
Glue the pieces of tissue paper onto the waxed paper with the Mod Podge or the diluted white glue.
Note: the egg shape of construction paper serves as a guide to know how far to glue the tissue paper.
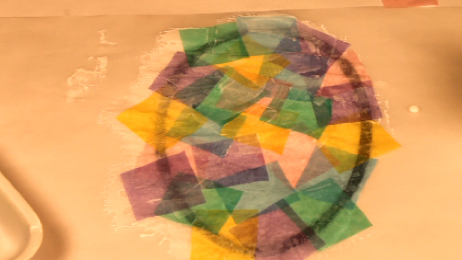
Glue the tissue paper slightly exceeding the required surface.
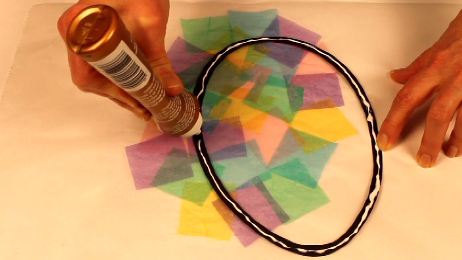
When the tissue paper is dry, glue the frame on the collage of tissue paper with white glue.
When the white glue is dry, trim off any excess.
If you want your work to be nice on both sides, cut a second frame from the black construction paper and glue it on the back of the waxed paper.
With a needle or a pair of small pointy scissors, make a hole through both layers of black construction paper and the waxed paper.
Pass a nylon thread through the hole, tie a knot and hang the egg in a window with a small suction cup.
