Pastel Workshops - Beginning A Painting
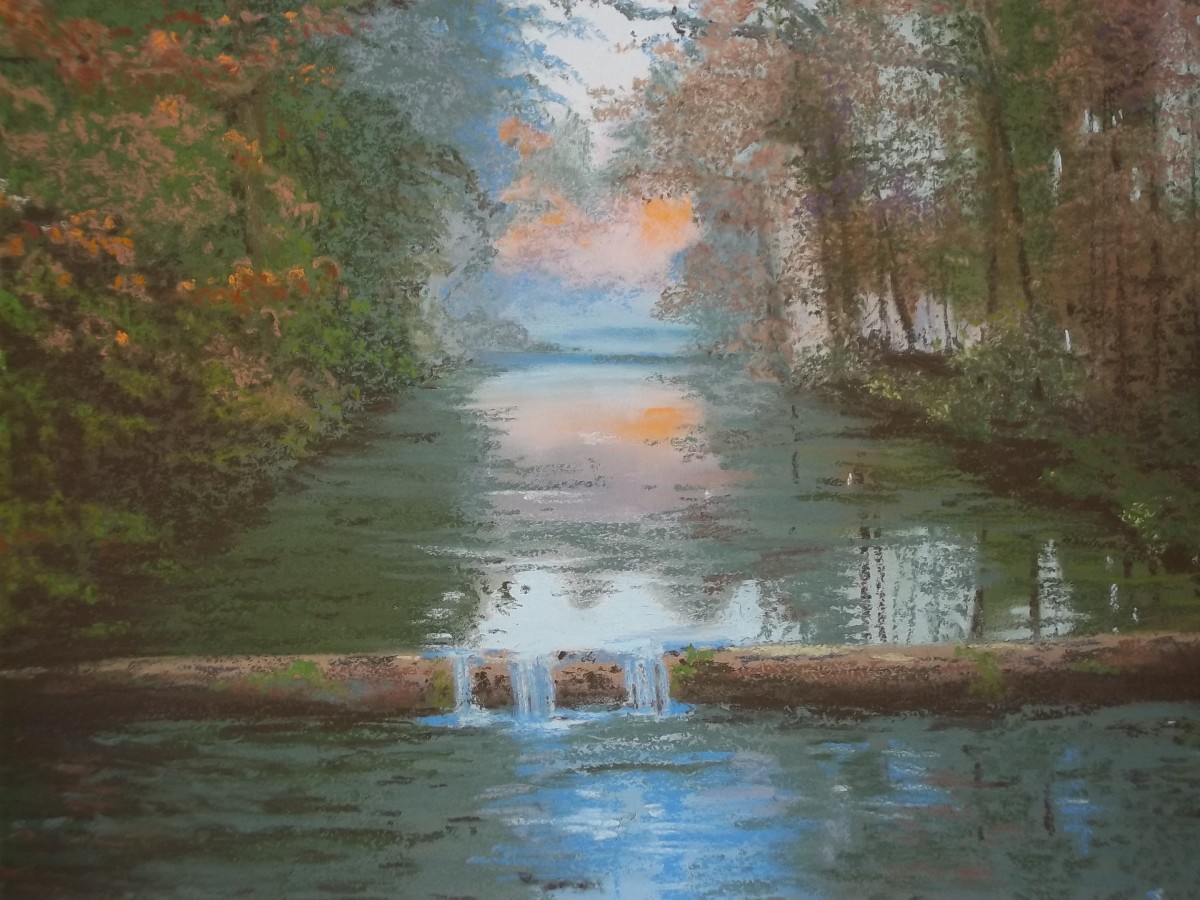
Househole Cove, Cornwall

Begin Painting
Producing a really good pastel painting starts before even putting down the first pencil line, with the choice of materials used. It goes without saying that the better quality the pastels and paper used, the better the finished piece of work will be, so it is important to buy the best you can afford (see below for more information). It is also important to prepare your workspace and protect your clothing, as pastels are a very messy medium!
Equipment List
Definitely Needed
| Would be Nice
| If Desperate
|
|---|---|---|
Good quality pastels
| Blending tool
| Fixative
|
Good quality paper
| Small stiff bristle brush
| |
masking tape
| 1" decorator's paintbrush
| |
Drawing board
| Cloths to wipe hands on
| |
Easel
| ||
Hard pencil
|
Choose Your Weapons
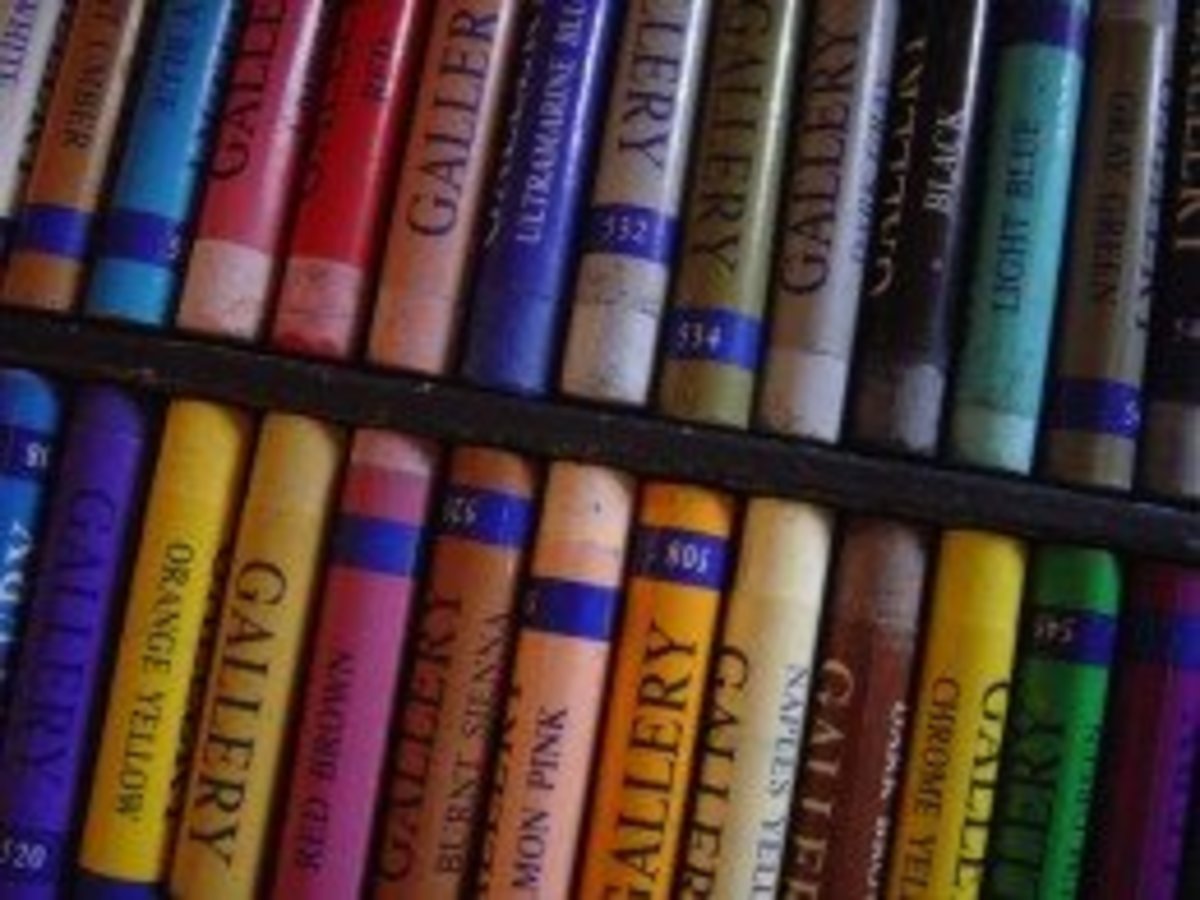
The list above asks for 'good quality pastels and paper,' as my followers know, I use Unison pastels that are hand made in England, as these provide superb depth of pigment and the texture is very soft and creamy which allows good coverage on the paper and ease of blending. The other brand that I would consider to be excellent quality are the French-made Sennelier pastels. However, when I teach, I often use Rembrandt, as these are still extremely good quality, but somewhat less expensive and slightly less soft, which some students find easier to manage when starting out.
There are numerous types of pastel papers on the market and it's really a matter of trying a few out and choosing what suits you best. However, I often use Colourfix paper, which has the texture of fine-grained sandpaper, as this grabs the pastel pigment very well and enables the artist to produce really good depth of colour. The only downsides are that it can be difficult to produce really detailed work (difficult, not impossible) and the paper uses up a lot of pastel.
Professional artists often use Mi Tientes paper, which is textured to grab the pastel. This is a good quality paper and makes finer work easier. For teaching purposes, a basic textured paper such as Durano is quite sufficient.
Book Your Workshop With Georgina
- Georgina Writes Stuff
Come and learn this vibrant, tactile medium in the studio overlooking Dartmoor. Places limited to five per workshop, to allow individual tuition. Tea/coffee/biscuits/cake and all materials provided. See you there!
Let's Start pastel Painting
The first thing to do is to set up your easel. It's really necessary to use an easel for pastel painting, as the pastels shed A LOT of dust and if the work is not fairly vertical, this dust tends to become ground in to the paper where you don't want it, creating muddy colours.
There are many easels on the market, so again, go for the best you can afford, as it will be sturdier - you will be using your fist to really push the pastel pigment into the tooth of the paper, so a sturdy base is good. I use two easels, a portable one that folds down into a box. This is good as it has storage space on which to rest my boxes of pastels. My static easel is an old school easel from the time before computers and white-boards. Its big and very solid. I love it!
The dustiness of pastel work may mean that you need to protect clothes and floor coverings too, and some people prefer to use baby wipes rather than a cloth for cleaning their hands. If this is you, make sure you use the ones without baby lotion in them, as this (and hand cream) makes the pastels waxy and shiny on your paper and you won't be able to layer over it.
Tape your chosen paper on all four sides to the drawing board, using masking tape. It's important to ensure the paper is stuck all round, as you will be using quite a bit of force to push the pigment into the paper.
It's also a really good idea to use a biggish offcut of your chosen paper and tape this alongside your piece to test each pastel on. When a pastel stick is new, you need to slit it's paper covering with a knife and remove it (keep it in the box where you too the pastel from, so that you know what to reorder). The new pastel will have a 'skin' on it, so it's important to rub this on your offcut, to remove the 'skin' and allow the pigment to flow easily.
In addition, the colour of pastel sticks in the box is COMPLETELY different than it looks on the paper, so you really need to try them on your offcut first. The offcut will allow you to blend colours together, or one over the other, so you can see how they look before using them on your work.
I put Fixative in brackets, as it's use is controversial. Professional pastel artists simply do not use fixative, as it destroys the pastel pigment. It is far better to really push the pastel into the paper than to use fixative. That said, it is sometimes easier for beginners to use a little fixative, whilst they are building on their painting skills and if using a very dark 'base layer' a little fixative makes overpainting easier.
Compose your Painting
Finally, after all the preparation, it's time to compose your piece. I've written a short article explaining about composition, detailing some of the do's and don'ts to help you along your way.
If you are local to Moretonhampstead, you are welcome to join our regular pastel painting workshops on the last Saturday of every month - in addition, the p.Art of The Country Shop on Station Road can supply you with pastels, paper and pencils, so you can capture those wonderful Moorland scenes.

