Photographing Light Spirographs
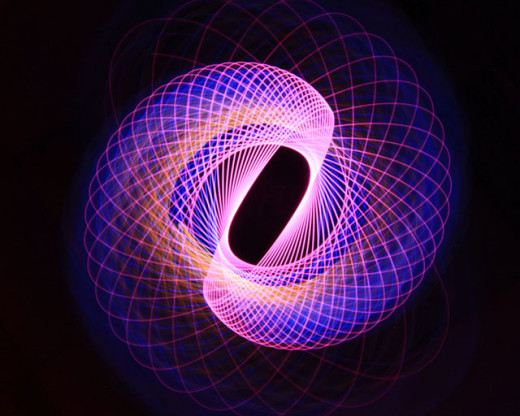
I recently came upon an article at Petapixel regarding a way to make nice looking photos of spirographs by photographer Jason D Page using a light pen or flashlight and although I have taken light painting pictures before, this technique is quite innovative, just as much fun and the best thing is that you do not need any fancy equipment or set up to accomplished great looking results except for perhaps some trial and error and some patience.
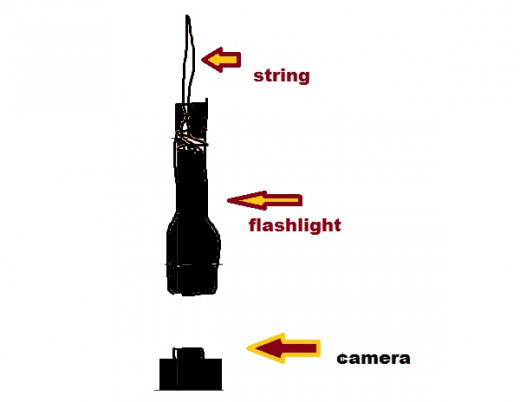
Drawing of initial setting...and no, I am not very good at drawing!
Spirograph is a geometric drawing toy that produces mathematical roulette curves of the variety technically known as hypotrochoids and epitrochoids. It was developed by British engineer Denys Fisher and first sold in 1965. Wikipedia
Light painting, or light drawing, is a photographic technique in which exposures are made by moving a hand-held light source while taking a long exposure photograph, either to illuminate a subject or to shine a point of light directly at the camera. Light painting can also describe works where the camera itself is moved during exposure.
Painting with a point of light on a long exposure dates back to 1889, and was used in Frank Gilbreth's work with his wife Lillian Moller Gilbreth in 1914, when the pair used small lights and the open shutter of a camera to track the motion of manufacturing and clerical workers. Man Ray, in his 1935 series "Space Writing," was the first known art photographer to use the technique. Photographer Barbara Morgan began making light paintings in 1940. Wikipedia
Similar hand held technique
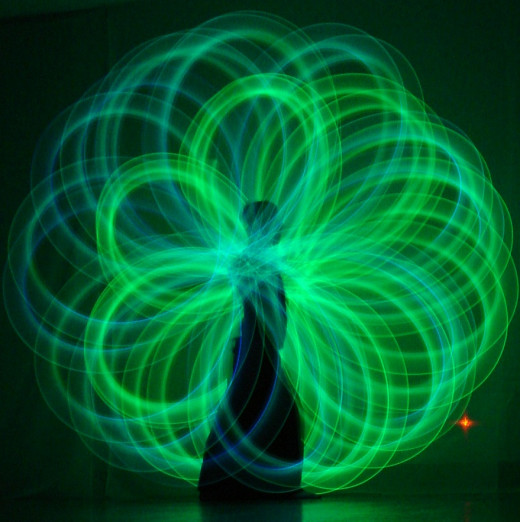
Light painting is a common technique to capture photographs of the light produced by an flashlight or glow stick as it is moved in darkness.
The camera can capture these images quite easily with some minor adjustments and the aid of a tripod.
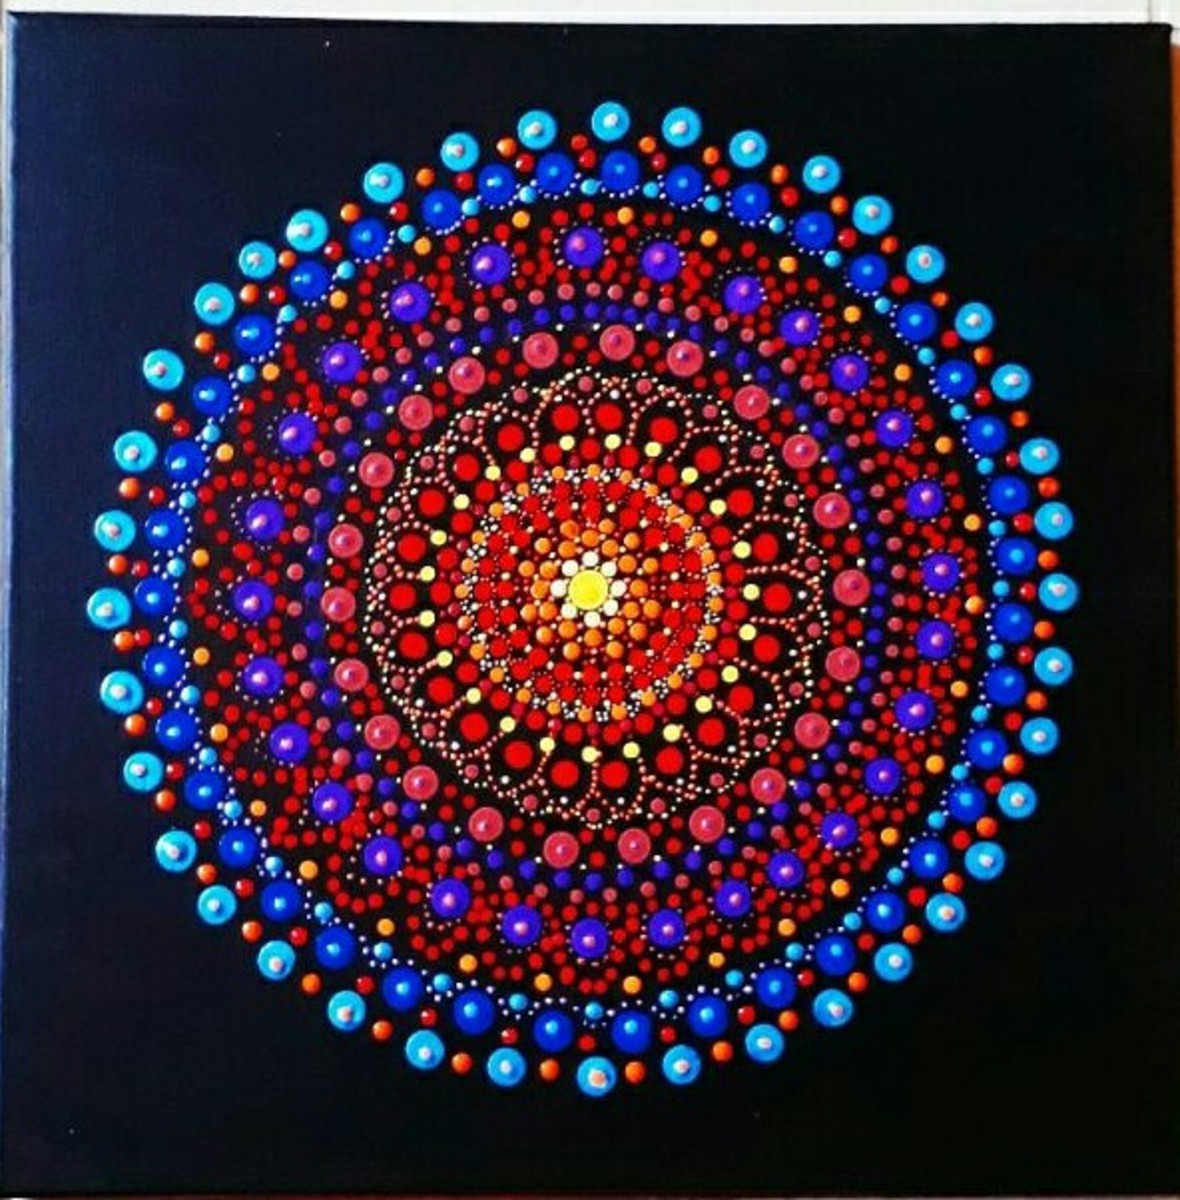
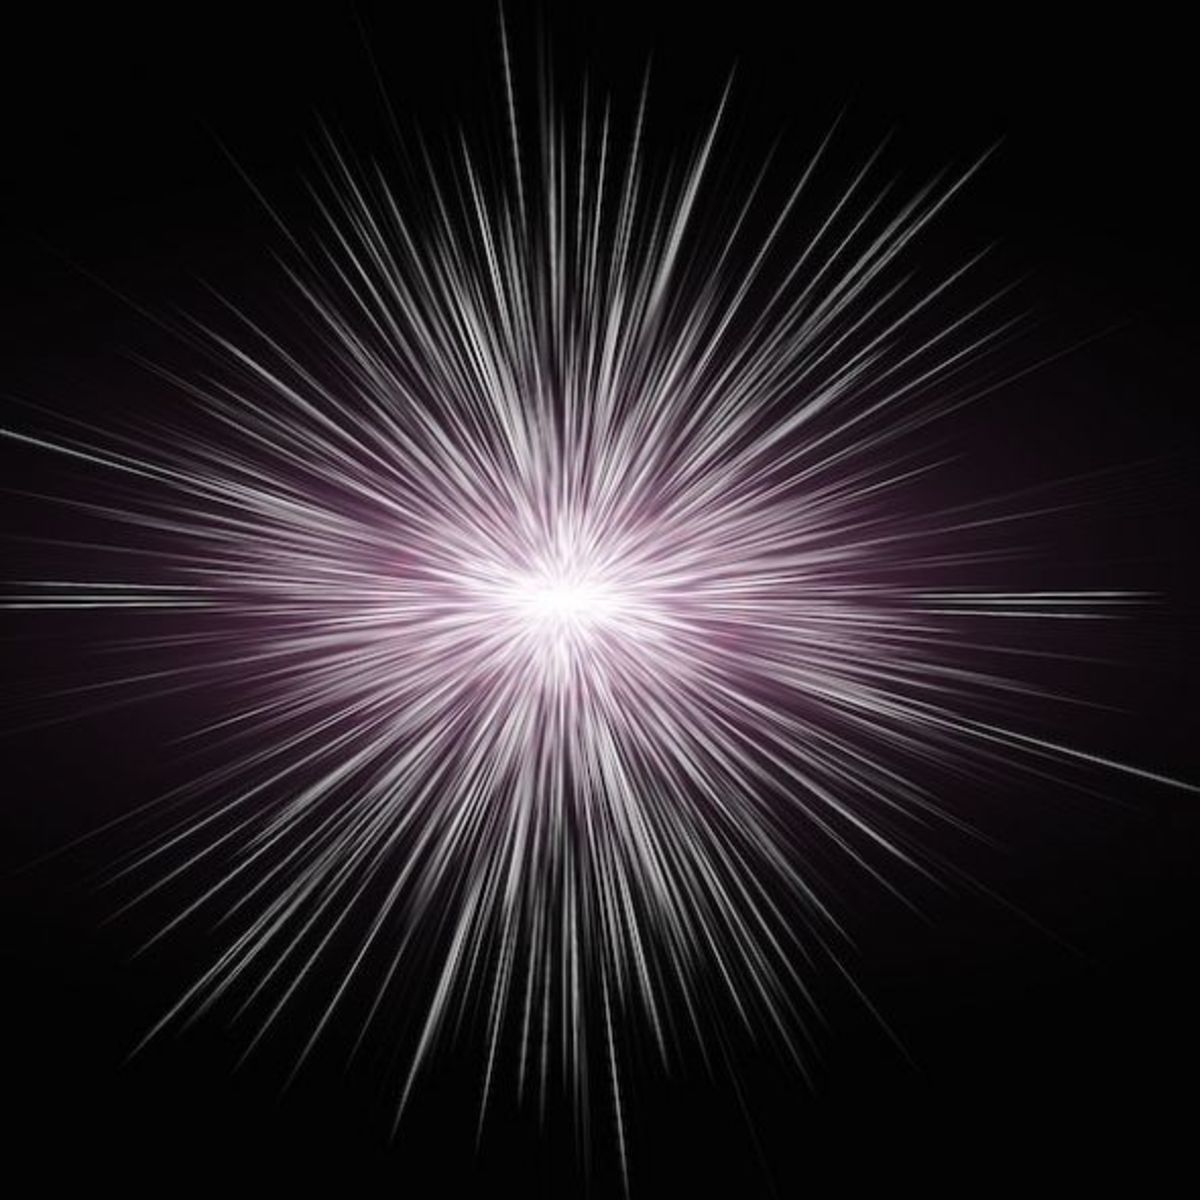
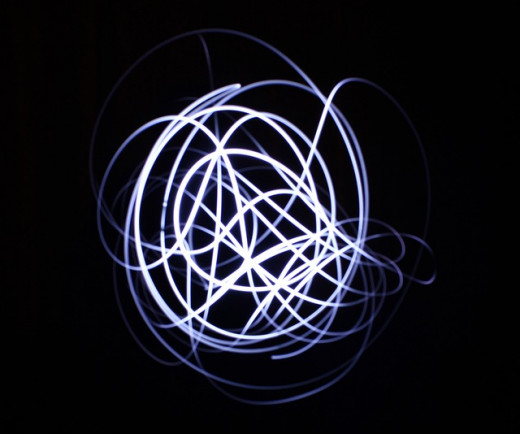
Spirographs are geometrical designs which you can recreate with light painting.
The easiest way to do this at home is to create a simple setup using a flashlight, a string, some light pens, your camera, a piece of cardboard(optional) and a totally darkened room.
Universal connector, light pen set from http://lightpaintingbrushes.com/
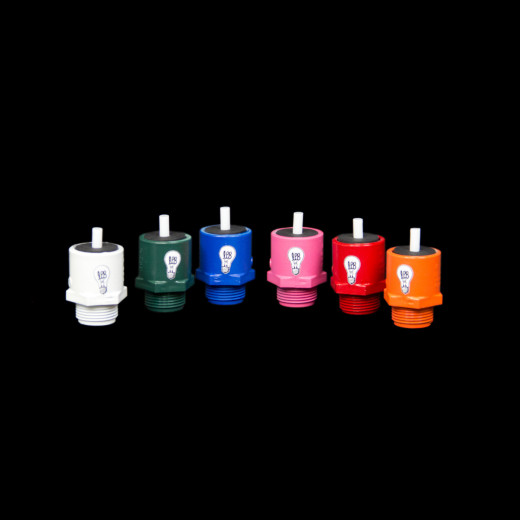
Once you get your supplies, start by tying the string to the end of the flashlight or light pen. Attach it to the ceiling using tape of anything that works for you.
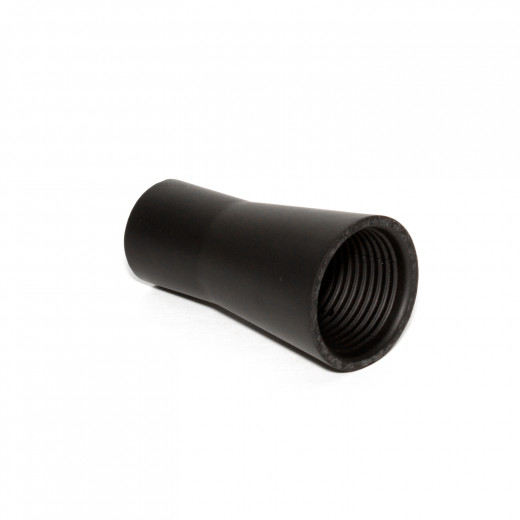
Attach the universal connector which you can get at most places that sell light painting equipment or hobby stores to the other end of the flashlight or light pen.
Insert the adapter to the light pen/flashlight and proceed to insert a light pen into the adapter and you are ready to begin.
For the camera setup it needs to be set directly under the flashlight and set to take long exposures as the light swings.
Changing light pens adds multiple colors to the exposure. When ready to add a color light pen and while still in the dark, place a cardboard on top of the camera lens, turn the lights back on and switch light pens.
To begin photographing turn off the lights and swing the flashlight as it hangs from the ceiling in a circular motion but not too strong since you want to avoid getting the motion out of the camera frame.
This may not have any commercial application other than to showcase your skills as a photographers but it is definitely a fun project to try and perhaps using the images for a photo related publication.
The idea is to keep shooting and continually finding new ways and new subjects to practice your skills.
This would probably be a very good project to introduce those wanting to explore photography to the art and it can specially be a good practice exercise for youngsters just learning and getting their feet wet with picture taking.
Think this is a cool idea?
- Light Painting Photography For Beginners
Learning About Your Camera With Light Painting Photography If you have been reluctant to adjust your camera manually and depend only on automatic camera settings, light painting is a great way to learn how to use your manual camera settings while hav
© 2015 Luis E Gonzalez

