Adding Sun Flares to Your Photographs
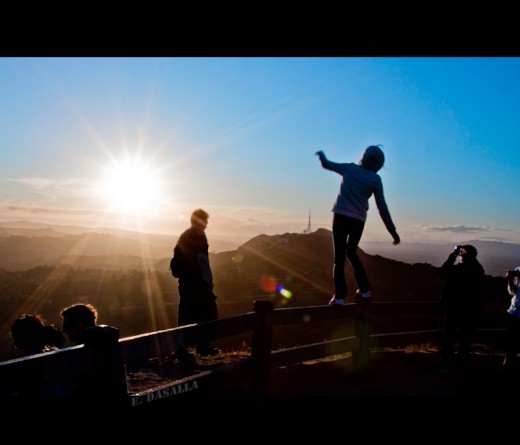
Excellent Sunburst highlights!
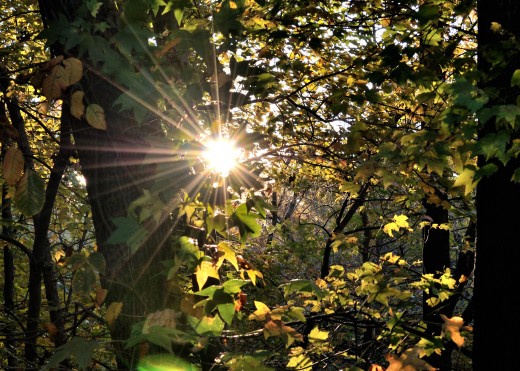
Very little sunburst and a very good one
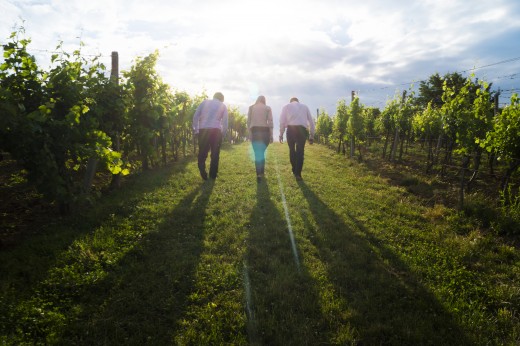
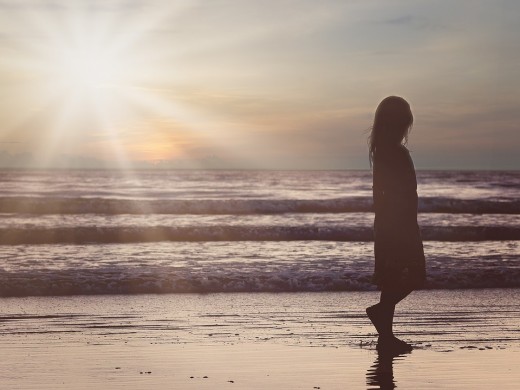
Here is a technique to add charm and interest to any photograph that breaks the rules of photography. Lenses, lens hoods and other accessories are made to reduce the chances of introducing flare into the picture.
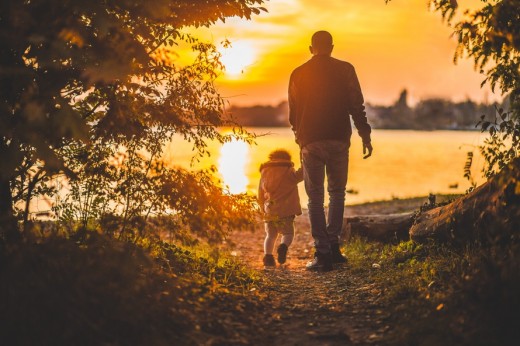
We are taught to avoid shooting directly into the Sun and to avoid having your model face you while having their backs against the Sun. But if you do this right you can actually capture a Sun flare that makes the image that much more interesting and nice looking.
The idea is to be fully creative. Look for nice spots where you can pose your model while at the same time looking for any elements that will aid you in slightly covering the Sun rays so that you only get a small part of it coming through thus introducing a small flare into the picture.
Look to pose your subject directly facing you with their backs against the Sun. Then compose the shot so that the light rays peek through a corner of the subject. The head, the shoulders, around the neck and so on are good choices.
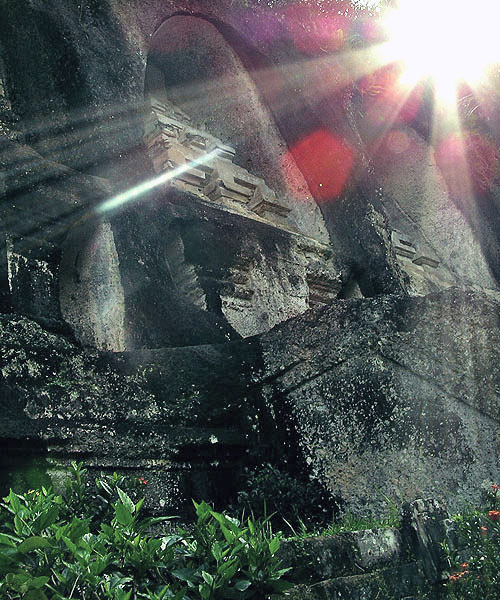
It is worth noting that not all Sun bursts are not or do not show out in your pictures very pronounced. A true effect is seem when you get rays dissipating from the center as they reach out like that of a star thus you should see a starburst effect.
Less pronounced effect
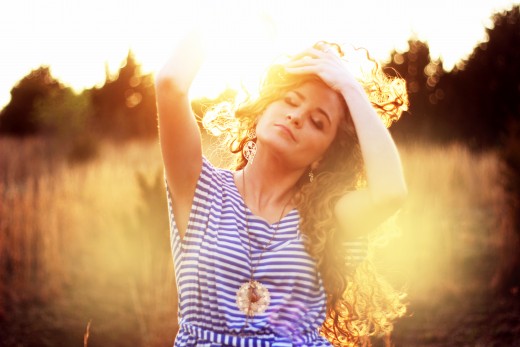
True starburst effect
First you need to get used to shooting with aperture priority, that is you set the aperture (f stop) and the camera does the rest.
For smoother flares use a fairly wide open aperture, like f/5.6, and you’ll get softer flares. If you use a smaller aperture, like f/22, you’ll get stronger, more pronounced flares.
Get familiar with aperture settings and keep in mind that the higher the number, the smaller the aperture plus the higher the aperture number the more detail you will capture in the background.
You have to play with the apertures to be creative. You may use a small aperture thus reducing the amount of detail behind the subject but this will also mandate that the shutter speed be longer (smaller=less light getting into the camera sensor/film) and the opposite is true with a larger aperture. This is why you might need to use a tripod and mechanical shutter release for some shots and not for others.
Bottom line it is better to have a tripod plus release and not need them than to not have them and need them.
This is pretty similar to when you are doing silhouettes but the the exception that you are using a much slower shuttre speed. For silhouettes you usually use a fast shutter speed so that only the Sunlight is visible and everything else remains as a shadow but a slower shutter speed when taking portraits for example.
Not very pronounced but works
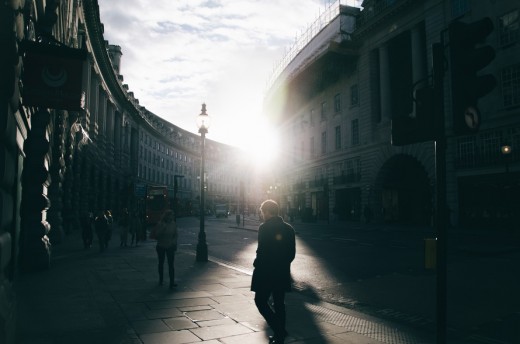
Do you like capturing Sunbursts in your shots?
Good overall effect, not too much nor too little
If your flares do not look amazing or if you would like them to be more pronounced or even if you missed an opportunity of getting some good shots, you can add them digitally by using most any digital manipulation software program.
Many pros just use a program like Photoshop to add length to the star burst rays and nothing more.
A digitally produced sunburst does not look the same as a real one but if you could not get one in the first place or are unhappy with how they came out then this is an alternative but use judiciously.
- Using Sun Flares and Starbursts to Create Stunning Images
A sun flare or starburst is an incredibly cool photographic technique and one that is easy to achieve without any special post-processing or editing tricks. You will be amazed at the effects you can create by learning a few simple settings
- Creating Realistic Starburst Effects in Photoshop - Vibrant Shot Photography
In this video tutorial we’ll be mixing photo editing and graphic art to create our own starburst lens flare effects and appling them to an image. You don’t really need any sort of graphic skills to do this as the process mainly involves manipulation
© 2016 Luis E Gonzalez


