Photographing Extremes in Tones


Tonal extremes
Photographing tonal extremes, often presents difficulties when photographing scenes of bold colors and with extremes shifts in color renditions. However, with some practice and a keen eye these difficulties can easily be dealt with.
First you must understand that your camera will see images differently from how you see them.The human eye has a much broader capacity for "seeing" tones even the sightless of changes and shades and with all of today's technological advances in camera manufacturing, technology and film, neither comes close to fully capturing what your eye is capable of.
The camera will look at tones in any scene as mid-gray and will set exposure for that purpose. So what you see as a white bunny will be seen as a light gray bunny in the photograph unless you take steps to correct it.
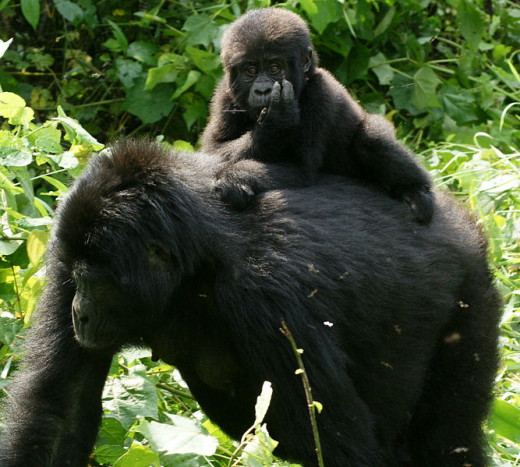
If your scene is mostly composed of a light color, such as white walls, snowy scenes, light colored subjects posing against a similarly light colored background or dark subjects posed against a similarly dark background or very dark animals such as a gorilla or a white dove, the camera will still render them as a mid tone gray. With film you can push the film one or more f-stops, with slide film the latitude is less.
The solution is simple yet sounds awkward. To render light or white subjects as they are allow more light to fall on the subject by increasing the aperture size or decreasing the shutter speed, similar to overexposing. The reverse is true for dark or black subjects such as gorillas. Allow less time for the shutter or decrease the aperture size, similar to underexposing. This is also referred to as bracketing the film.
There are also situations in which you are presented with extremes in tonal ranges, such as a subject in a darkened room which is illuminated through a sunlit window that also presents some interesting subjects outside of that window. If you take the shot at the camera's reading, the light from the window will overpower the scene and your subject will be rendered as underexposed.
To remedy this you must make a decision, as to what is more important, the subject or the scene outside the window. If you decide that the rendition of your subject is more important for the shot, then take a reading from the subject at close proximity, then set the camera's settings for that reading. Reverse the method if the action outside is more important.
Think of a photograph of a sunset in which a couple is embraced while admiring it. If you take the shot at your camera's determined reading, the sunset will show in all of its glory, but the couple will be shown as silhouettes. Same effect that you will obtain when shooting any subject that is back lit since the camera will take a reading from the brightest source
To overcome these situations, again overexpose or underexpose. A good starting point is to shoot the scene at the camera's recommended reading, one shot underexposed and one overexposed, both by one or half an f-stop under or above.
- Extreme contrast edits in Lightroom 4 and ACR 7: Digital Photography Review
Digital Photography Review: All the latest digital camera reviews and digital imaging news. Lively discussion forums. Vast samples galleries and the largest database of digital camera specifications.
- Adjusting Contrast & Tone | Reframing Photography
Contrast refers to the range of tones - from the brightest to the darkest - in an image or a subject. A print or scene with dark and light tones but few gradations in between is referred to as contrasty or having high contrast. A tonal range with few
© 2011 Luis E Gonzalez


