Pottery Studio: A Beginner Lesson Working with Clay
Experiencing working with clay
If you know someone who is creative and loves to work with their hands, perhaps crafts things from wood, or is an artist with paints, they may be interested in expanding their skill in the area of clay.
Clay is a very different art medium to work with and, like all new things, it takes practice to master any new way of expressing one's artistic talents. One way is to work at home with a smaller version of a pottery wheel. These are not professional wheels, but can offer an idea of what it is to move the clay. Of course, they are much less expensive, so if your artist is a child or young teen, it may be just the right size and cost.
However, if the person you have in mind has more experience, or has had a class or two in the area of making pottery, then you may want to buy them a gift of a private pottery lesson in a studio.
In Royal Oak, Michigan, The Creative Studio, is the type of place that offers crafts, including pottery from the beginning of working the clay, for all ages and all levels of skill. The staff are friendly, knowledgeable, and patient. The hours are accommodating, and the atmosphere is delightful.
Definitions of the beginner pottery class
Some of the words we were unfamiliar with prior to the lesson are listed here:
Wedging: removing the air out of the clay through a process of 'kneading' it on a flat surface.
Wheel wedging: a similar process, only using the pottery wheel with the clay centered.
Dropping the hole: making a hole in the center of your clay by pressing the thumb into it.
Bone dry: drying the completed clay piece thoroughly. It usually is the color of dusky gray.
Bisque: Chrystalized clay-A white, chalky color which is then painted.
Refining: cleaning up the edges and smoothing the outer piece.
Pen tool: a sharp edged tool that creates designs in the clay before finishing.
A good teacher is important
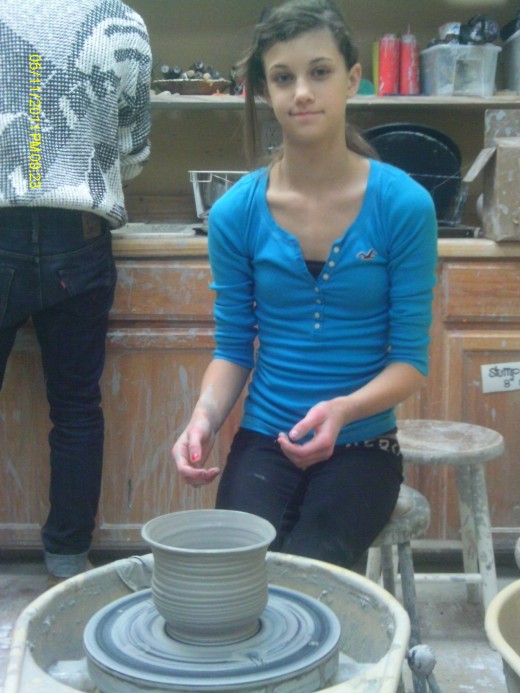
I bought a private lesson for my granddaughter as a Christmas present. Olivia is about thirteen and loves art. She is quite talented with her sketching, woodworking, and sewing. She paints, she has made set designs for her drama class, and she does jewelry work.
She and her younger brother, Marco, have each owned a pottery wheel for over a year. However, when my daughter discovered the studio just a short, thirty minute drive from their home, she mentioned it as a possible gift. I thought it was a great idea.
All private sessions are $55 per hour and must have advanced booking. A one-to-one lesson is offered with a teacher who they attempt to match in personality. Ricky, Olivia's teacher, was encouraging, patient, and offered many positive comments for her attempts, along with some great information.
Although shy, Olivia is also a very attentive student when she is interested in the subject, and pottery is an area she wanted to learn more about. Ricky explained everything he was doing first, with the rationale behind it, and included the definition of workman's vocabulary. Then he demonstrated it, and lastly, he had her do it.
Phase I of a Pottery Wheel Lesson
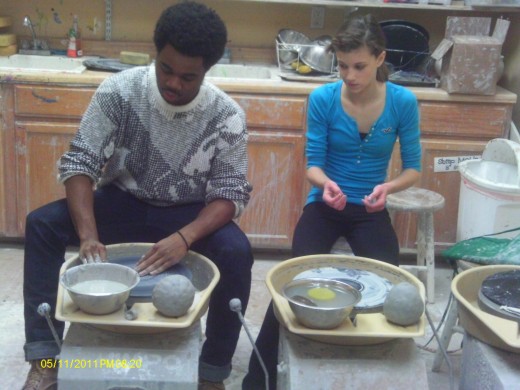
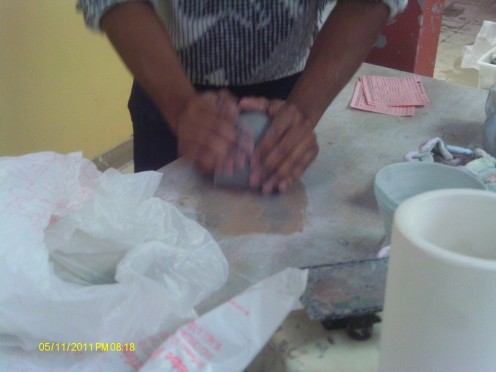
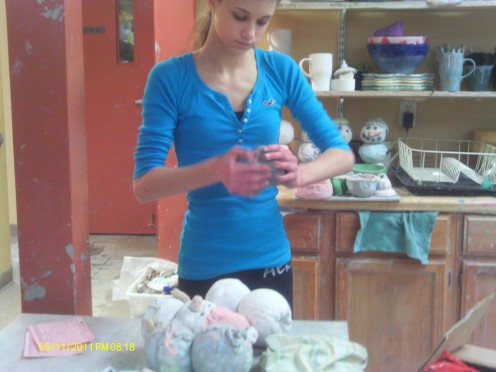
The first phase of the lesson included learning to handle the clay on the wheel. Ricky demonstrated how to get air bubbles out of the clay and handed the ball of clay to Olivia instructing her to keep patting and molding it into a ball.
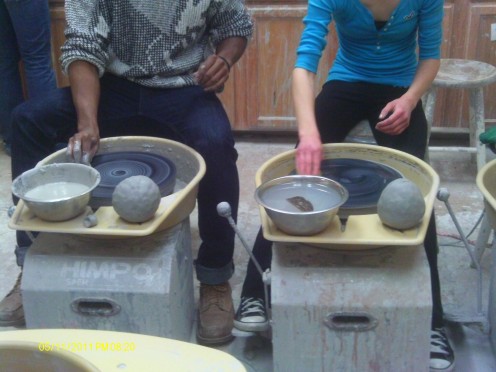
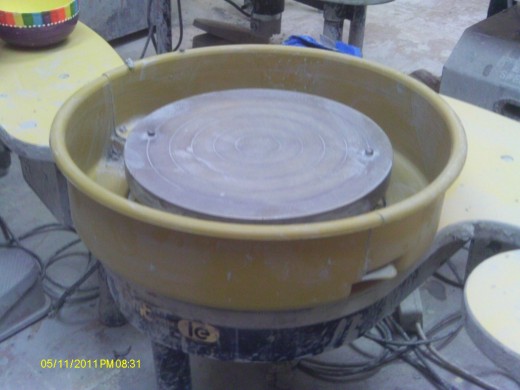
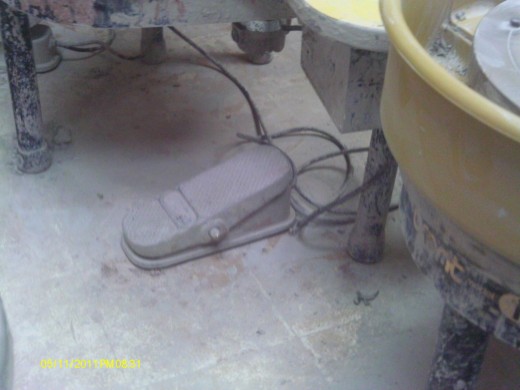
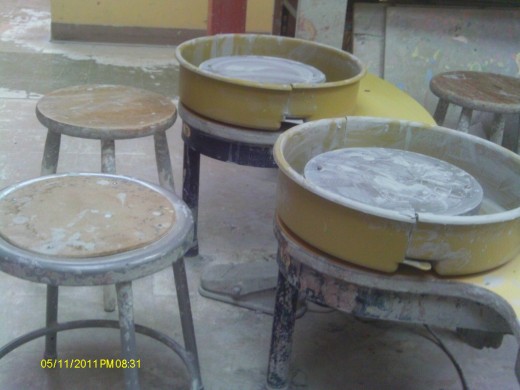
Next, he brought her to the wheel and had her set up the bowl of water, emphasizing the importance of keeping the clay 'slippery'. He explained the wheel's pedal, and had Olivia practice the different speeds. Finally, he had her prepare the wheel by sponging it down. Ricky enjoyed having her as a student because of her interest, ability, and attentiveness.
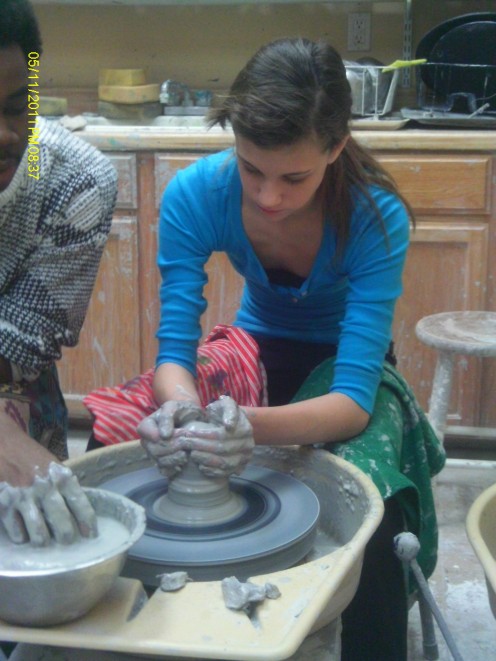
Next, he explained the importance of keeping the clay symmetrical, and how to reduce the 'wobbly' condition that occurs when one either goes to fast, or has more clay on one side than the other.
They worked together shaping the mound until they were satisfied with the height.
Phase I
Strength and coordination
Besides having a general interest, one must have patience in learning the basic skills. The other two criteria that I observed was necessary was strength and coordination.
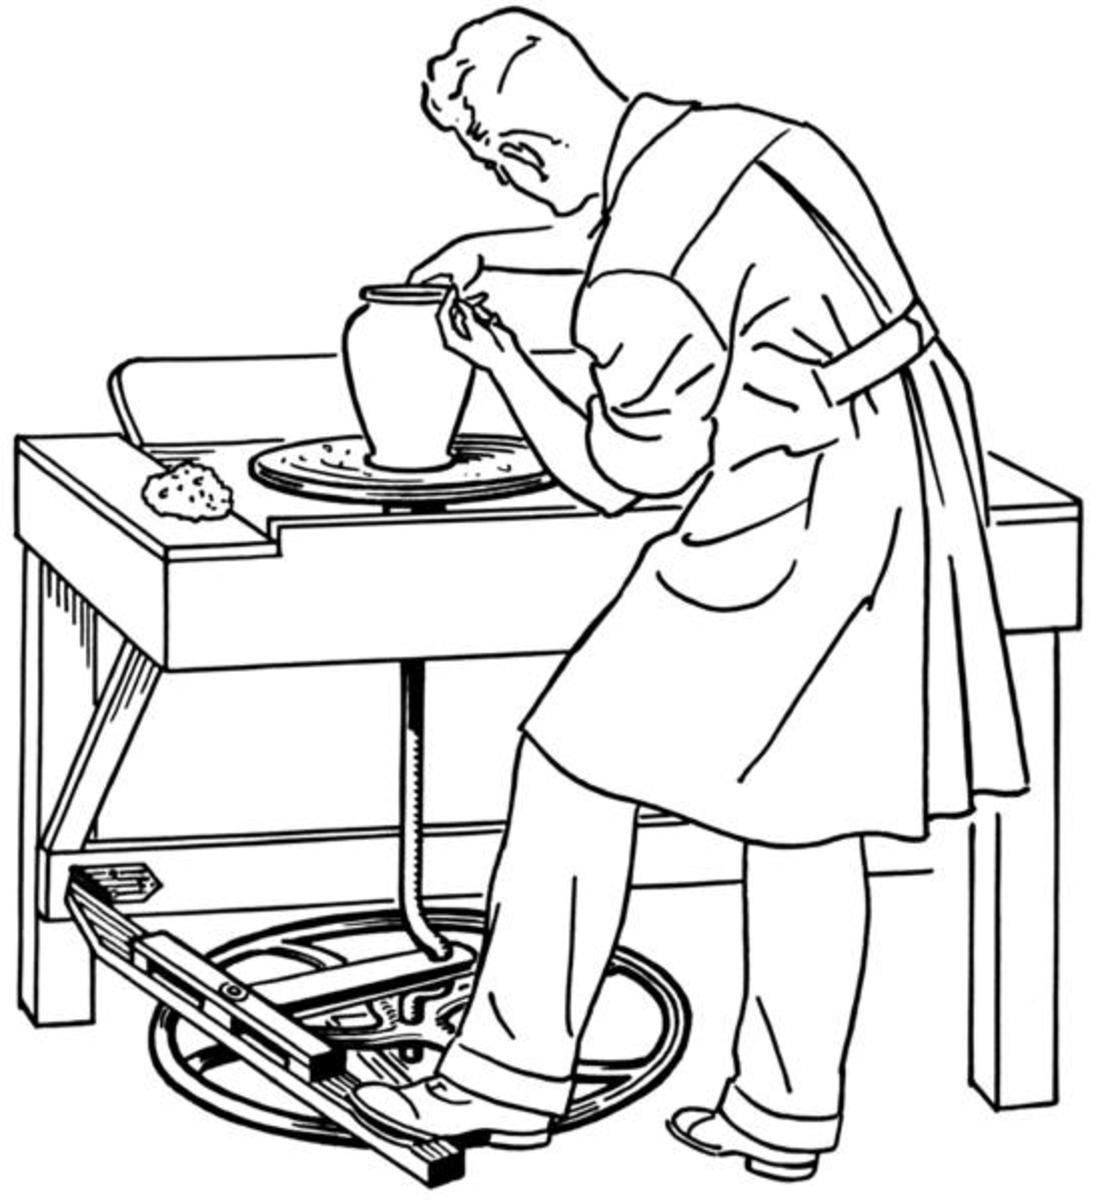
Ricky explained the proper position to use at the wheel: Slightly forward, feet flat on floor, but apart-knees separated; elbows slightly flared and resting on the knees.
I watched Ricky move the clay on his wheel and noticed the forearm muscles taut in his arms. Olivia's chest muscles tensed as she attempted to maintain the correct posture. Her coordination with moving the foot pedal, while having the hands do other things was not too difficult for her to coordinate, however. She attributed that to her experience on the sewing machine. She also has worked a wood lathe machine and commented that it was enjoyable being able to compare working with the two different mediums.
Problem solving on the wheel
Two problems arose while working the clay. One was a very thin top edge. It is advantageous to have a thick top edge because it gives you more options on how to mold the final piece. Solution: Remove the thin edge and build up the top edge once more, leaving it thick.
The other was an air bubble that was noticed by her teacher. He could feel it near the top of the clay at one point and again, it has to be removed or there will be a problem with the final firing of the piece.
Phase II
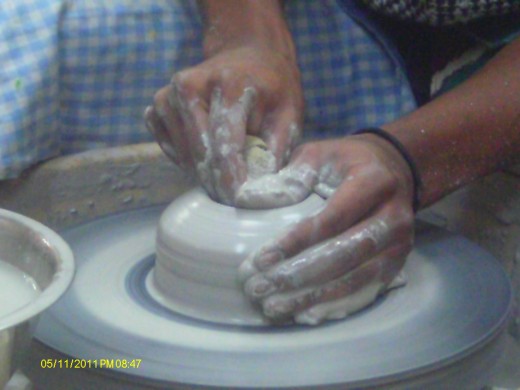
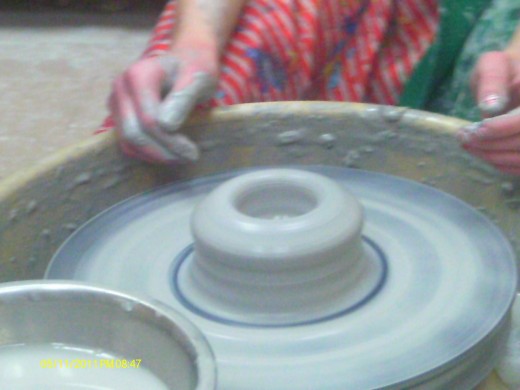
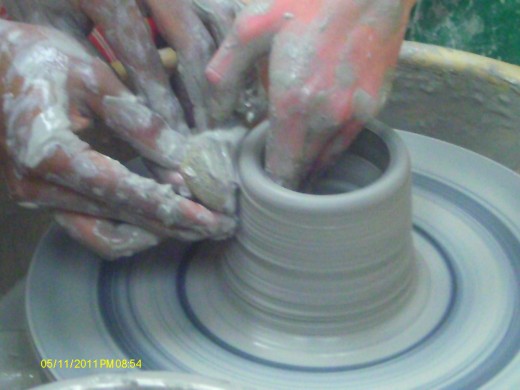
The second part of the lesson consisted of shaping the clay. This included creating a center, called 'dropping the hole', thinning the inside, while building the height, and refining the final project, which included finishing off the top edge, smoothing the outer piece and adding any designs.
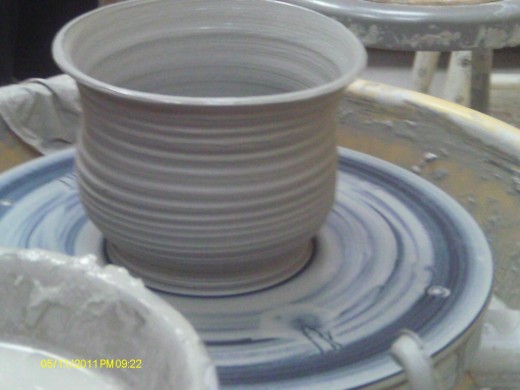
One of the important moments in the second phase was when her teacher asked what she wanted to make. He told her it could be anything she wanted...she chose a vase. Later, she had the opportunity to add a design, which she did. Ricky explained how the use of a pen tool would enable a design of thin lines, which was what she wanted on her vase.
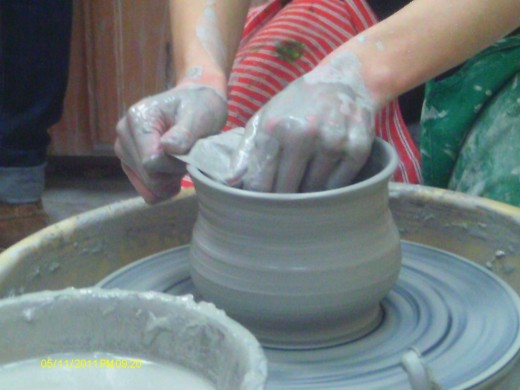
This phase was, no doubt, the more challenging of the two. She needed to learn how to flatten the bottom of the inside by applying equal pressure on the outside and inside of the clay, while moving both hands upward. Continuing to do this, while adding water to the piece to keep it moist, was quite difficult and takes immense practice to understand the process.
To refine the edge, Ricky demonstrated the simple use of a wet paper towel hung loosely over the edge to provide just a light pressure on the lip of the vase to curve it. Olivia handled that part quite well.
Phase II photos
Location of Royal Oak Highlights
The Creative Arts Studio
The Detroit Zoo is actually located in Royal Oak, Michigan
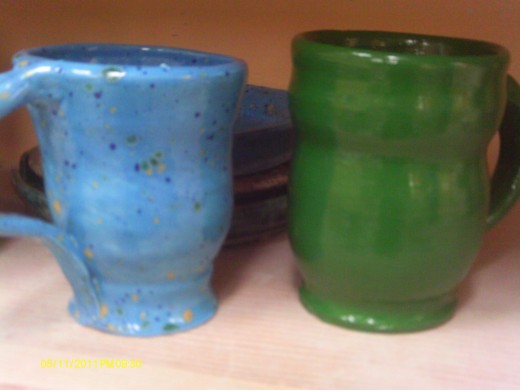
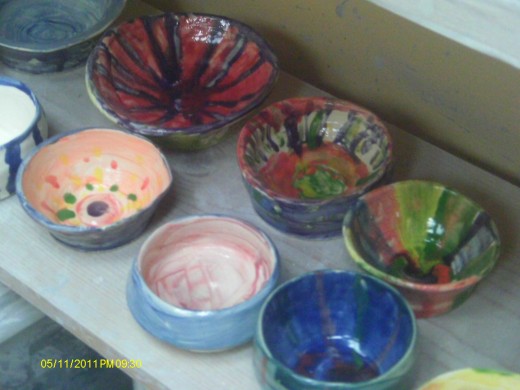
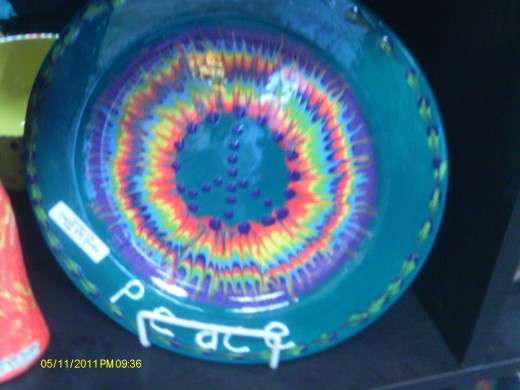
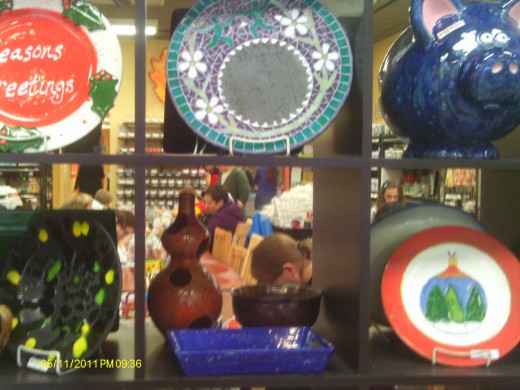
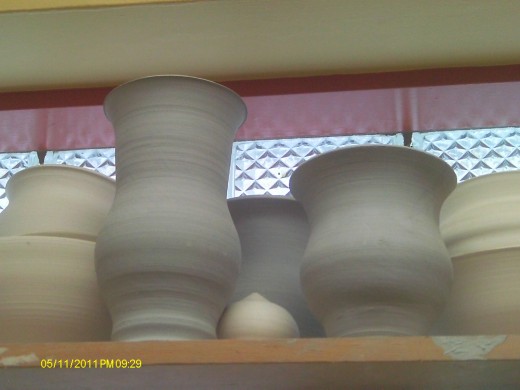
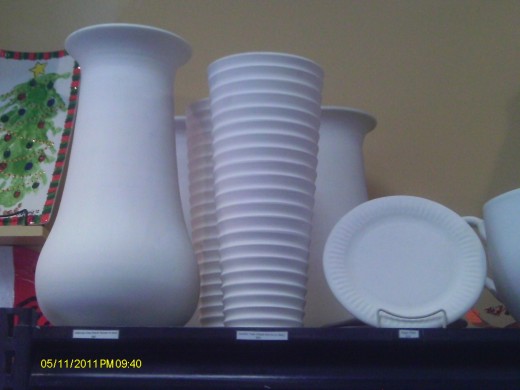
Samples of completed work
Click thumbnail to view full-size


The final steps to pottery
Olivia's vase will not be complete until it dries, has been painted, is prepped for the kiln and then fired. This will take an additional two weeks. One week will be for the complete drying-getting it 'bone dry', then when it has crystalized, (bisque), it will be painted.
The second week is prepping it for the kiln by adding a glaze, and then firing it. The actual prep takes about 24 hours and the fire just one day, however, she has to wait for other projects to be completed and collectively, the pieces are fired at the same time.
Equipment
My rating:
About the Creative Arts Studio
Located at 114 W. 4th St. in Royal Oak, Michigan 48067
Studio hours: Monday-Thursday 11 a.m. to 9 p.m.
Friday & Saturday 11 a.m. to 10 p.m.
Sunday 12 noon to 7 p.m.
telephone: 248-544-2234
Available for individual or group parties; private lessons; and classes.

