How To Make An Easter Basket; Woodburning Step by Step Instructions and Ideas

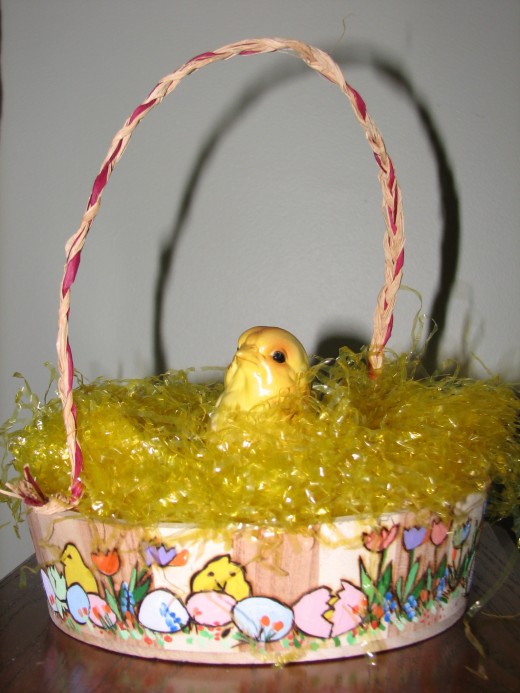
Make A Woodburned Easter Basket
Select A Vessel To Woodburn
I purchased a bunch of wooden bowls a few years ago at one of those dollar store outlets. I have used some of them for different projects and liked the outcome, and at the price of $1.00, I figured I could not go wrong. I bought a dozen and stowed them away. I have not put them to work as Easter Baskets until now. This project requires the following list of tools and materials.
Materials Needed
- Some kind of wooden vessel large enough to woodburn on
- carbon paper or graphite paper
- a design relating to Easter
- acrylic paint asst. colors
- masking tape
- basket grass and Easter Basket Fillings
- natural or colored raffia
- 2 very small wood screws
- tacky glue
Tools Needed
- a woodburning pen
- sandpaper, fine grade
- artists paint brushes, assortment
- water cup
- hair dryer
- a pencil
- tiny screw driver
- ice pick
- scissors
Getting Started
Click thumbnail to view full-size


Trace Over All of The Deign With A Red Ink Pen
Click thumbnail to view full-size


Applying A Design
Now that you have everything you need, let's get started. Here are step by step directions and a photo presentation that will explain each process.
- Make sure you have all of your tools and materials at hand
- Cut the design that you have chosen to woodburn on your vessel the size of the area you want to apply it to
- Cut the carbon paper to fit the same size as the design paper
- Using a small piece of masking tape, attach the design paper backside to the back of the carbon paper
- Attach the two papers to the vessel using masking tape
- Cut a few slots, like pleats, so that the design will fit flat on the surface you will be drawing on (this is only necessary if the papers are buckling)
- Tapes the pleats down at the bottom of the vessel using masking tape
Burn That Baby
Click thumbnail to view full-size


Wood Burning Your Pattern
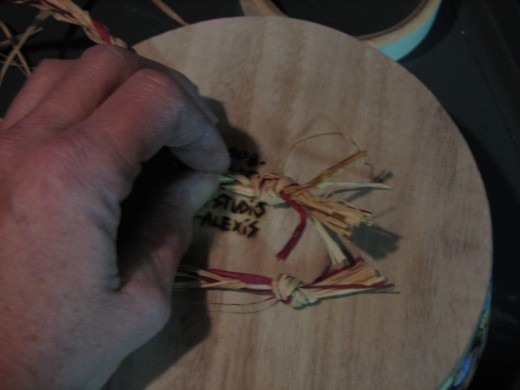
Now you can start woodburning. Be very careful and practice safety at all times. Do all of the design as you want and when you finish you can add your signature to the bottom. This would also be a good place to add a nice message if you are making the basket for a gift.
Decorate Your Finished Woodburning With Acrylic Paint and Add A Raffia Handle
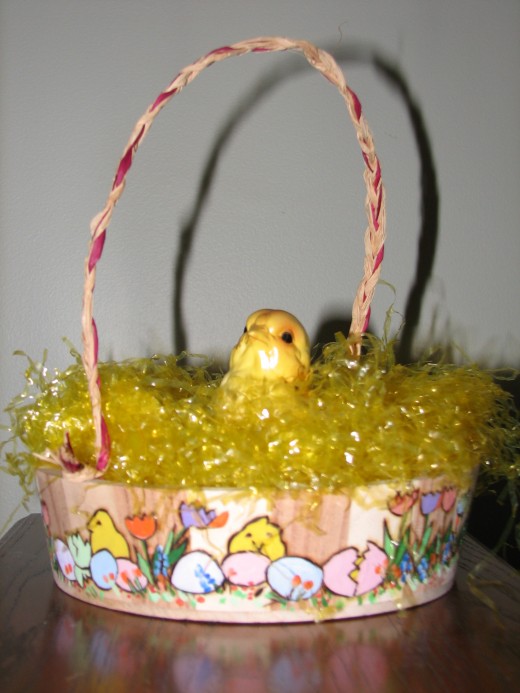
Now you can finish this Easter Project by painting it and adding a handle.
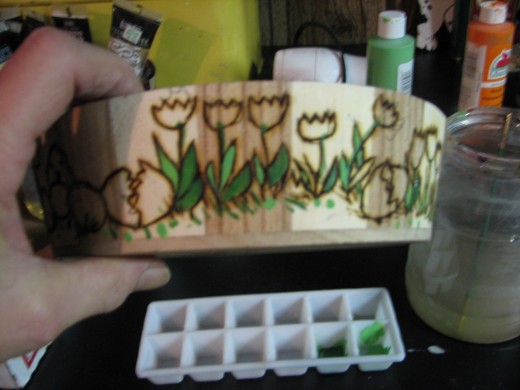
- Paint your design the way you want it
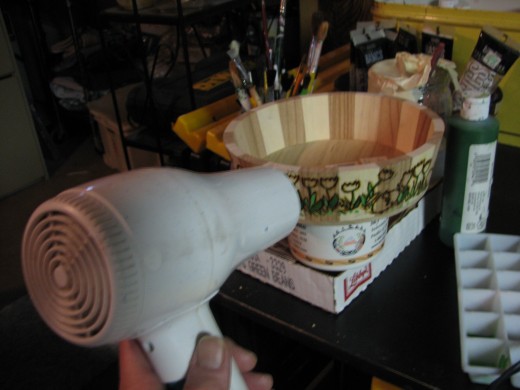
- Use a hair dryer to speed the drying time on your paint
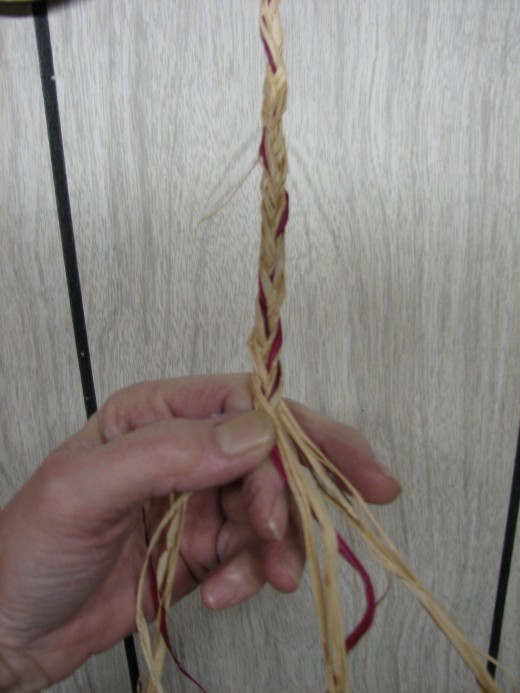
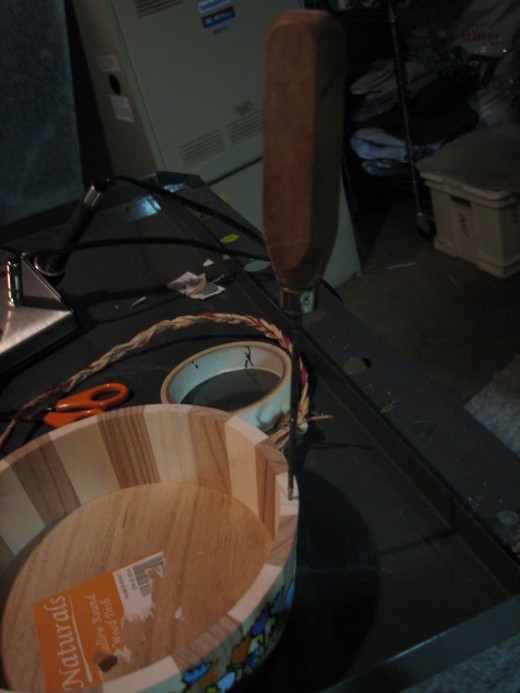
- Add a handle using a raffia braid
- Make your braid
- Tie a knot at the ends making it the length of choice
- poke holes in opposite sides of the vessle edge using an ice pick
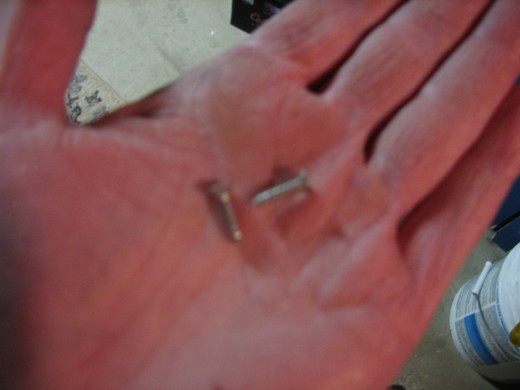
- Use very small screws
- Secure the handle by driving the screws through the raffia knot and into the wooden edge of the vessel
Click on the link below to find an answer to G-Ma's Request
Where did the Easter Bunny originate from? This new hubber had one answer about the origin of the Easter Bunny ............http://hubpages.com/_1ds7vvbju74gd/request/4075/best


