Quilt Gifts- Lapquilt-Sewing Shrugs and Bag Gift
The Minkie and Cotton Lapquilt
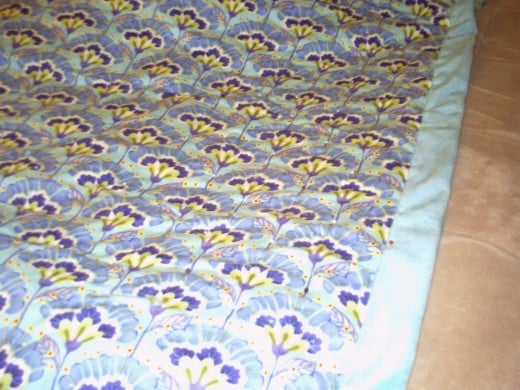
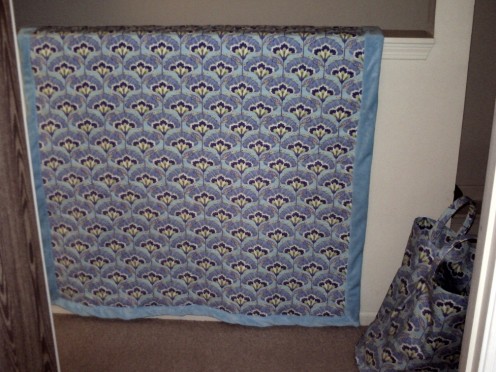
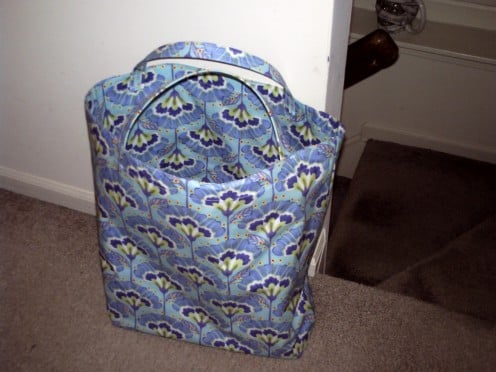
In making this lapquilt it was a backwards adventure. I was looking at the laminated cotton fabric in the quilting department at G Street Fabrics and wanted to try a bag with it. It was a beautiful shading of turquoise and bright vibrant blue. I am sure the picture will not do it justice. I didn't think the bag was enough for a gift so I decided to get the matching cotton and make a lapquilt. As in many of my projects it was determined by what I ended up with. I got the last piece of this color laminated fabric which was my motivation. Then I decided I was going to use a turquoise minkie for the backing of the lapquilt to go in the bag and there was only a couple of yards left of the beautiful turquoise that matched. So I bought the same amount of matching cotton and the same amount of batting. This was what I needed to create the end results. A large laminated colorful bag-waterproof in and out. A good sized lapquilt and the leftover pieces of minkie and cotton ended up being shrugs. I figured someone who needed a lapquilt might also like their arms and shoulders to be beautiful and warm...so that was the beginning.
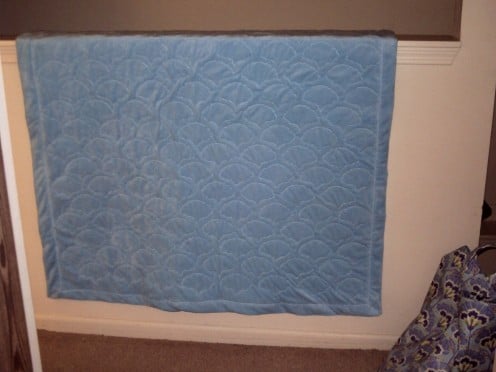
In making the lapquilt it was the usual endeaver of top of quilt laid out wrong side up, batting cut bigger than the top and wide enough to have a binding over the top of it and in this case I wanted blanket binding size. I pulled the minkie over to the width I wanted the binding and cut the quilt batting to the size of the edge of the fold. I pinned the 3 layers together, so there was this extra batting and then beyond that the extra minkie backing... Then I quilted the designs. After the quilting was finished I pulled the minkie over and turned under about 3/8 of an inch-pinned all the way around and top stitched with my antique embroidery stitch which was a blanket stitch on the top of that edge.
The look up close.

minkie quilting photos
Directions for Laminated Bag
The bag was determined by the piece of laminate I had. It was the usual 44 inches wide and then sewn one seam. I then took the tube and folded it so the rounded edge fold would be the top of the bag. I bought some belting from G that comes by the yard and slipped that in the fold and top stitched below the belting. Cut a strip of fabric off the bottom that is big enough to fold in and be the size handles you would like-in this case I cut a strip about 2.5 inches. It was then folded in half with 1/4 inch turn under. That made the handles about an inch wide. The bottom of the bag I used a piece of foamboard I had left over from a model I did. Cut the foamboard to the size of the bottom of the bag. Covered it with an envelope slipcover, so it could be laid in the bag. The bottom of the bag was sewn together first accross straight edge and the each side pulled in to a triangle and sitched straight accross to give the bag a flat bottom and laid the foamboard inside. The handles were made from the strip of fabric as indicated above and then placed on the top of the bag in a way to hold a bag of this size easily. They were top stitched on the bag with a design stitch.
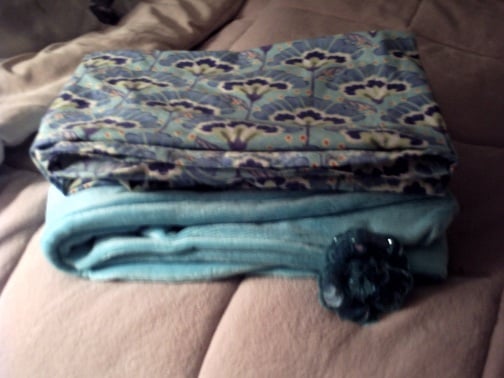
This was a larger than usual lapquilt, but the size was dictated by the amount of material I had. I was trying to encompass the gift bag filling with a little of everything. So the lap quilt then had the two shrugs added as I had plenty to do this.
Instructions for One Size Shrugs
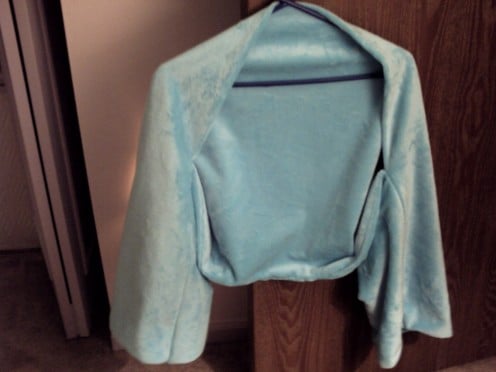
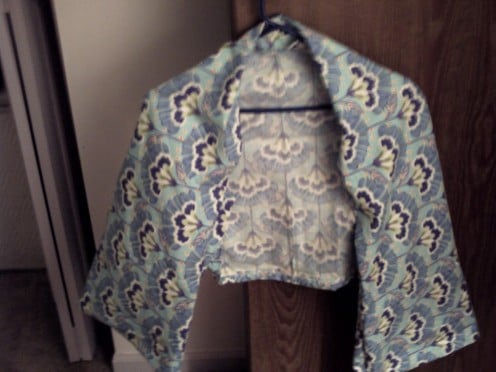
The leftover rectangle of the printed cotton was just the right size for a one size shrug. This means I took the rectangle and held it up to me to see if it was long enough to go from wrist to wrist. Instead of lining it I put two pieces together to get the right length and then just rolled hem quarter of an inch to 3/8 fold in-ironed and topstitched. So there would be a difference between the top and bottom edge I embroidery stitched the bottom of the shrug turnunder so it would be different. Folded it over and stitched it right side to right side leaving an opening between to two sleeve lengths to slide it on. This gives a loose and comfy bedshrug.
The minkie shrug was actually twice as big as to make it self lined. So first the rectangle was sewn right sides together leaving an opening flipped and then hand sewn the opening shut.. Now your rectangle match the edges-and sew the length of your arms(3/4) on each side. flip and you have a comfy soft and warm shrug.
Additional Item to the Bag
A sequin flower attached to a large bobby pin was added to the bag to wear with the shrugs when wanting to look pretty for visitors. When we know someone can't get out we have to help them feel cozy comfy and beautiful for their visitors.
Happy Gift making
.

