Recycle To Make A Jig Saw Puzzle


Crafts Creating Needed Education
They say every "litter bit" helps when it comes to recycling. This "Go Green" craft project would make a good group activity because the more litter saved to re-purpose the better.
Take it to a troop of scouts and now we are talking "save some trash" from a landfill. You will need an old calender filled with pretty pictures. The kind you save because the pictures are too nice to toss.
This is the kind of craft that shows youngsters how things are made and also allows their imagination to flourish. It can keep a child busy doing something constructive for an hour in the making.


Materials
- calender pictures
- cardboard back from paper pads (The ones that are left when you run out of paper)
- wood glue
Tools
- small flat paint brush
- scissors
- pencil
- plastic spoon
- scroll saw
- sandpaper
Select A Puzzle Picture
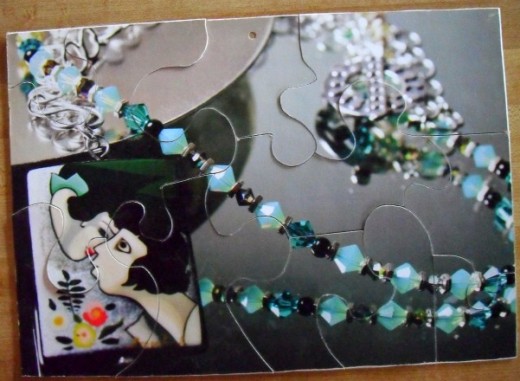
Take a page from the calender with a picture you would like to turn in to a jig saw puzzle. Animals and landscapes are perfect but any nice picture will work. Try to find an old calender that is made of high quality paper.
The thicker the paper the better for this craft idea. Heavy paper will be easier to work with and the puzzle will come out with a better quality when finished. A scout troop might be able to recycle all the pages from a single calender with a new picture representing each month.
Cardboard Backing
This project will need a sturdy cardboard backing. This could come from the back of a pad of paper, an insert from a packing box or even a cereal box could be used. Sturdy cardboard is best.
The cardboard should be cut to fit the page from the calender. It might be the page from the calender must be cut to fit the cardboard. However it turns out when you gather the materials together, both the page and the cardboard should be the same size.


Glue The Picture Down
Use wood glue for strength. It dries nice and hard and adheres to paper and cardboard very good. Use a flat paint brush to coat the entire back of the calender page with glue. The cardboard can be used as a protective surface while applying the glue. Make sure to cover all of the back of the calender page with the glue. It is important that the picture is firmly glued down. When it is completely covered with glue turn the page over and line the edges up to the cardboard as perfect as possible. Press the page firmly to the cardboard.
Smooth The Page Down
Use a plastic spoon and press the page to the cardboard taking care to iron out all the air by rubbing the spoon over the picture. Work from the middle of the piece toward the edges. Go over the picture several times to ensure good paper to cardboard contact.
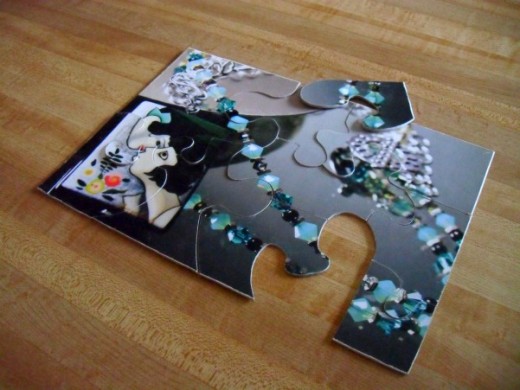
Draw The Puzzle Cuts
Turn the project face down. On the cardboard side of the piece draw the lines to cut using a pencil. Make sure each puzzle piece has an interlocking loop. This will help fit the puzzle back together when it is cut out.
The puzzle can be made with many small pieces or less large pieces. Note the more pieces the more cutting will be needed. It is suggested for a scout troop, group projects to limit the number of pieces. This will be easier for the person who gets the task of cutting with the saw. This task should be done by someone who knows how to use a scroll saw with all the safety considerations.
Set the glued project aside to dry. This will take a few hours before the project can be cut with good clean cuts. Wet glue between the paper and cardboard is prone to cut a more jagged edge. It is suggested to weight the project down under some books during the drying process. This will return a nice flat piece to cut later. make sure there is no wet glue on the project when you weight it down. You do not want the piece to stick to the book weights.
Cutting Out The Puzzle
This step will not take long if the puzzle is cut in about a dozen pieces. The cardboard cuts very easy using a scroll saw. An adult will have to do the cutting for a scout troop so maybe a vollunteer can be found for this step. Each piece of the puzzle might need a light sanding but probably very little. Just check for any rough edges. Once the puzzle is all cut up, it is ready to play with, have fun!
- Salvage Art - How to Create a Wall Hanging With Anti...
Salvaged material can be made into attractive décor for the home, giving a vintage look or adding a unique touch to your home design. It's fun to create art projects with recycled items. I'll show you how to...


