How to Recycle Old Crayons: Easy Way to Make Broken Crayons New again

Recycle old crayons into brand new crayons with this easy tutorial. You can mold them into different shapes which are great for little toddler hands. This project is so easy that your kids can even help you with this. You can make them for your own kids or you could put the finished new crayons into pretty containers and give them as gifts. They could be used as party favors or even stocking stuffers. I made some of these for my little boy and they turned out great and he just loves them. This is a great tutorial with tons of possibilities.
I'm excited about sharing this easy tutorial with you.... Let's get going!
What You Will Need
- Used crayons
- Some sort of mold like a small muffin tin, ice tray, candy molds etc.
- Oven/stove or microwave
- Microwave safe containers (if melting in microwave)
- tin cans and big pot (if melting on stove top)
- glitter (optional)
Step One
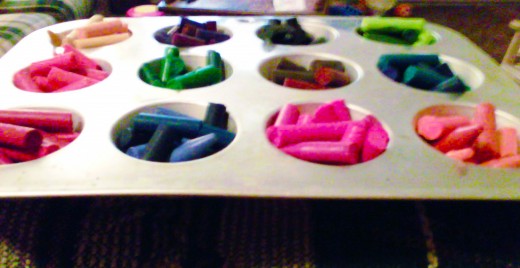
First take all the wrappers off the crayons and break them into smaller pieces and separate them by color.
Step Two
There are several ways you can melt the crayons depending on what you are using as the mold. You can melt the crayons inside the mold in the oven if you are using a metal mold or you can melt the crayons in the microwave and then pour into the mold or use the stove top method. I chose the less messy route and melted the crayons right inside the mold using an old muffin tin. You can also use cup cake liners if you prefer.
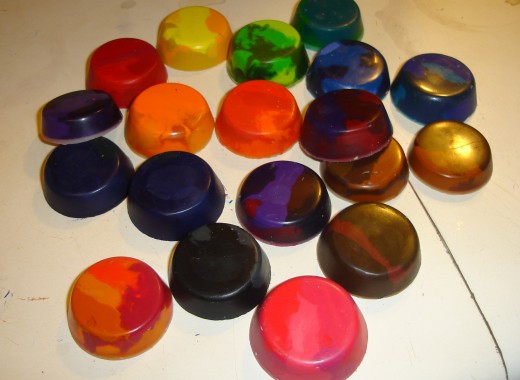
If using muffin tin or similar metal mold: Preheat oven to 250. Put broken crayons in each of the muffin slots filling at least half way. I filled mine about 3/4 full. You can use like colors together or you can mix the colors and come out with a cool marbled effect. I mixed different shades of the same color and they came out marbled with different shades of that color.. very pretty. So, once you have the tin filled put into the oven and bake about 15-20 minutes making sure to check on them often.. when you see they are melted take them out and this is the time to add some glitter and mix it around if you prefer and then let them cool.
If using a plastic mold: Either melt like colors together in microwave safe containers and pour into the mold when melted OR separate like colors into tin cans (like from vegetable, etc.) and put them into a large pot of boiling water on the stove and watch carefully until melted then add your glitter if you want and pour into molds. Set them aside to cool.
Also, as an alternative to using molds I've read that you can use cookie cutters as well- just put your cookie cutter down flat on some foil and pour in the wax.. you may need to hold it in place for a bit until it sets or maybe you could cover the bottom of the cutter with an aluminum foil seal. Sounds like a easy way to make some really cute crayon shapes!! I can't wait to try this one myself.
Step Three
After your crayons have cooled all you have to do is pop them out of the containers and WALLAH!! Now you have some cute new crayons!
Thank you for reading. I hope you enjoy making these as much as I do. Happy Crafting!!


