Shrinky Dink and YOU
It all started long ago ...
I first discovered Shrinky Dinks about twenty-five years ago when on a quest to find unusual and cute buttons for an outfit I was making for my oldest daughter. While in the fabric store I discovered a Daisy Kingdom rack with a product called Shrinky Dinks. Oh my ... I found THE cutest little Spring inspired sheets and made buttons out of the sheep. So started the obsession.
For those unaware, Shrinky Dinks were discovered by two Wisconsin housewives in 1973. They started small and the 'toy' took off and soon several companies, including Milton Bradley and Colorfoms, were manufacturing them.
Shrinky Dinks themselves are thin, flexible sheets of plastic. You can buy them preprinted or, my favorite, blank. Color them with felt tip pens, colored pencil, or acrylic paint. I use my paint program and draw and color my designs and print directly on to the paper.
Once colored, cut them out - if you are using them as jewelry components, punch holes before baking! Place the cut outs on a baking sheet and pop in a 350° - 400° preheated oven (or toaster oven). Baking time may vary, so keep an eye on them, but it generally takes about two minutes.
CAUTION! They will be HOT!
NOTE: Your items will shrink to about one third of the size of the original. The colors will darken dramatically once the pieces are cooked. It is best to use light colors.

During cook time the shrinkies will curl and flatten out. If they are not flat when done, place a heavy object - a book works really well, in top while they are still warm - and they should flatten nicely.
If you want something that is curved, a ring or bracelet perhaps, shaping while warm is the ideal time.
After they have cooked, if there are rough edges, you can use a fine sand paper or nail file to smooth edges.

Now, the good part ... you can use #6 plastic, like the kind that grocery stores use as trays for cookies, etc. You don't have to spend a fortune or buy more than you need.
Flip the tray over and you will see a recycling triangle with a number in the center. If it's a 6 you have a craft project in hand! You can also use the ripple-y ones for a fun texture.
Color and cut out your ideas ... punch holes now, if you will be stringing them!
Place on cookie sheet in 250° oven or toaster oven and keep an eye on them - maybe 30 seconds before you'll want to take them out.
CAUTION! They will be HOT!
While they are warm is the time for flattening or forming.
Have fun and CREATE!!
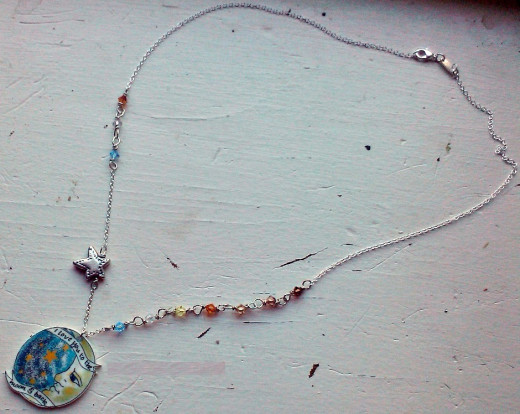
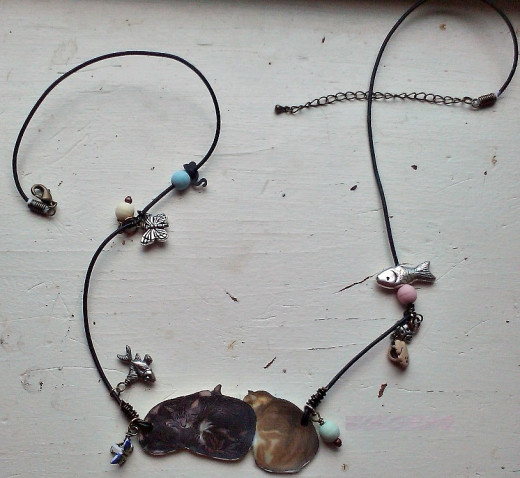
Following is a piece I did using a photograph of my cats. I call it Cat Dreams and incorporated charms of butterflies, fish, a dog face, etc.
