Photographing Silhouettes Against The Sun
"Photography
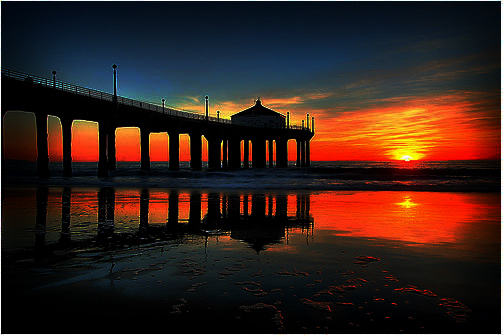
Many photographers use the technique of photographing people, objects or landscape elements against the light, to achieve an image in silhouette. The light might be natural, such as a sunset or an open doorway, a technique known as contre-jour or it might be contrived in a studio; see low-key lighting. Silhouetting occurs when there is a lighting ratio of 16:1 or greater." Wikipedia
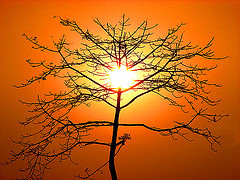
A lot of beautiful images are nothing more that an outline of a shape. Mostly of people, or architecture but often also showcasing animals, flowers and many other things.
Silhouette photography can be a specialty like the works of Sadik Shahriar, Yury Barsukoff and Carlos Gotay.
Yet many amateurs lose the chance of capturing beautifully striking silhouettes because they fail to use their gear appropriately or to plan ahead.
For a silhouette to work the subject must be in between the photographer and a strong light source.
It's as simple as that. However this simple approach mostly produces silhouettes that lack color or perhaps lack an element that could enhance the photos to their utmost potential.
For these there is nothing better than posing a subject between the golden hues of the setting sun and the photographer.
Here is where the talent and patience of a photographer pays off. Not only does one have to research the best times like when the Sun sets, but a good scouting run of a choice location is also important.
Remember that your silhouettes should be posed against an un-obstructed backdrop and the principal thing that should show behind the form is nothing more that the Sun itself and perhaps some smaller elements that can be used to complement the scenery or put it into perspective.
Think this is difficult?
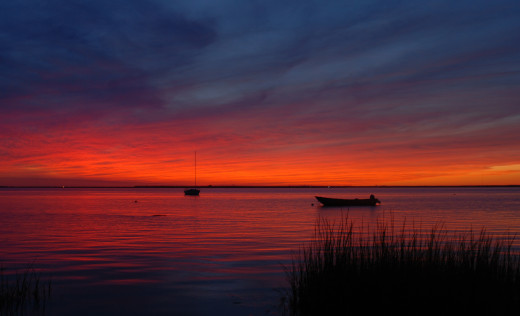
It is worthwhile to select your subjects, select a good location and plan ahead in order to capture images in which the dominant color is the usual reddish to golden color of the setting Sun.
For this theme try to stay away from color backdrops that tend to be mostly yellowish.
Aim for deep reds instead and you will immediately notice how your images gain a striking appeal almost begging to be looked at.
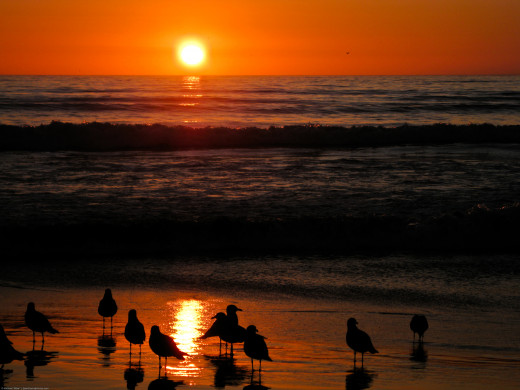
One of the best themes when doing this technique or pursuing this style is to capture several images of the same subject in the same location but at different angles.
This sorts of gives the viewer an idea of what the location can offer as well as to offer a distinct picture of the location itself.
You also count with several images from which to choose the best one if you were to use them to submit to a publication like a photography magazine or to use for a calendar project, book or greeting card.
These images are specially good to use as stand alone images that can be mounted on a frame and used the same way that you would use a regular picture.
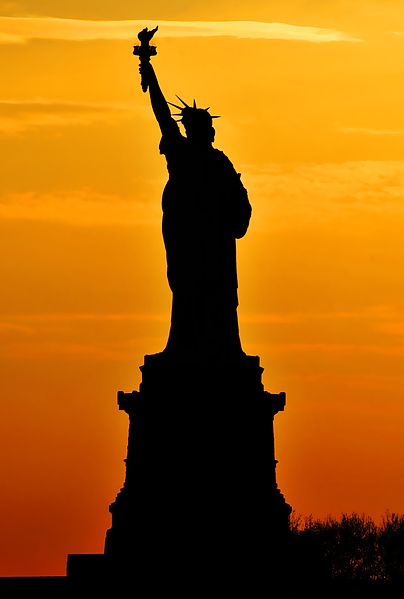
When you have chosen the subjects, and chosen your location as well as done your homework and have the timing right then you should plan to arrive on location at least half an hour before the Sun begins to set.
Compose the shot in advance so that you have a good idea of what will be visible in the final photograph and work around it to get the best angles and the best perspectives.
It doesn't help if you get to your location just when the Sun is setting below the horizon since you will have very little time to take the sufficient amount of photographs to get a good number of shots from which to pick the best ones, plus you might end up shooting against the clock and your shots may appear as if taken randomly.
Most professionals are set in place well ahead of the light that they are seeking and have the shots in their mind and a plan in hand for capturing the scenes that they have in mind so that nothing takes them by surprise and everything comes out without a hitch.
This is often what separates them from the rest.
Above all. keep in mind that sunsets and silhouettes respectively and individually have been a stable of photographer's repertoire for many years and there is an abundance of exceptional images. Yours must be good enough to compete.
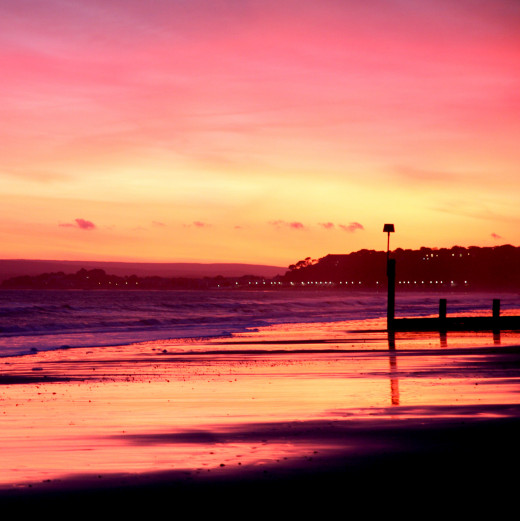
Another good technique is to chose ahead of time whether you will focus on nature scenes or if you will use man-made structures or even models for your shots.
It is often better to concentrate on one specific type of subject and conduct one photo shoot with a similar theme rather than to try top capture a smorgasbord of subjects in one shoot.
You can always repeat the shoot with different subjects, one at a time, at a later date.
It may be easier to start with simple nature silhouettes like grasses, shore birds, trees, seaside, boats or lakes first and move from there to other subject matter like using models or architectural shapes the next time around.
Do not be afraid to take a large number of shots and experiment while doing so. It is better to get some bad pictures but learn form them so that you are better prepared.
Try bracketing, using different shutter speeds and f stops. This way you can be exposed to what works and what doesn't.
- Silhouette photography: tips for shooting into the sun | Digital Camera World
Take a minimalist approach with these silhouette photography tips for shooting into the sun. Our step by step tutorial shows how it's done.Silhouette photography is when you shoot a subject with backlight so that you only show its outline. As the sub
© 2014 Luis E Gonzalez


