How to Make a Charming, Boho, Wine Bottle Chandelier in 4 Easy Steps

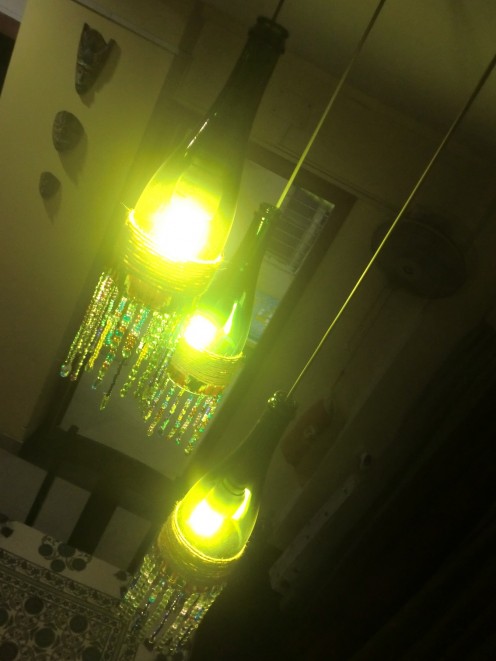
My Wine Bottle Chandelier
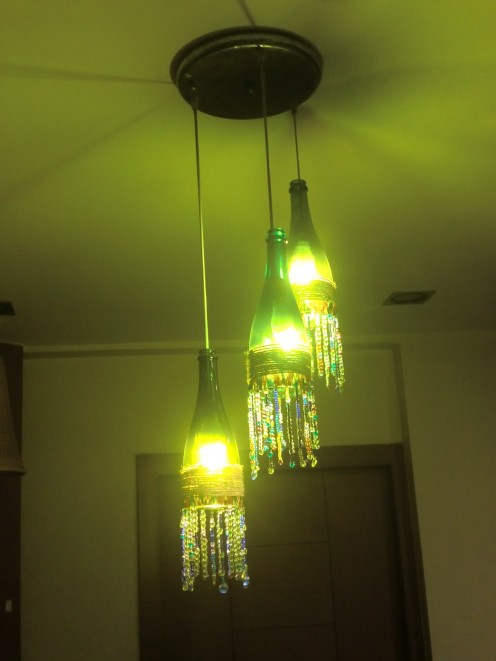
All you need to make a wine bottle chandelier...
Now I am not going to be very descriptive in this hub this time. I think the best way to cater to a twitter generation is to keep it simple and to-the-point!
Here you go!
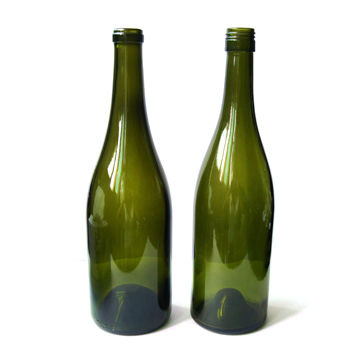
1. Wine bottles - 3
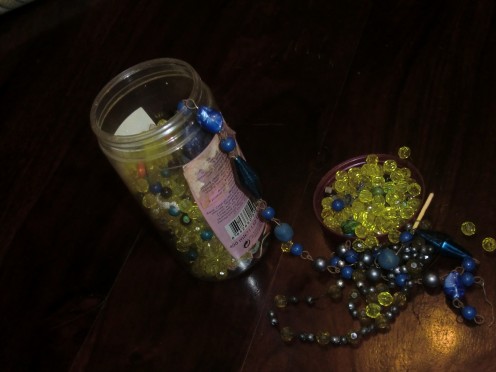
2. Beads - glass, plastic, transparent ones preferable
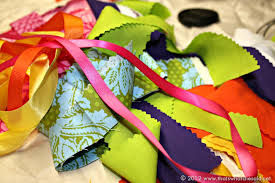
3. Scrap fabric - I used a left-over from a tailored tunic of mine
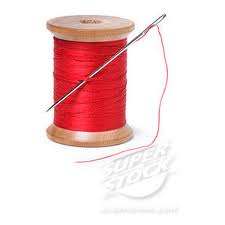
4. Needle and cotton thread
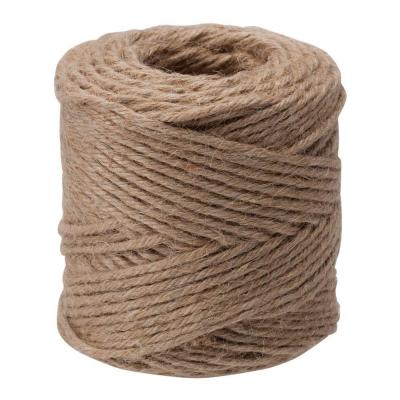
5. Natural jute twine
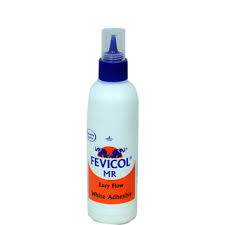
6. Glue - a strong one
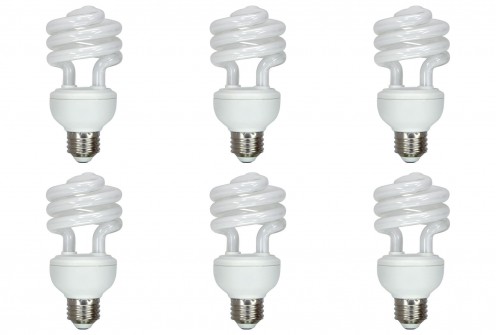
7. 15 Watt CFL bulbs - 3
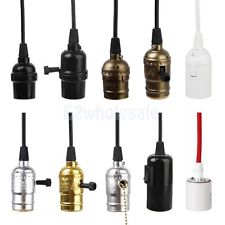
8. Bulb holders - 3
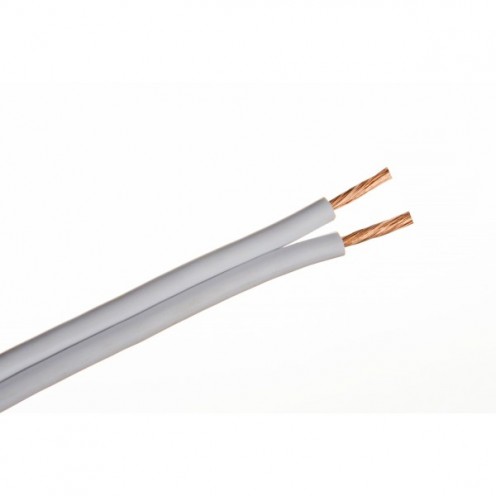
9. Electrical wires
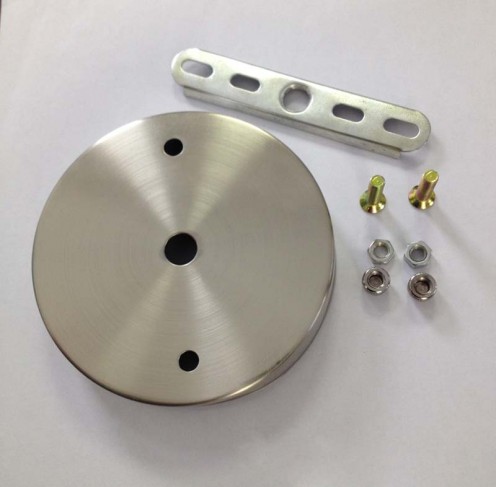
10. Ceiling plate of your choice. I used a nickel-coated one
Step One - Cut the wine bottle
Now there are various methods described on Pinterest and youtube as to how you can easily cut a wine bottle. However, to keep it safe and prevent it from cracking, I went to a glass dealer in my locality and got it done by him for the bottles to look neat and professional.
However, you may also choose to do it at home by tying a string around the bottle, burning the string and dipping the bottle in ice-cold water.
Alternatively, you can also use a wine bottle cutter that is available to buy these days.
How to Cut a Wine Bottle Tutorial
This youtube clip is courtesy www.greenpowerscience.com ...
Step 2 - Boho Decoration
I used an assortment of old plastic and glass, see-through beads and using a needle and thread, I made bead strings ranging from 4 1/2 inches long to about 6 inches long.
Next, I sewed these strings at the bottom edge of the 4 inch x 10 1/2 inch scrap fabric that I found lying in a drawer of mine and decided to make good use of.
I pasted this fabric around the bottle and wrapped the fabric part with a jute twine. I used Fevicol to wrap the jute twine.
Close-up of the Boho-looking Wine Bottle Chandelier

Step 3 - Be Mindful of What Lamps You Choose for Your Chandelier
I used 15 Watt CFL lamps because they will hardly warm up my glass bottles.
They last longer, are small in size and hence can fit neatly inside the wine bottles.
I can keep my chandelier lit the entire evening without having to worry about a fuse bulb or a bottle cracking up due to heat.
Step 4 - Fix the three bottles with the ceiling plate through holders and electrical wires..

Now for a pictorial, gentle reminder of the things you would need for this project:
3 Empty Wine Bottles
Old Glass and Plastic Transparent Beads
Scraps of Old Fabric
Needle and Thread ...
Jute Twine
Strong Glue..
15 Watt CFL Lamps - 3
Electrical Wires ...
Hanging Lamp Holders - Choose the one that fits your lamp ...
Nickel Ceiling Plate ...
Another Look for You All, Before I Sign Off Tonight!
Why I up-cycle...
Each one of us has his own reasons behind up-cycling. I think it is a very refreshing exercise and very, very therapeutic.
Up-cycling things into useful products have always meant value-creation for me. It is like changing an existing reality - a reality which was once a pile of junk.
Up-cycling gives a sense of self-worth and is a great source of accomplishment.
Over the years, up-cycling has kept me going through the darkest phases of my life and has helped me sail through some of the most difficult situations by lifting my spirits to the point of - "Yes, I can do it..." getting manifested thereafter to "So I can do this too!"
I will sign off tonight. I hope you will find this tutorial useful and will try it at home. It is quite a common idea - I have just given a twist to the look and that, I believe has made it a bit different.
Enjoy your February and do leave me your questions and comments!


