Soapmaking 101
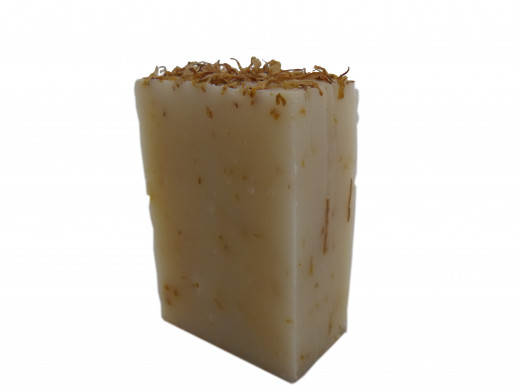
Every single day, most of us have a run in with soap one way or the other. Dish soap, bar soap, laundry detergent, or shower gel. Maybe even a bit of shampoo. All of that is, at the basic level, soap. While there are different ingredients in commercial soaps that help each form do different things for different items, you can get nearly the same performance from soap that you make yourself at a fraction of the price.
Yes, you can make soap. Not the 'melt and pour' soaps that are so popular in craft stores, but honest to goodness soap made from things you have in your home. If you have a few basic things, you can make old fashioned lye soap for free or very cheap.
Lye
To make soap you need lye and lard. Lye can be purchased, usually in the cleaner section of your grocery store. If you can't or don't want to make your own, that is. Lye can be extracted from the ashes of hard wood. Extracting it is a fairly easy process. You'll need two containers, one that has a few small drain holes in the bottom and one that will catch the lye water (no holes). Plastic or wood containers are the best, metal will react with lye. Fill the first container with ashes, then place above the second container. You can use blocks to hold the ash container above the other. Pour water over the ashes, enough to soak the ashes well. This amount will vary – try 2 ½ gallons the first time.
Allow to drain. When the draining has stopped, remove the lye-water container. Be careful to wear gloves and safety glasses. Lye is caustic – that means it will burn skin, clothing, and mucous membranes (eyes/nose). If any splashes on you, rinse with a lot of water – fast.
Test your lye by placing it in a container (glass jars will work best) and floating an egg in it. It the egg floats low, the lye is weak. If it floats high on top of the water, it is too strong. If the egg floats in the mid-portion of the jar, it's just right. You can add water to lye that is too strong and weak lye-water can be poured back through the ashes.
Lard
Lard is one of the easiest things to procure. You can save the fat trimmings from any meat you purchase, then clarify it to get the hard fat. You can use an oven or a crockpot in order to clarify the lard.
Place trimmings in a deep roasting pan or a crockpot. Allow to 'cook' on a low heat setting until the fats have melted. Pour through a very fine strainer, feed the solids to your dog or someone you don't like.
Pour the strained, melted fat into a wide mouth container, a glass mixing bowl works well. Allow to cool. White, hard fat will solidify on the surface and liquids will congeal on the bottom. Pull the solid block of hard lard out of the bowl – wash any gunk off the bottom. There's your lard!
Making the Soap
Heat your lard – make sure it is melted with no clumps. This is the time to add dried herbs, drops of essential oil, or exfoliating ingredients. Do not over-heat or the finished product will have a scorched smell. (You could also cause a fire, keep a box of baking soda close by. Dump baking soda on top of any grease fire! Water causes flares)
In other soapmaking recipes you will have a step for adding powdered lye to water. This causes a chemical reaction and the water/lye solution will become very hot, about 180 degrees F. Homemade lye water does not do this. Heating lye water is simple, when following your soap recipe, dilute the lye-water with hot water. Never boil! You will also need ½ the water called for in powdered lye recipes – for example if a recipe called for two cups of water, use 1 cup lye-water and 1 cup water.
Allow the lard to cool to about 100 degrees. Add your warm to hot lyewater.
Blend with an old stick blender OR a handheld mixer you will not use for anything else – ever!
Blend until the mix reaches trace. This is when the little hills and drips keep their shape in the mix. It looks very similar to cake batter. If your mix has this consistency, it's time to pour or spoon into molds.
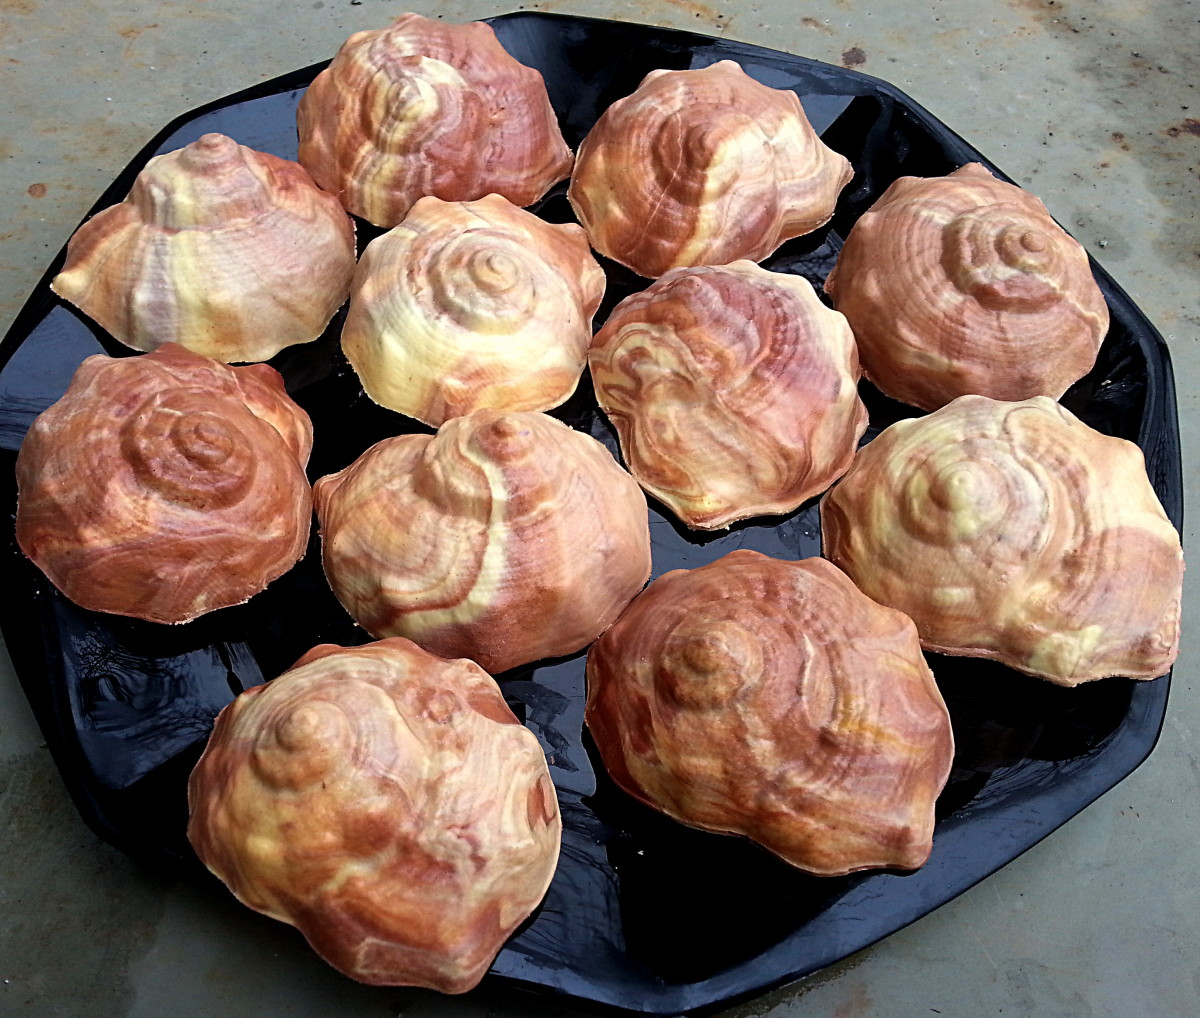
You can use almost anything for a mold. Old muffin tins, plastic boxes, old bread loaf pans – anything as long as you will never use them for making food again.
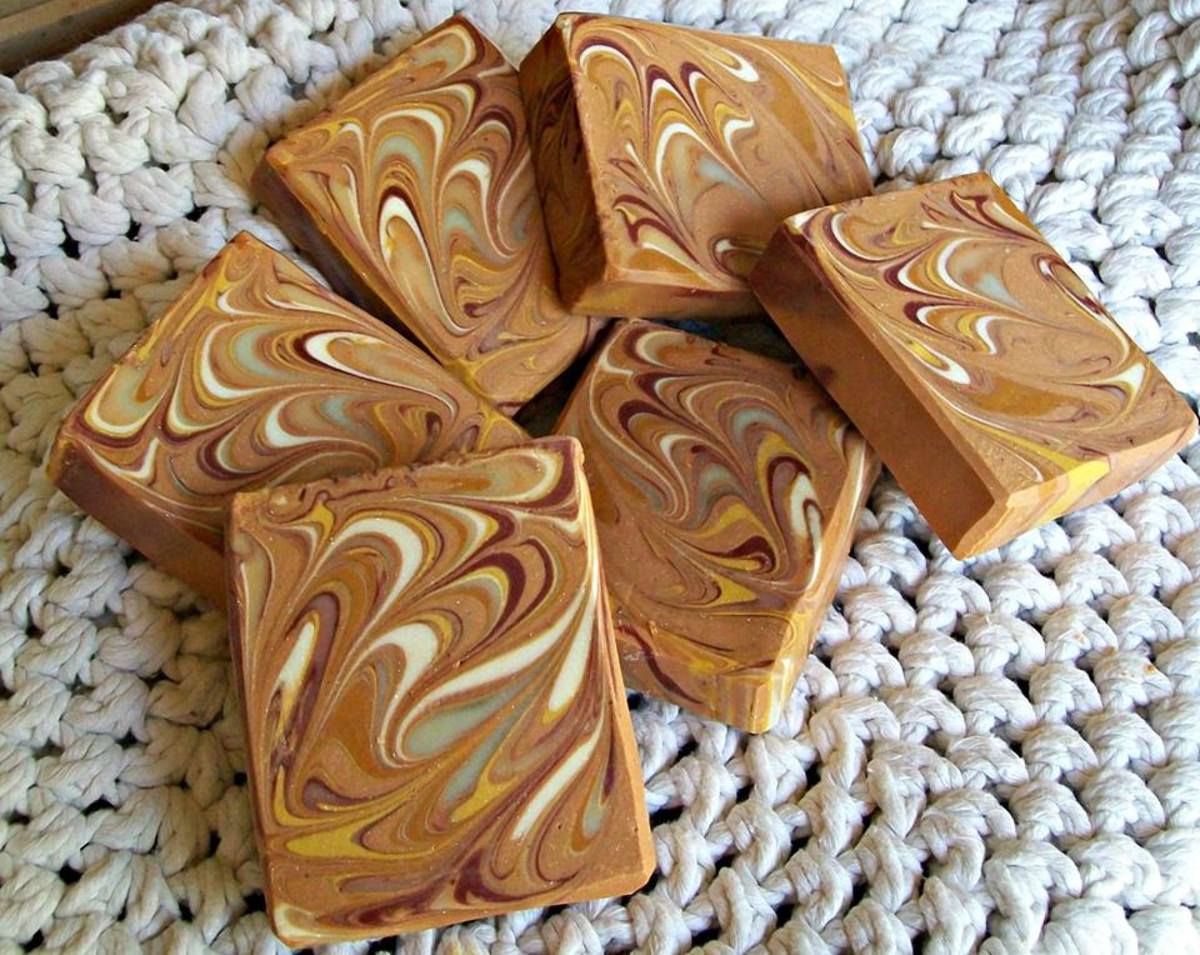
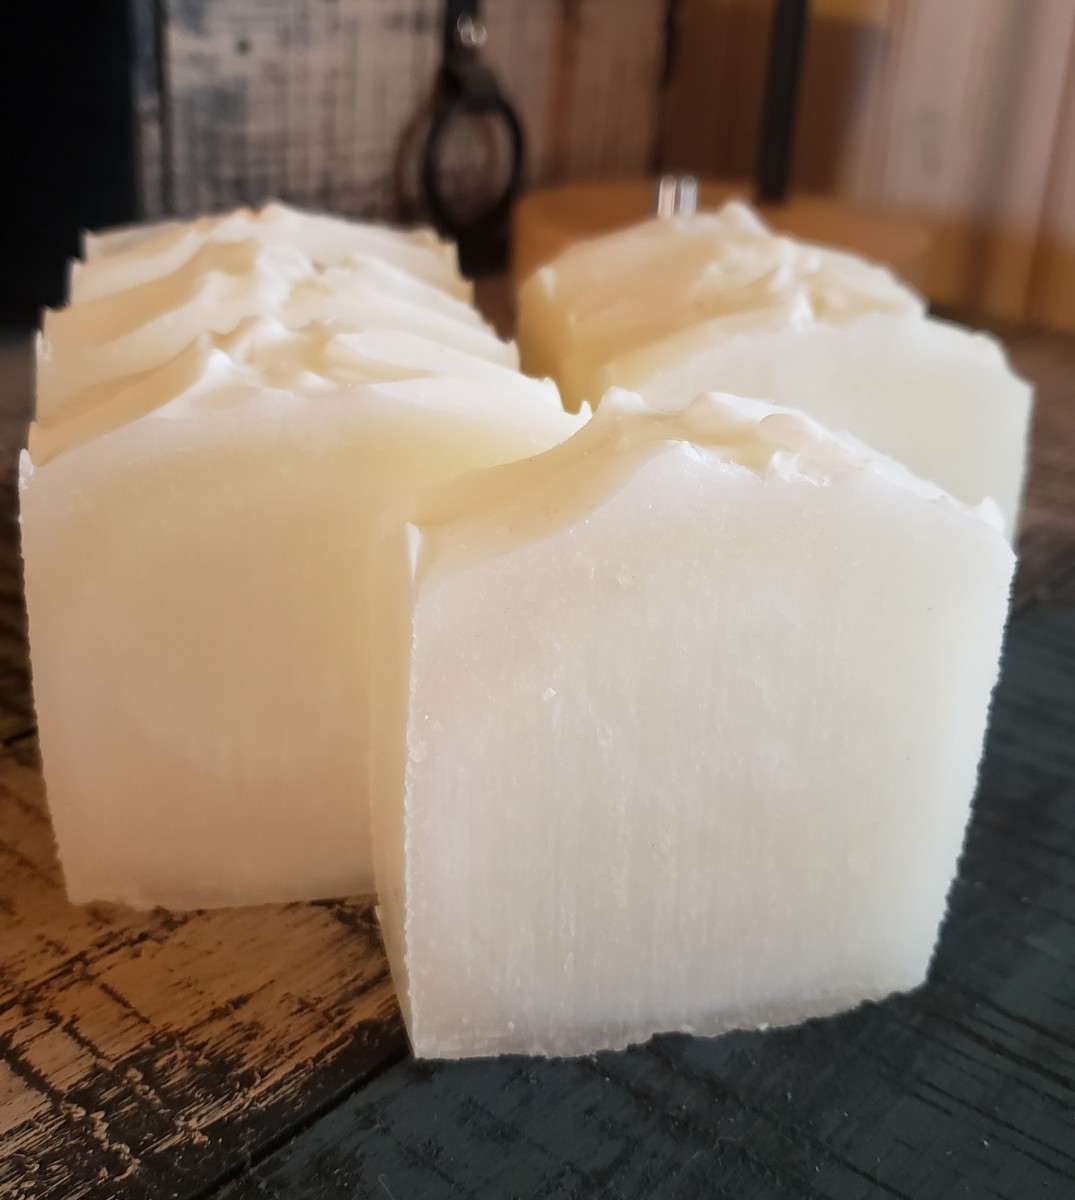
Allow the soap to 'set' overnight to three days. You can unmold the soap and if needed, cut into soap bars. Stack with wax paper between the bars, in a cool, dry place. Allow to 'cure' for three weeks before using. This mellows the soap. Using it too soon can irritate the skin.
After three weeks, you can use the soap or give it away as gifts! The hardest part of it all is the waiting! Enjoy making your own soap and delight in the fact that you can make your own boutique soap at a fraction of the price.
For recipes and more, visit SoapCalc.com


