T-Shirt Screen Printing Using Ready-To-Use Materials
T-shirt Printing Colors
Professionals in the t-shirt screen printing industry use custom made screen printing tools and expensive materials that bring high quality results. Of course, these will require a large amount of money as investment.
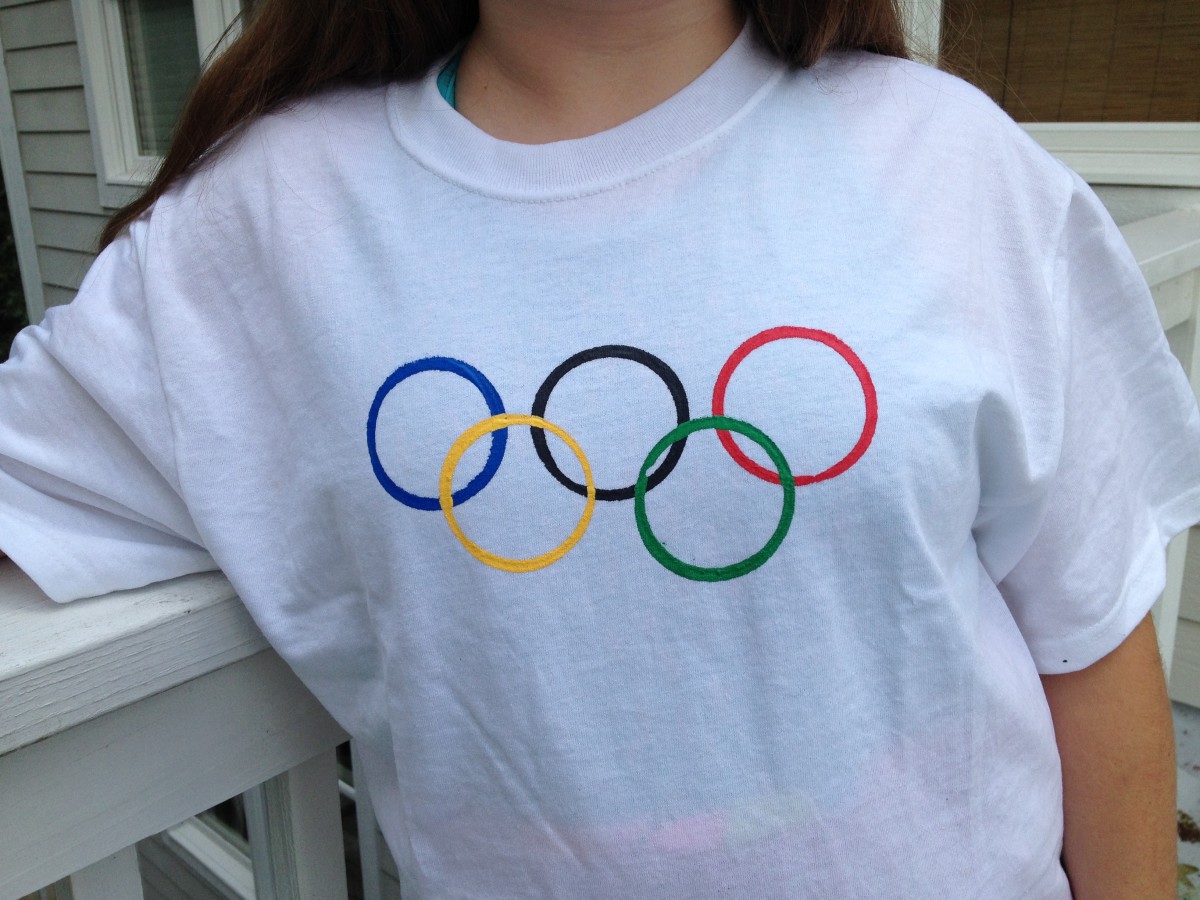
However, if you are an ordinary hobbyist who wants to give hand-made gifts this Christmas, then a good way is to do your own t-shirt screen printing projects. In fact, t-shirts are not the only gifts you can make using the screen printing method, but you can also design bags, aprons and scarves.
Where To Get Your Screen Printing Materials
Making your own Christmas gifts is easy with ready-made materials available in craft stores and online. You can purchase ready-made stencil films, screen printing ink, squeegees in assorted sizes, and convenient exposure frames.
Stencil films, squeegees and exposure frames are available in Starter Kits. These sell from $25 and up from online stores. The kit already has the tools needed for screen printing: mini squeegees, blank stencil films, an exposure frame, and some ready-made graphics for you to use. All you have to do is buy screen printing ink.
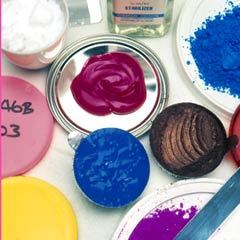
In t-shirt screen printing, Jacquard and Versatex Screen Printing Inks are just two of the trusted brands to bring high-resolution images to life on fabric. The colors are vibrant, intermixable, and water-soluble. The ink is permanent on most surfaces, including paper, leather, vinyl and fabric.
Lastly, prepare the setup for the exposure process. You do not need special UV equipment for this. You can either make use of natural UV from sunlight. You can also make your own equipment—if there is no sun shining outside—by using the following materials:
- One (1) Compact Fluorescent Light Bulb with a brightness of 27w Daylight 5500k (equivalent to 100w)
- One (1) 10.5" Clamp Light by Commercial Electric
- Two (2) 2"x2" blocks of wood
- One (1) 4"x5" StencilPro or PhotoEZ stencil
- One (1) 6" x 6" Exposure Frame
You can buy an exposure frame from a store or you can make one for yourself with clear plastic vinyl and a dark platform for the stencil. The clear plastic will cover the artwork and prevent it from moving. Keep the stencil film and the artwork in place with clamps on each corner of the frame, or you can use any clip, screw or tack to keep the layers of paper, stencil and plastic close together.
How To Make Your Own Stencil
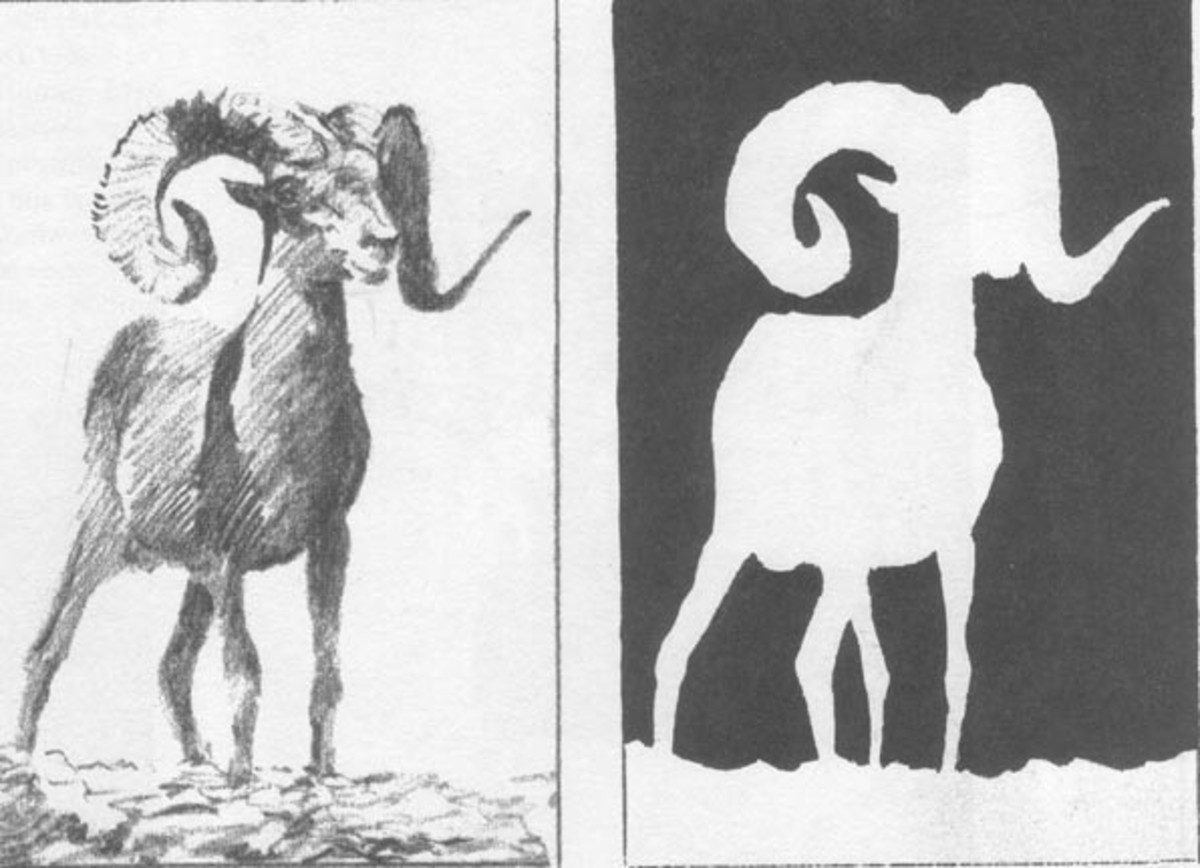
With your computer and printer, you can make your own design using user-friendly graphic design software. Once you have printed your artwork on paper, cut the edges to size to fit the stencil film.
Place your artwork on the shiny side of the stencil face down and insert the two together in between the exposure frame’s back and front covers. Keep them together tightly by attaching the clamps or clips on the corners of the frame.
Position the frame in between the two blocks of wood. Place clamp light with the bright fluorescent bulb in it over the exposure frame. The timing of the exposure depends on the stencil brand and the artwork’s material.
The shortest exposure time is best achieved using acetate film for the artwork and using sunlight as source of UV light. Make sure your artwork is printed in black and white and the ink is very dark and opaque. If necessary, print the image repeatedly from the printer to produce a very dark image.
Place the stencil on black non-reflective surface during exposure. When using sunlight, cover the stencil before and after exposure to guard against over exposure.
Now you are ready for t-shirt screen printing and making your own gifts this Christmas!

