Ten Photography Tips for Fabulous Photos
My Beginnings
I began learning about photography when I was seven from a family friend who was a professional photographer. He was a teacher in photography and loved to take photos of a variety of subjects ranging from portraits to abstract, nature to automobiles and everything in between. I was given my first camera at the age of eight and began taking pictures immediately. Color film was expensive, so my first few years of photography were done in black in white. As I grew and became more experienced, I progressed to color photography and began to develop my own prints. I used the schools’ photography lab every Thursday afternoon to develop my black and white rolls as well as my color rolls. I earned this privilege when our family friend became my teacher in photography, and I assisted in teaching the classes. I loved taking photos and my subjects ranged from animals to trees, skies to snow capped mountains, profiles to group photos. Today, I continue to take photos but more on a casual basis. I have graduated from film to slide to digital. However, my best photos are still taken with my still camera that is now 22 years old. Perhaps it’s just because it’s my old friend and I know its little quirks.

More photography tips:
Throughout the years, I have learned a few tricks of the trade to snap successful and eye catching photos. The tips I am about to provide you are more specific for portraits and group photos, but can be applied to other subjects too. With the upcoming festivities of Thanksgiving and Christmas, I am hoping that my suggestions will help you capture memorable moments of your family celebrations.
As technology is wondrous, we now live in an age of digital cameras and software that allows us to crop and edit our photos. The ability to edit our own photos is a blessing in disguise as it is only limited by our own imagination. However, it is still necessary to follow some basic rules of photography.
Let's Begin
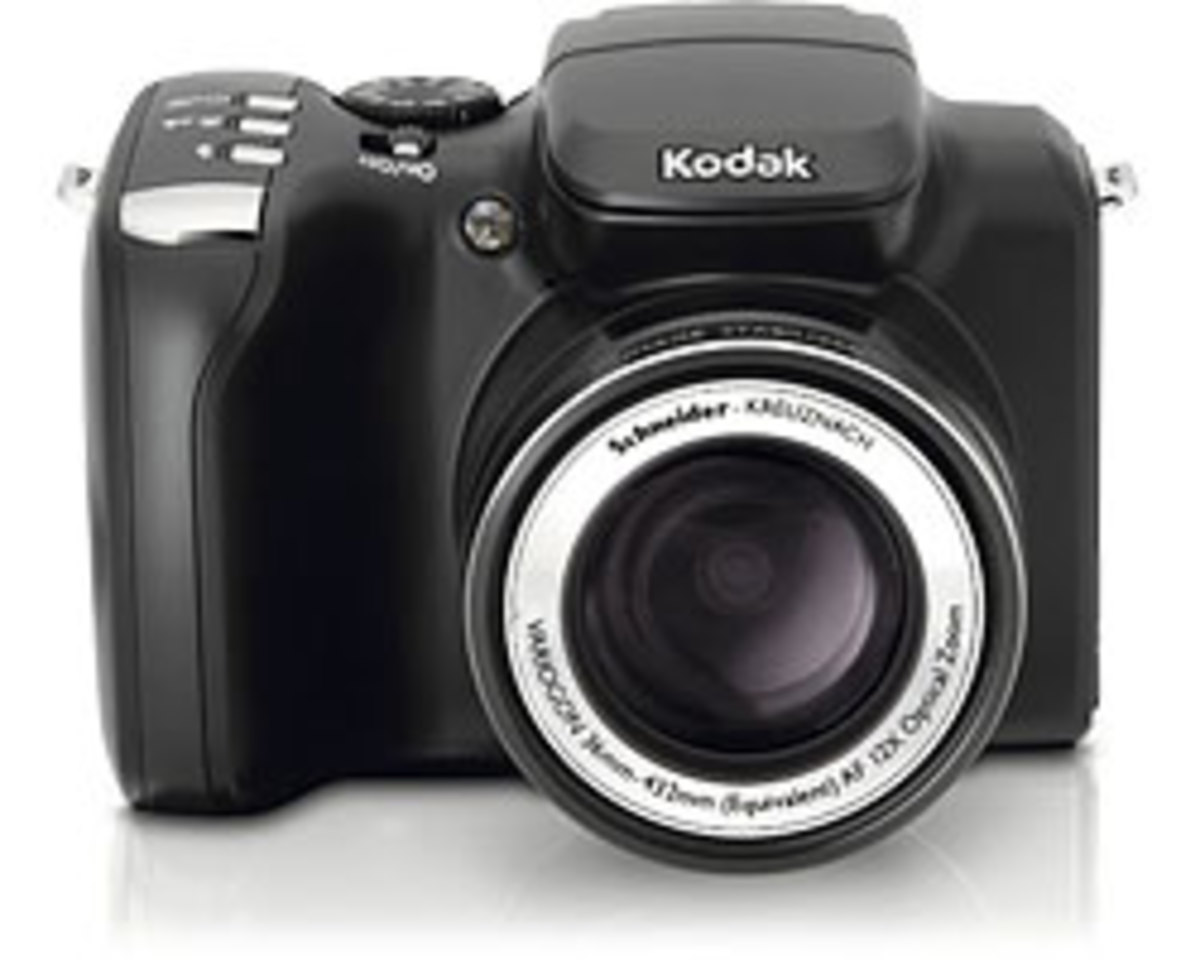
The first is to study your manual. How many of us actually do this? I have to admit, I rarely read the manual, after all, I’ve been shooting all my life. What could I possibly learn from a manual??!!?? Well, if the truth be known, there are always little gems hidden in the manual that aids us in taking even better photos than we have been. Each camera is unique in that it offers one or more features that another might not have. Thus, it is important to read the manual carefully, and try each feature as you read. You will be surprised at how much better the photos will turn out if you use specific or combinations of these camera features.
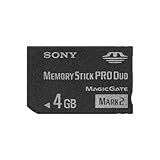
With digital cameras, the photos are stored on the memory card. Memory cards are now available in 1, 2, 4, 8, 16, 32 or 64 gigabytes – that is a LOT of storage space!!! My advice: take the photos in the highest resolution that is available for your camera. The higher the resolution, the finer the picture will be. This will enable you to zoom in and crop the final photo without losing much of the fine detail. For the camera enthusiast of yesteryear (like me), this is equivalent to using fine grained film versus course grain film for photo enlargement. If you plan on enlarging or zooming in, use the highest resolution. If you plan on not editing and leaving the photos “as is” for viewing on the computer, then the standard resolution is sufficient. But why not use the best resolution when it is available and memory is vast? Who knows, in the future you may want to zoom in and crop that photo. In order not to lose any of your photos, I suggest that you import it into photo viewing software and download onto your hard drive. I also suggest you back up your photos (and all other pertinent data) onto a second drive (external drive) and/or disc. This way, you can erase the photos from your camera’s memory and continue to take more photos.
Most digital cameras have an automatic feature which allows the user to point and shoot without having to think about all the other adjustments that are necessary to take the photo. One manufacturer has gone one step further in which it has programmed the camera to recognize a smile on an adult or child. Once the requirements are met, the camera automatically takes the photo without your pressing the shutter button.
Action, Memories and Emotion
The best photos are those which are attached to a memory, and hopefully, a happy and pleasant one. Photography is not just taking pictures of this or that, it is taking a moment of time in your life and freezing it forever. The photo will bring to life your memory of the event and in turn, will bring back the emotions that you felt at the time. These are the best photos. Not everyone will look at a photo and feel the same as you, but that is to be expected. It is like looking at a piece of art and providing an interpretation. If ten people looked at that piece of art, you will have ten different reactions even though it is the same piece of art.
Photos are commonly taken while indoors. Try taking photos outdoors and in different places. The outdoors provides numerous themes for the background. There are parks, water ways, nature, cityscapes, trains, benches, buildings, and a thousand other options. When taking outdoor photos, try taking them early in the morning or in the early evening for softer lighting. Sunrise and sunset can provide remarkable backdrops. However, avoid the harsh mid day lighting as it is more difficult to avoid glare, squinting eyes, shaded faces and blaring sunlight as the back drop.
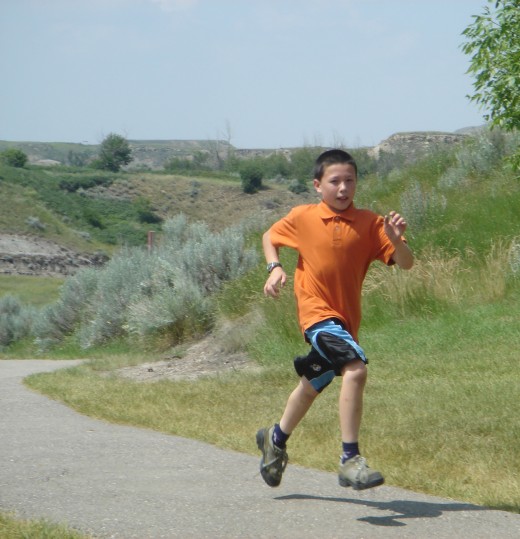
If taking photos of people, especially of children, take action shots. This takes patience, lots of shooting and practice. It’s nice to have photos of family or friends sitting and smiling, but ensure a variety of stances to keep your scrapbook interesting. Taking photos of people in action allows you to capture them as they are. You can capture the essence of what is happening at the moment without the posing and anticipation of a camera shutter going “click”. The candid shots will bring out more memories for you and for your subject and help create a little more conversation when viewing the photos with family and friends.
Want to improve your memory?
Perspective
We are all use to taking photos while standing or using a tripod that is set to a standard height. Perspective and angle can provide new twists and understanding for your subjects. I love changing the perspective that I take my photos from. I stand on a ladder for a higher perspective. I lay on my stomach for a baby eye’s view of the world. I kneel for toddlers. I sit for the dog. I turn my camera sideways for the baby laying down with his head turned. I take underwater photos like a fish looking out its bowl. It’s fun and creative. It also provides interesting photos for posting on the web or when placed into a scrapbook. Try it. You’ll like it.
Timelines
One last suggestion: make a theme with a group of your photos. For example, visit the same site in each season of the year. What you do during the photos can be different, such as puddle splashing in the spring , squirt gun fight in the summer, cross country skiing in the winter, and jumping into raked leaves in the fall. When you compose these photos into a collage, you will be able to tell a story of how you celebrated the seasons and show how the site changed with each season.
Providing a timeline through photographs is a wonderful way to tell a story. For me, I took focussed shots of my children when they were first born, then one week, two weeks, three weeks, one month and once per month until they reached 12 months, then once per two months until they turned two all on the same date. Now, it’s annually on their birthdays. It’s amazing to compare each of their photos at the same age and to see how they change over a course of a few months! They also love looking at their own photos and comparing themselves with each other.
Buying a digital camera? For valuable information, try these books:
Final Words
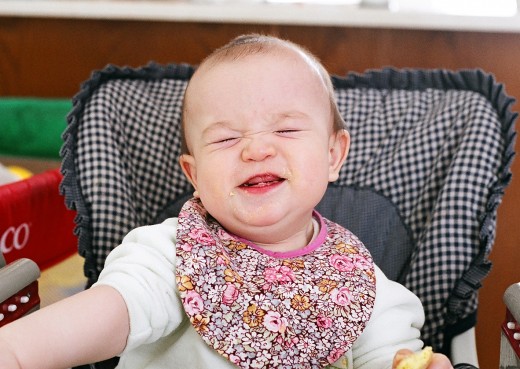
I know I said that that was the last suggestion, but talking about babies reminded me of a few more that I have learned from experience. Remember that a baby that has had a good nap is one that will be cheerier and more obliging to smile. Keep it short. The session should last no more than 15 minutes if you are doing a “set up” (sit and smile) session. Surprise the baby by grabbing his attention with rattles, brightly coloured toys and sounds. If he hasn’t seen it before, he will more likely smile. Change the baby into a dry diaper and clothing before starting. There is nothing more uncomfortable for a baby than to be wet or dirty. Finally, the very last suggestion: a well fed baby is a happy and content baby.
I am by no means a professional photographer, but I have learned from experience of what works and what doesn’t. Keep in mind that you should have fun and not stay behind the lens throughout the day of the event. Join in on the fun and enjoy capturing those special moments! Happy clicking, and say “Cheese!”
Copyright
October 12, 2009


