The Art Of Pyrography, Part 5: Wands
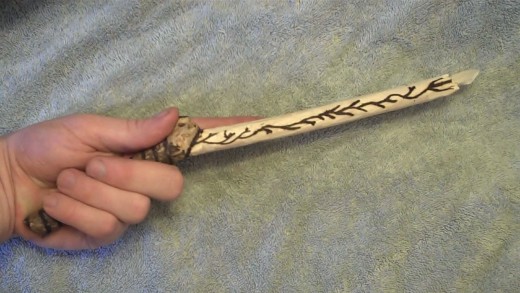
Though I originally started my creation of pyrographic artworks by creating block wood canvases which were then shaped with a combination of wood burning and acrylic painting, I find it fun to vary things up a little now and then. In this tutorial, I am going to teach you how to create wands (and show you some of the wands I have created) using nothing more than a carefully selected branch, a few found (or treasured) objects and your favorite wood burning tool.
If you haven't yet read about the basics of pyrography, you can do so through this link.
Creating Wands
First, make sure that you have read the original Basics of Pyrography hub (or have a good, working knowledge of pyrography) and remember to work safely! Secondly, you will need to find and carefully select a branch or stick that will serve as the base or canvas of your wand. You can use any criteria when selecting a branch, picking one because it feels good in the hand, looks interesting or resonates with you in a way that no other stick or branch could. As a pyrographer, I have achieved the best results with a number of aged, softer woods (especially driftwood) but excellent wands can still be made with everything from newly-cut fruit tree branches (Apple is a wonderful wood to work with) to thick, dried cuts of oak or rose vine. Wooden dowels and other cut or polished lengths of wood can also be used (as long as they aren’t treated with creosote or other harmful chemicals) and they often provide simple and inexpensive blanks for your artwork if you're practicing (or are looking for something more refined than the more natural look of raw sticks.)
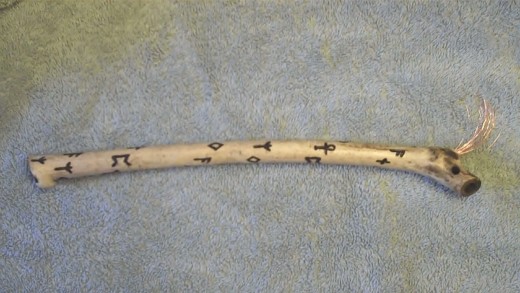
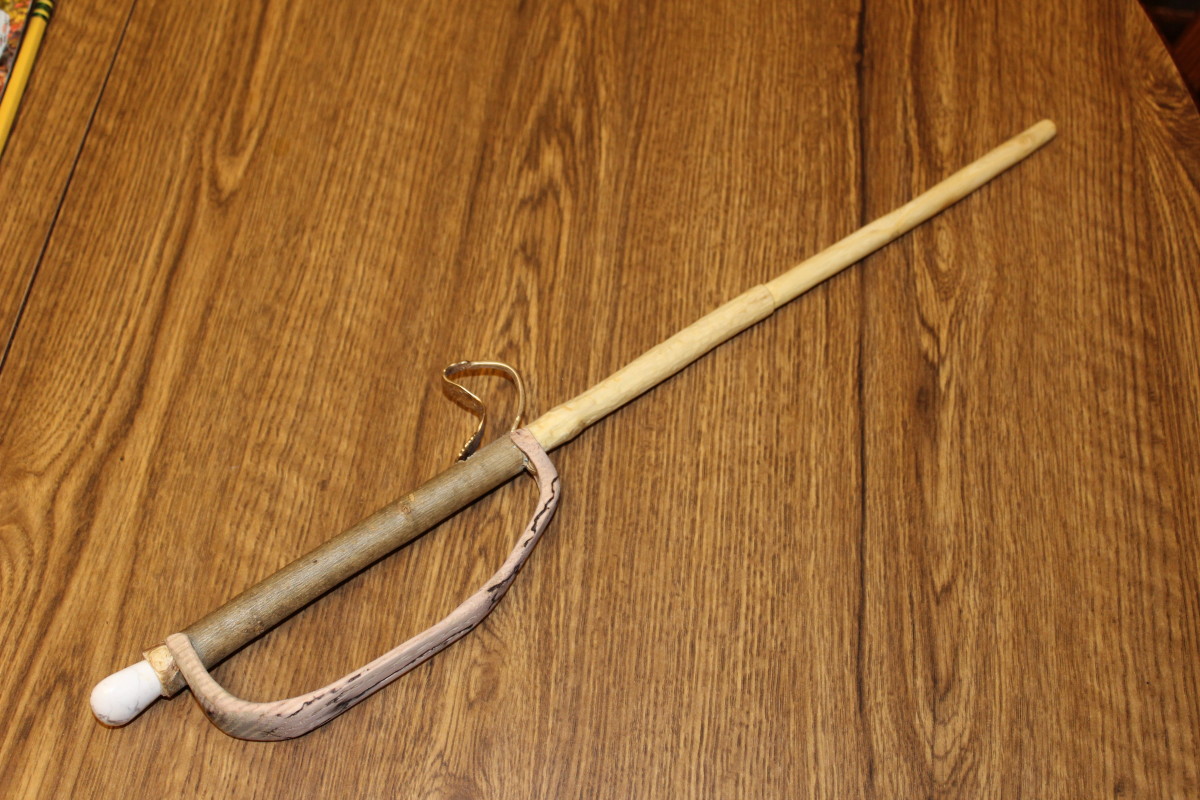
But your wand should be more than just a cool looking stick, right? Once you've found the blank branch or piece of wood that you want to work with, start thinking about what else your wand needs to rise to its full potential as the magical tool you were meant to wield! Beads and lengths of flexible wire are a great place to start, but you can also use a number of other treasures to round out your wand. In constructing my own wands, I have used everything from stone beads (some purchased, some handmade, some scavenged from older jewelry that had special meaning to me) to feathers (easy to obtain-- just look around wherever the bird species whose feathers you're interested in hangs out. They drop them regularly enough!) sacred and/or essential oils (either contained or rubbed into the wood) crystals, wax, etc.
If you want to give your wand a “core” you can even do that too! Using a drill, dremel tool or even just by being persistent with the head of your wood burning tool (again, be careful!) you can easily cut a circular hole into one (or both) ends of your wand and fill them with everything from feathers, oils, strings, mineral dusts (obsidian, crystal, etc.) to beads or other treasures. Core-holes can be sealed with a plug (anything from a piece of the existing wand or another piece of wood to a generous helping of wax.)
Once you've gathered everything you need for your wand and have settled on an idea for a design, you can use your burning tool to etch the shaft of your wand with any runes, patterns, sigils or wards that fit the intent, design or overall purpose of the wand. There are many ways to do this, and sometimes it helps to plan the design out on the wood itself first using a pencil so that you can adjust anything that doesn't sit well or feel just right. I have found that another benefit of drawing the design out on the wand first is that it is possible to actually improve the original design once you burn it to the wood.
When burning your design onto your wand, I recommend short, hard, careful presses of the head of your tool into the wood in order to achieve best results. When working with something as small as a wand, you want to make sure you retain the maximum amount of control over the positioning of the head of the tool you are using to burn wood. One slip could mar the whole design (and injure you in the process!)
Also, remember to watch your fingers! Try to cut each line that you burn into the wood carefully and away from yourself. It's important not to press your woodburning tool into the wand so hard that you burn a hole through to the other side. Burning holes all the way through your wand in places can produce interesting results when done properly, but if you’re not careful, you can end up weakening the structure of the wood you are using (which can lead to cracking or breaking!)
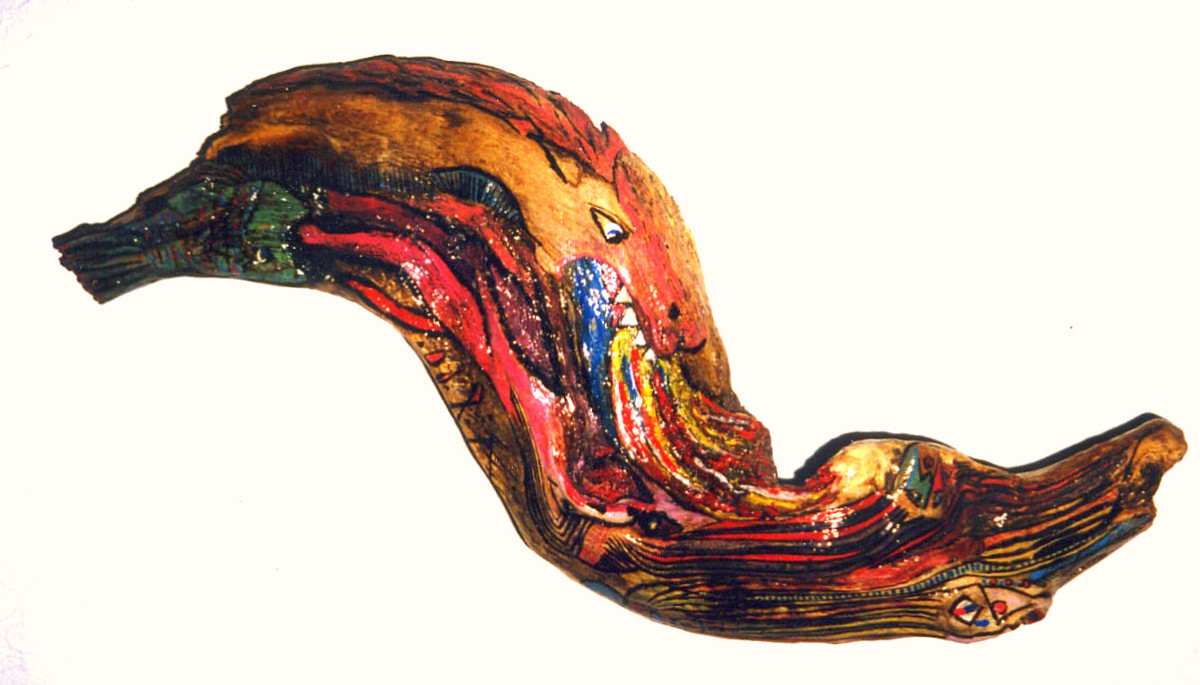
When I burn designs into my wands, I try to augment the natural shape of the wood that I am using as much as possible, keeping in mind that the most beautiful pieces of art utilize both the burnt and unburnt wood to maximum effect. Though I rarely do, you can certainly use varnishes or paints on your finished wand, but avoid burning sections of the wand that have been varnished or painted so that you don't end up breathing any harmful fumes that might be released. There is literally no limit to the number of ways that you can modify your wand into something truly beautiful and unique! Create the wand (or wands) that fits you best!
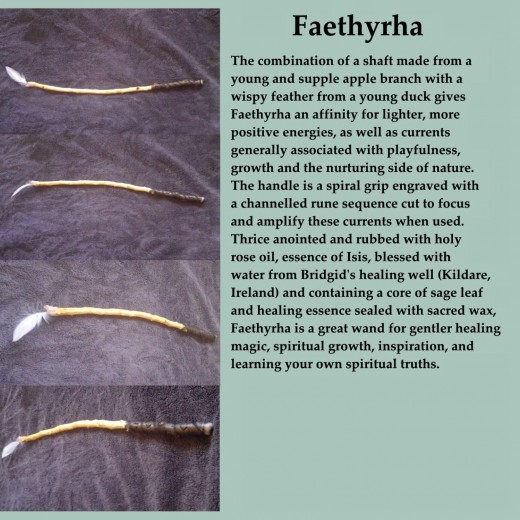
Afterwards, you can even give your wand a detailed history which includes all of the contributions you have made to the design. I've provided some examples from my own work below:
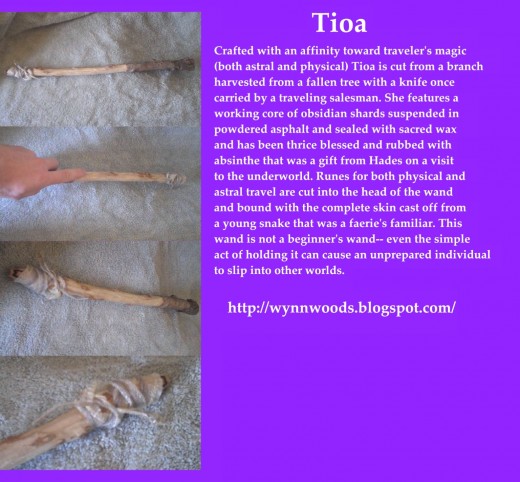
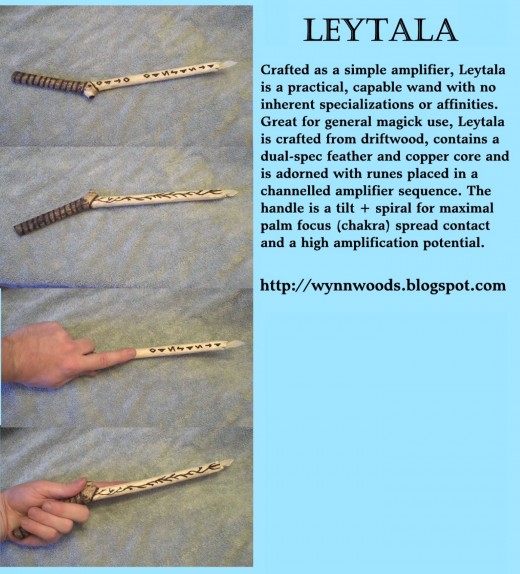
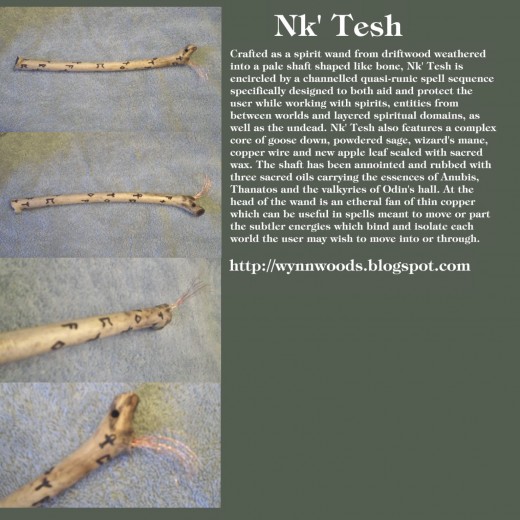
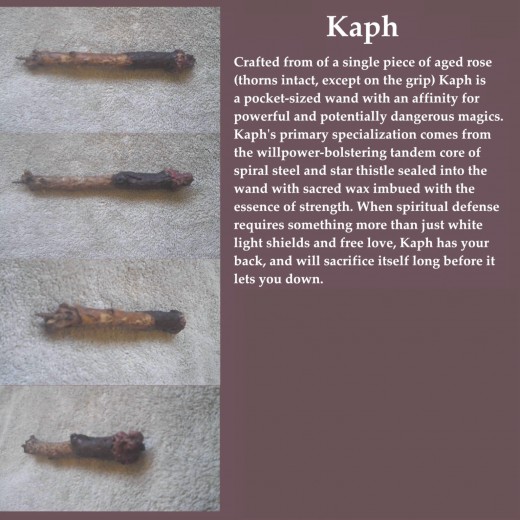
If you create any wands that you're proud of, feel free to link them in the comments so that others can appreciate them as well! I'm curious to see what you're capable of!
