The Art of Pyrography

Supplies Needed
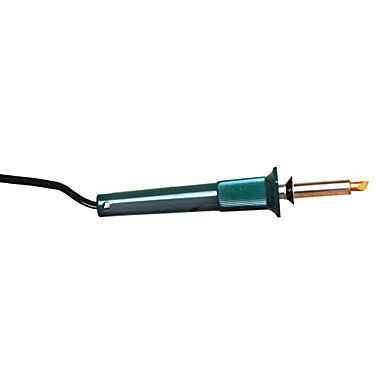
- Woodburner tool
- Carbon paper
- Pencil
- Masking tape
- Printed design, text or image
- Wood
Pyrography involves applying heat directly to wood or leather for the purpose of making a permanent design. There are wood and leather burning tools designed specifically for this use, most with built-in thermostats to allow the user to easily control the temperature of the heated tip as it is applied.
Several tips are available for burning tools, depending on the desired design and skill level of the craftsman. For this particular project, only the universal tip was used, held at various angles.
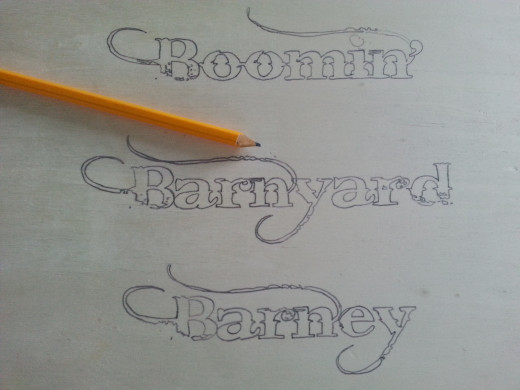
The first thing to do is select or create the design, text or picture that will be burned into the wood and print it. Carefully align your design atop the wood with a sheet of carbon paper between and secure using masking tape. Next, outline the design using a pencil. I would recommend using a pencil that is not incredibly sharp and taking care not to make any excessive movement across the carbon paper as you trace. Doing so will only leave additional lines and markings on the wood that will need to be blended into or shaded as part of your final design.
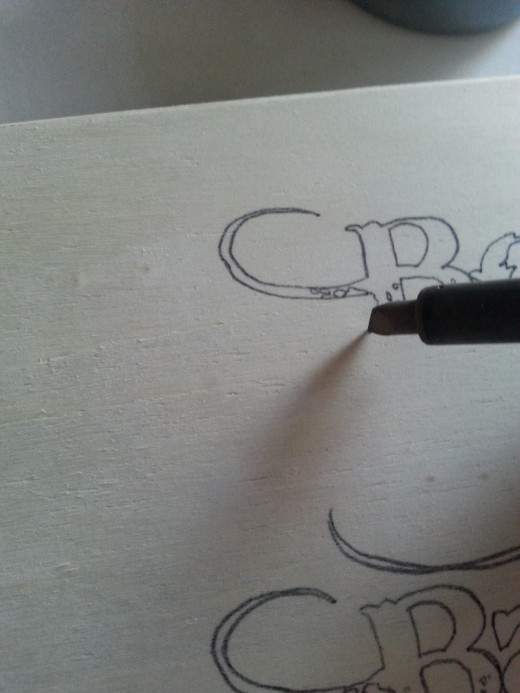
After the entire design has been transferred, remove all of the paper and tape from the wood and heat up the wood burning tool with the universal tip securely screwed in place. Once heated, begin burning your design.
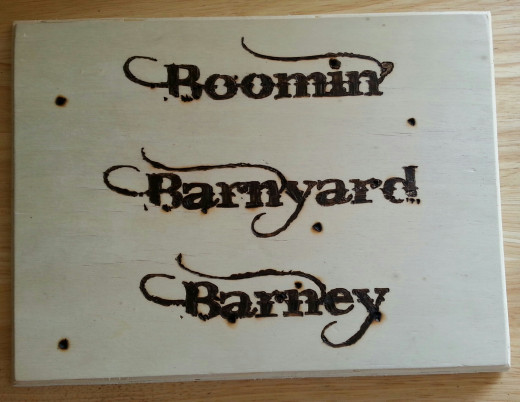
On this piece, I outlined the letters then filled them in one at a time. Depending on the wood grain and the steadiness of your hand, you may find that your tip will skip along the wood. I find this can be blended by going back over the line with the short end of the universal tip and pressing a bit harder, then drawing the tip toward you as if you are writing.
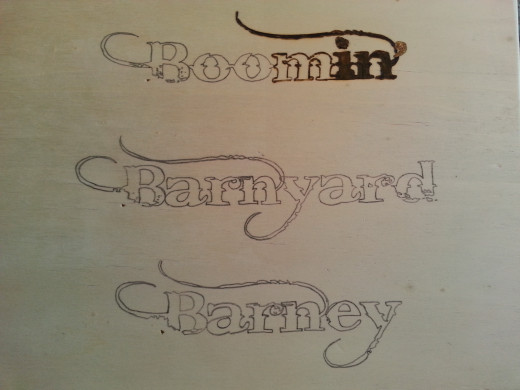
Shading and highlighting coloration is dependent on the tip area used, angle it is held and length it is exposed to the wood. The more projects you complete, the more comfortable you will become with the wood burning tool, including how to hold it and how long to expose it to the wood for your desired results.
This piece was finished off with hooks and a length of chain to become a stall sign.


