Vector Illustration - Miku Hatsune

I was asked to vectorised this Miku Hatsune character from provided (googled source of course) jpeg image to scale-able vector graphic format, adobe illustrator - ai or eps. So when first I got this image email to me, I'm not really knew about this Miku at the first place.. lol.
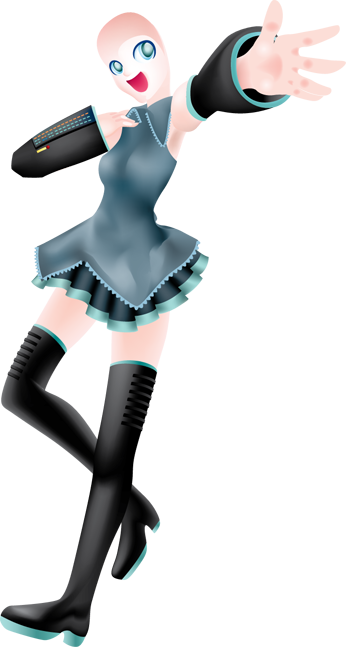
It seems a bit complicated at first, but I managed to look at it parts by parts, you have to use your imagination, I mean from her naked body to her complete dress ;) Then you will got the steps where to start.
Anyway I will show in brief the 6 steps how to completes the job, trace and illustrate it. I'm using Adobe Illustrator with standard mouse (just to be mention). The methods are simply pen tools to trace and a bit gradient mesh to be apply.

1. The Body
Pen Tool as the basic tracing tool to shape the body. Start with basic tone skin color, then I gradient meshed it to have some lite & darker tones.
Why I draw almost the whole body instead of just appeared body parts?
Simply I need the proportion and the body posture perfectly to draw other elements, not just a loose / separate head, hands, legs. In fact with the whole body exist will looks better is it?
Tips: you can 'upcycle the body' for another project. (that is the point.. lol)
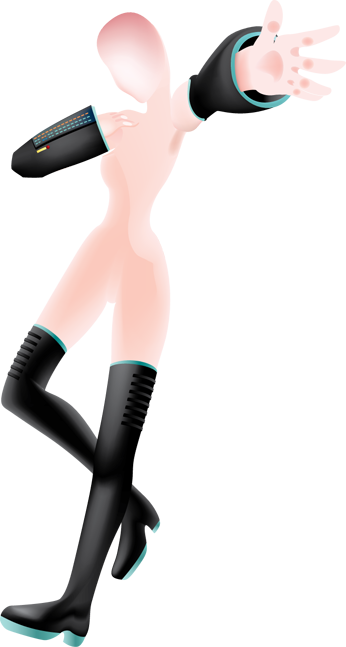
2 Hands & Legs
Now trace and complete the hands & the legs as the source image.
The black hand's accessories & the long black boot using gradient mesh, but the small green portion just a gradient tones.
You can adjust the light & shadow effect, it's up to you.
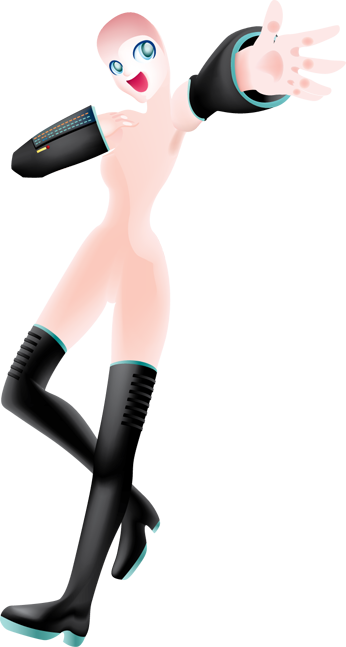
3 The face
Complete the face, to give some mood to your passion ;)
Note:
Click the image for full view
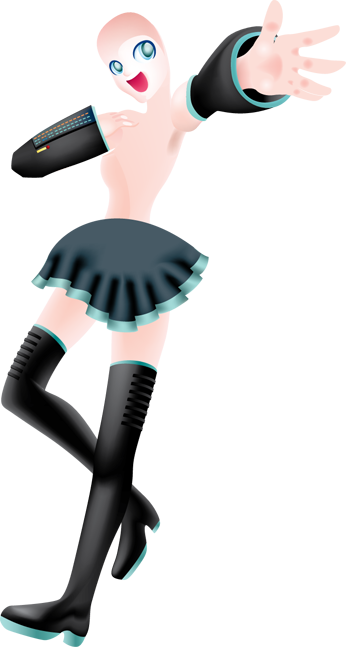
4 Skirt
Ok now provide the mini skirt.. don't let her naked all the time..
This time more complicated gradient mesh technic required to create curves and to follow the contour.
Note:
Always remember there are a lot of 'gradient mesh' tutorials on youtube you can find and try.
5 Dress Up
Complete her dress, again I'm using gradient mesh to creates the uneven tones.
Not necessarily to follow the source image, try to imagine where the light (brightness) and shadow (dark area) supposed to be.
In case you want to adjust the grey tone to be lighter, (as my friend asked me) simply go to top menu, find Edit Colors > Color Balance.. adjust it, the overall gradient mesh will change.
Note:
In (Illustrator CS3) > Edit > Edit Colors > Color Balance - then adjust either RGB or CMYK.

6 Hair
The long teal color hair, I guess this is the dominant character of Miku Hatsune have that made her famous.
Well trace it, the main hair - color it with normal gradients. The inside portion - draw some shapes for light & shadow effect as the source image.
Last but not least, the headphone with mic to completes her action, dancing and singing.
Hope these steps might show some idea how we can trace / illustrate some complicated images.. thanks ;)


