Water Droplet Photography
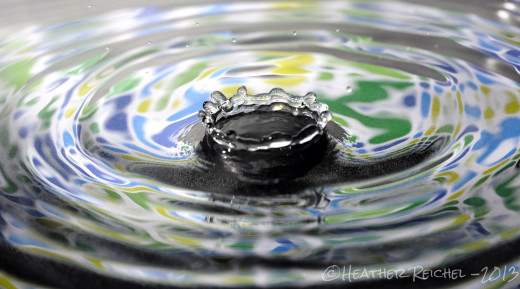
We have all seen them...
...those wonderful images on the net of the pristine water droplet falling from great heights into the pool creating a sculpture of nature's own design. Maybe you have even tried to duplicate the effect but found that it was harder then you thought it would be. If this is you, keep on reading because believe it or not this can be accomplished with even the most basic equipment you probably have around your house and a tripod.
List of Supplies
- Plastic disposable water bottle
- string to hang the bottle
- needles (different sizes)
- dark pan
- tripod
- light source (I will explain this further in the tutorial)
- pen, wooden spoon, something long and skinny that can get wet
- cardboard, clip board - something rigid to hold your paper upright
- different kinds of glassware (optional but fun)
- colored paper (patterned or plain)
- darkened room or closet
- garbage bag
- towels
- lens cloth (if you do not have one head to the dollar store and look beside the reading glasses)
- and of course... WATER and a Camera
The Set Up
- Find a place that you can control the light (darkened room or a closet) AND one that some water splashing will not damage anything. There will also need to be a way to suspend a bottle of water at various heights... 10" to 24" ... I used my laundry room (the window was covered) and set up on top of my washing machine. I used the shelf above the washer and dryer to extend a shower curtain rod to hold the water bottle. (I weighted the other end so that it did not come crashing down on my camera equipment)
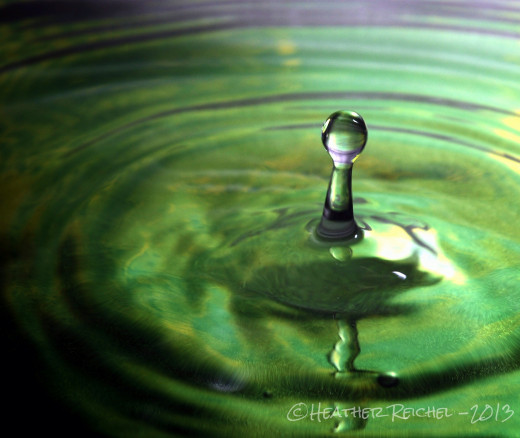
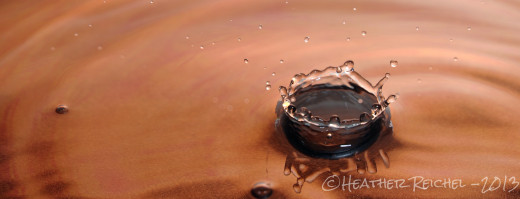
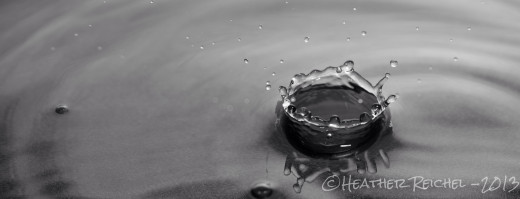
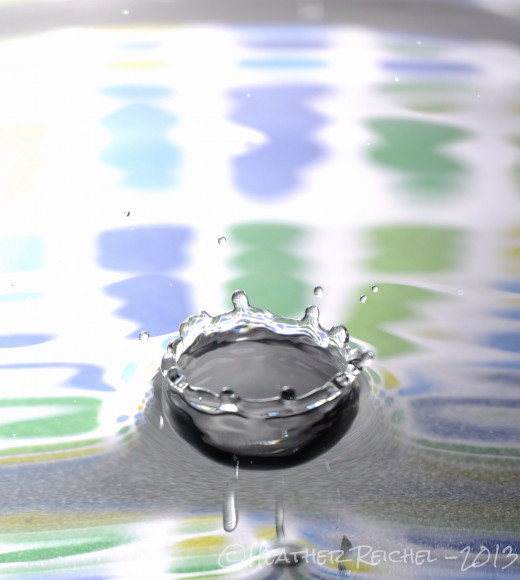
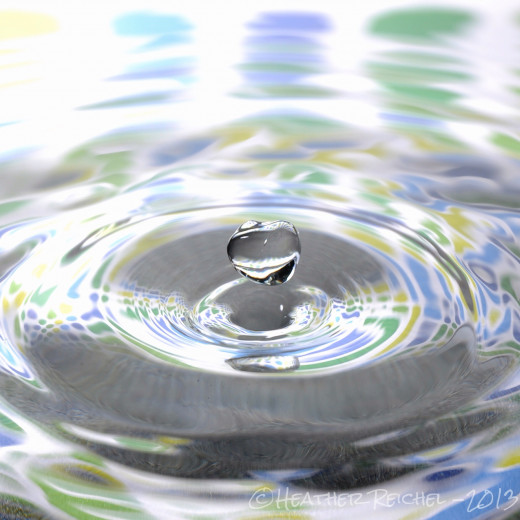
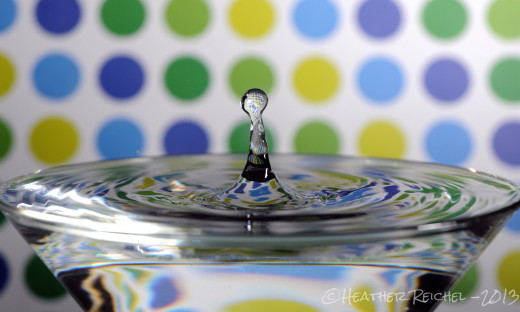
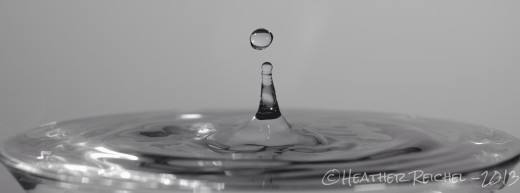
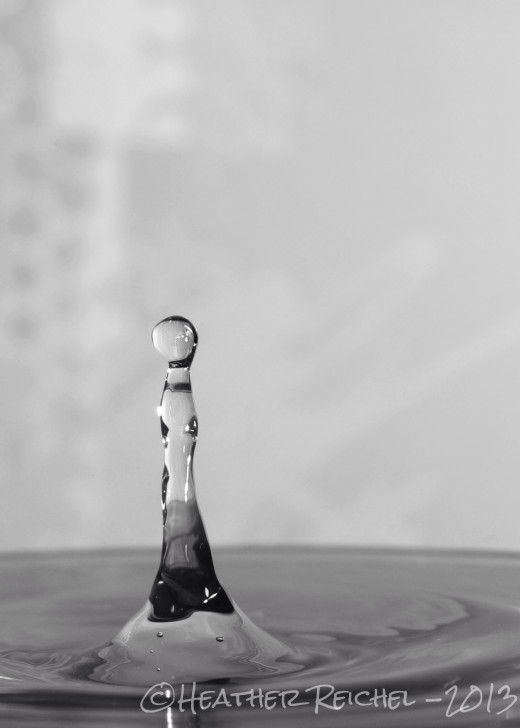
- Place your pan so that you have room to get close to it with a tripod and add some water to the bottom. A dark baking pan works best (rather than clear) for reflections. By taking photos with different amounts of water you will see different types of patterns. For the "Crown" style I found that shallow water worked the best... For a suspended drop I was using it at half full... and for the "towers" I actually placed a martini glass in the pan and filled it to the brim... Different shapes of glass will also add their own twist to the outcome.
- Choosing different colors of paper and also designs will add reflection effects to your images that are very difficult (if not impossible) as well as time consuming to add in post processing. The color and style is up to personal preference. I used a small magnetic white board with a couple magnets as my background. This made it easy to change, gave it some stability and also gave me the option for a very reflective straight white. But you can use a clip board or cardboard as long as it will stand up. Whatever you use, realize it will get splashed so you probably should choose wisely.
- Hang the water bottle above the pan - you can vary the heights to gain different styles of droplets.
- Have towels ready... remember water and electronics do not mix well. This is where the garbage bag comes in... depending on how close you are with your camera you may want to cover it with a bag. Just make a hole for the lens and you have instant and inexpensive splash protection.
- Pierce the bottom of the water bottle with the needle... to get a steady and consistent drip I also pierced the top of the water bottle above the water line to get the air mixture correct..
- For Lighting you can use a variety of things... the most important thing is that you are lighting the background- not the water. Home improvement stores often have clamp work lights that can be purchased for under $10 or if your camera has a hot shoe you can use a off camera flash with a sync cable. For those using a point and shoot you may want to look into an inexpensive slave flash.(there are very inexpensive ones on Amazon for $9 - I own one and they work fine.) By deflection your onboard flash with an index card or piece of aluminum foil you can activate a slave flash aimed at the background with out adding the onboard flash to the foreground. For my examples I chose to use my speed light and sync cable. I set my light at 1/16 to correspond with my camera settings. (see below)
- Now here is the interesting part... For those with a DSLR camera you will get your best photos with the manual mode... My settings were as follows... 18-70mm lens, aperture at f8, shutter at 1/200 sec, manual focus. To make sure I was focusing on the correct spot I set my camera on a tripod and held the tip of a pen in the pan where the drip was hitting the water. By focusing manually on a set point much of the "luck" is taken out of the equation. For those with a point and shoot and manual mode you can still adjust your f stop and your shutter speed to the above settings and depending on your camera adjust up and down from there. Or possibly try using Shutter Priority ("S" mode) set for 1/200, allowing the camera to chose the aperture. Another option is to chose the Sports mode... I had limited success with this method. Possibly the most important thing for point and shoot cameras is that the focus is typically always auto. You will have to "trick" your camera. With the pen in place, hold the shutter button down halfway to lock the focus. Keeping this position remove the pen... you are now ready to shoot.... if you release the shutter button just repeat the above process to relock it.
- You have light on your background, a steady drip of water in a constant location, camera on a tripod with your focus locked... now it is all timing. If your camera has a burst mode for taking photos you can do a "spray and pray" to see what you capture. Or you can try to capture single frames. Which ever method you use, be sure to have fun and WOW your photo loving friends with you awesome abilities!!!
Hope you enjoyed :)
Until next time "May you always have a seashell in your pocket and sand between your toes"

