How to Take HDR Photos (Part 1 of 3)


What is High Dynamic Range Photography?
High Dynamic range photography is a photography technique that has gained in popularity over the past 10 years. Most often photographers refer to high dynamic range photography as HDR. To sum-up HDR photography in one sentence I would say its a photography technique that allows a photographer to capture a wider range of light.


What do you mean "wider range of light"?
All photos have a range of light that varies in levels. Light levels can vary from the brightest spot on the sun to the darkest cave in the world. All light falls between the darkest and lightest points known. Next time you take a picture you should take note of the brightest portion of your photo and and the darkest portion. Once you have determined the darkest and lightest areas of your photo you should then decide if their is a large difference or a small difference. If you find that your photo has a significant difference in light you are taking a photo of a high contrast scene. If their is a small difference then your picture has low contrast. Another way to determine if you are taking a picture of a high or low contrast scene is to use a histogram. A histogram is a popular tool used by photographers to measure light within a photo. Most cameras today have some sort of histogram, even the more affordable ones.


Histogram?
A histogram takes all the bits of information in your photograph and organizes it on to an easy to read graph. The histogram counts every pixel in your photo and places it on a chart. If the pixel is pure black it goes to the furthest left of the chart and if the pixel is pure white is goes to the furthest right. If you have a lot of pure black pixels you will have a tall spike on the left side of the graph, or you can have a spike on the right if you have a lot of white pixels.
What do you think the histograms on the right are showing? The one on the top is showing an image that has been under exposed. You can tell by how the pixels spike on the right side of the chart and slip off the end. This means some of the pixels in the photo were so dark that the camera could not gather any information about them. This photo could likely of been a photo taken in a very dark room.
The lower histogram is showing a photo that has been over exposed. This is obvious due to the huge spike on the right that eventually slips off the edge of the chart. This means that some pixels were so bright that the camera could not collect the data. This may have been a landscape photo that was shot into the sun.
What does this all mean and how does it explain HDR photography?
Putting it All Together
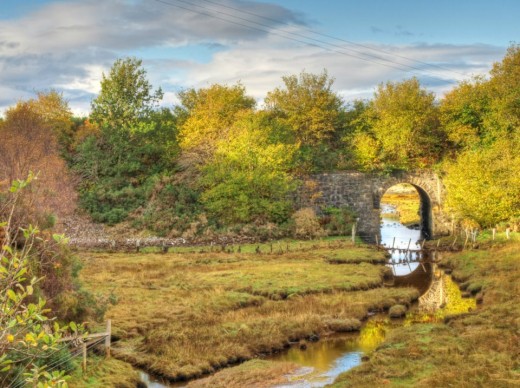
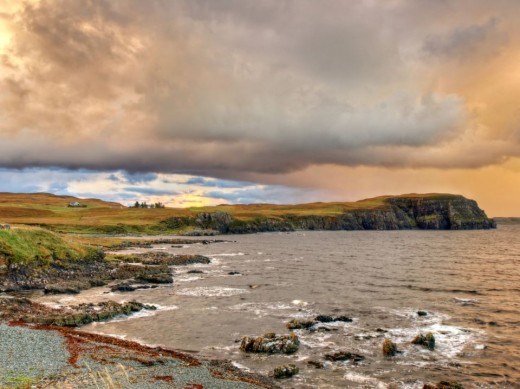
TheHDR photo technique works best when photographing high contrast scenes which you now know how to find. You have also learned to use a histogram which will help you verify that your scene is high in contrast. In my next hub I will explain how you will need to take the photos of the high contrast scene so that can be eventually merge them into an HDR photo like the ones shown in this hub.
A Word From Me
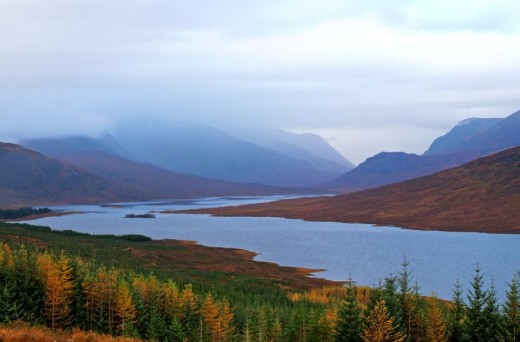
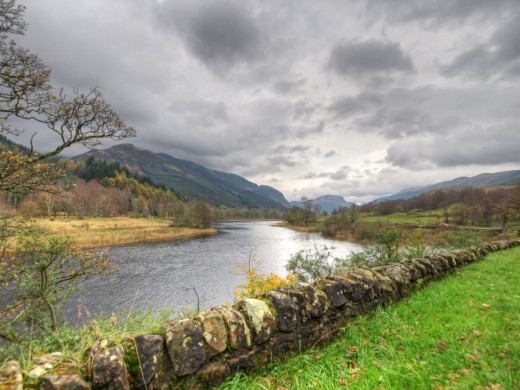
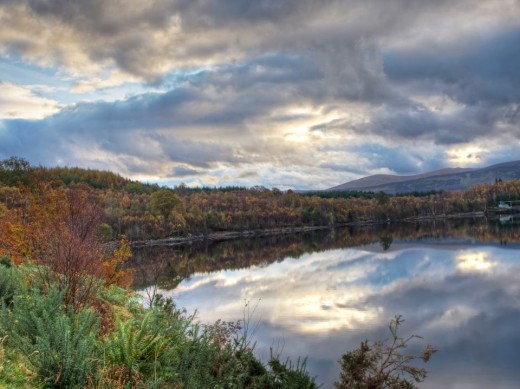
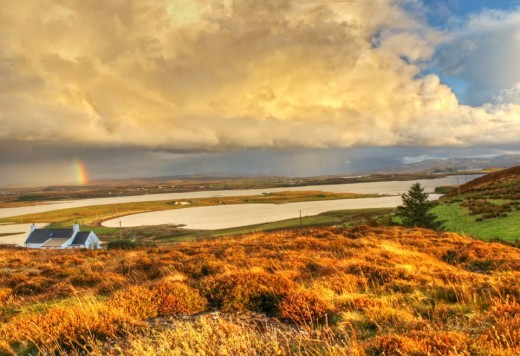
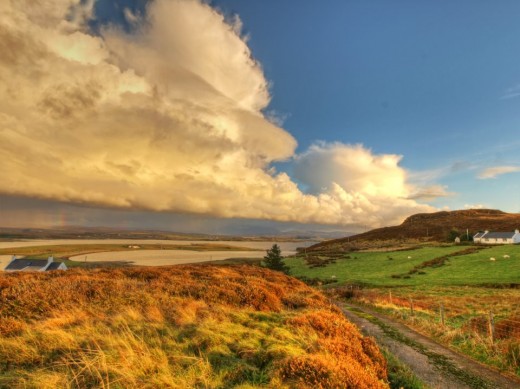
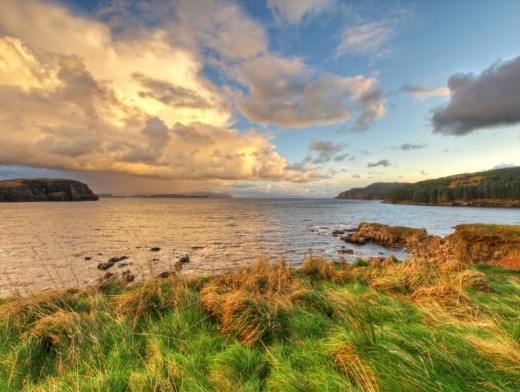
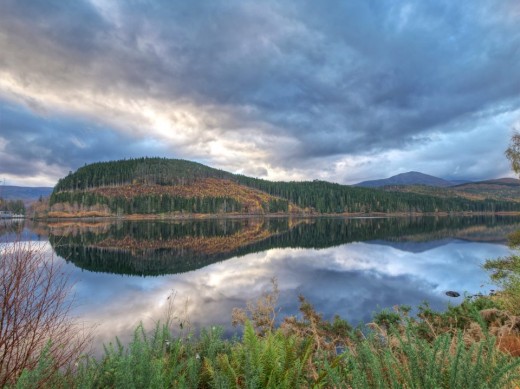
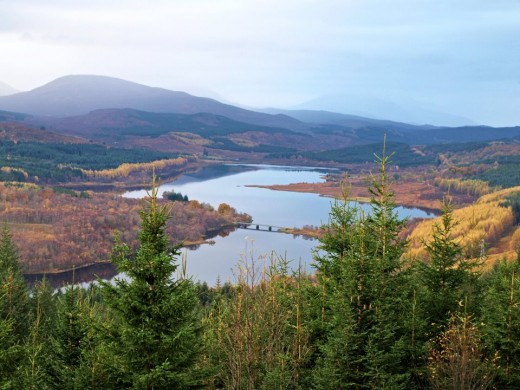
All the HDR photos on this site where taken while on vacation in Scotland. If you are interested in learning more about HDR photography, but can't wait for my next hub I welcome you to check out my website. Below I have added a few more Scotland photos that were taken using the HDR photo technique.
HDR Photos
Click thumbnail to view full-size