Wine Cork & Bottle — Family Craft Ideas

Retro Crafts: Fun Family Craft Projects
Retro craft projects, like those popular in the 1960s and 1970s, are fun to make. They can be enjoyed by anyone and are especially well-suited to parent and child or grandparent and child quality time.
The author will show you how to combine recycled items—wine corks and wine bottles—with supplies that can be ordered online or purchased from a brick-and-mortar arts and crafts supply store.
You will learn how to make coasters and trivets using the corks and decoratives items and vases using the bottles.
Note: If you don’t want to use your own wine corks and bottles, both recycled and new corks are sold by a number of suppliers on amazon.com. Empty wine bottles can be purchased online from wine making supply companies.
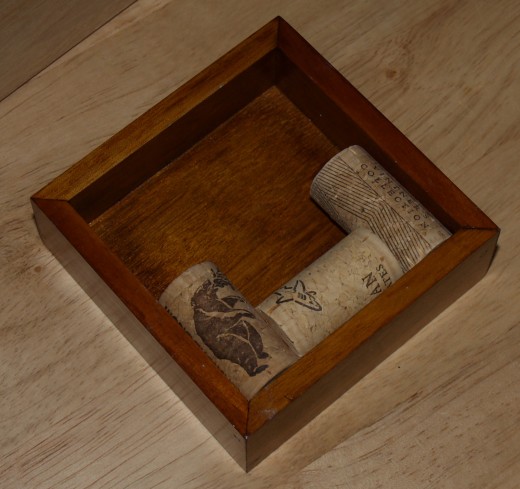
Cork Projects: Supplies and Equipment Needed
- Wood boxes or trays —finished or unfinished —with an interior dimension that’s at least one-inch high.
- X-ACTO® knife.
(The blade is very sharp. This tool should be used with care by an adult, and not at all by a child.) - Corks with straight sides.
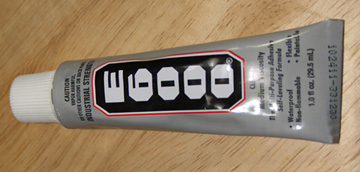
(Tapered corks cannot be used.) - E6000 multi-purpose adhesive.
(This adhesive will bond all craft materials, with the exception of Styrofoam™.)
If using unfinished wood boxes or trays…
- Sandpaper.
- Stain, varnish, paint or enamel.
- Brush that's appropriate for the stain, varnish, paint, or enamel selected.
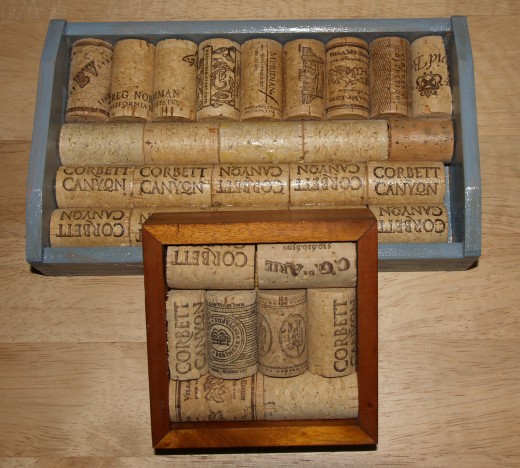
Cork Projects: Step-by-Step Instructions
- If using an unfinished wood article for your coaster or trivet, lightly sand the item, if needed.
- Remove all the sandpaper particles and dust generated by the sanding process.
- “Paint” the item using the stain, varnish, paint, or enamel of your choice. Let the coaster or trivet dry thoroughly.
- Starting at the inside edges of the coaster or trivet, place the corks in the item. Don’t use any adhesive yet!
- When you get to the end of a row, and also when you get to the center of the item, you might have to trim some corks using an X-ACTO® knife. This step should be done by responsible adults only.
(Be extremely careful when using the knife. Don’t let the blade slip out of the holder, and don’t cut yourself.)
- After all corks have been placed in the coaster or trivet, take note of their placement and the pattern you have chosen.
- Remove the corks from the item.
- Using E6000 multi-purpose adhesive, began gluing the corks into the coaster or trivet. Squeeze some adhesive onto a cork and press it into place. Press down on the cork for several seconds before going on to the next cork.
- After you have glued all the corks into place, let the adhesive dry thoroughly before using the item you have created.
Wine Bottle Project: Supplies and Equipment Needed
There are many projects one can make utilizing wine bottles which require that the bottles be cut. Some of those projects include making drinking glasses or wind chimes from the bottles. The author will not be discussing such projects in this article and cautions readers to use extreme caution if they decide to cut the bottles.
- Empty wine bottle.
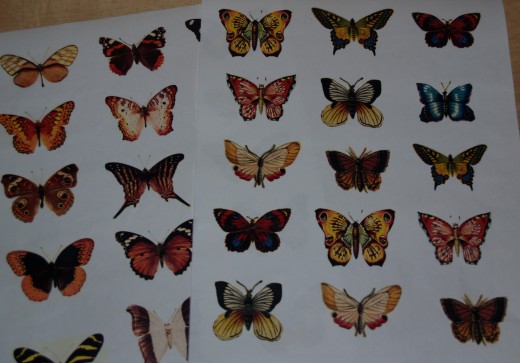
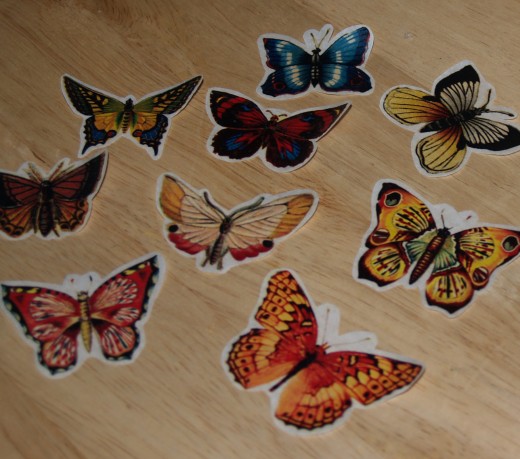
- Sheets of decoupage paper or wrapping paper.
- Small pair of thin-bladed scissors.
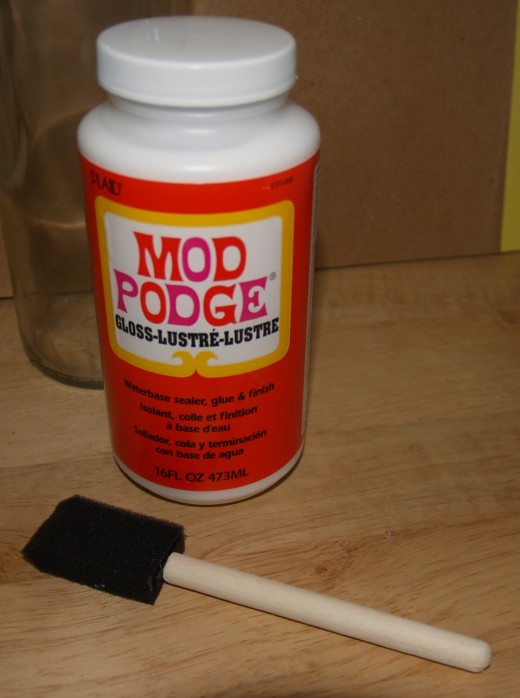
(Cuticle scissors are a good choice.) - Mod Podge®.
(This is a water based sealer, glue, and finish which is excellent for adhering decoupage paper to other surfaces.) - Foam brushes.
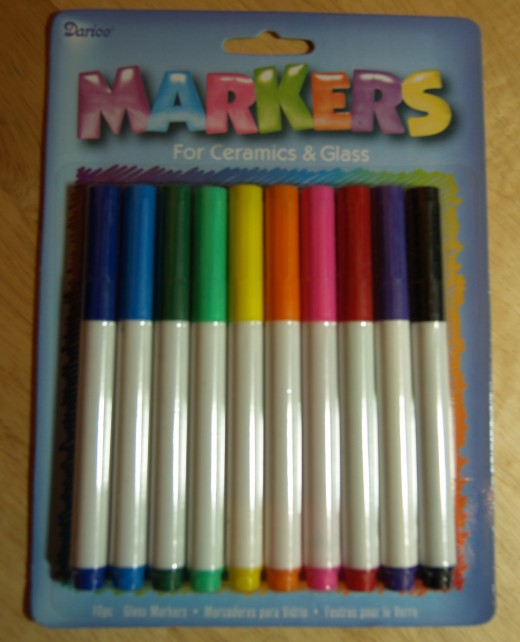
(These brushes are inexpensive. They can either be rinsed out with warm water after using them with water based products, or they can be disposed of.) - Stained glass marking pens.
(Most marking pens intended for use on paper will not adhere properly to glass.)
Wine Bottle Project: Step-by-Step Instructions
- If using a bottle that has previously been filled with wine, thoroughly rinse out the bottle.
- Remove the label and all residual glue from the bottle.
- Trim the excess paper from the around the objects you’re going to use in your decoupage. The easiest way to cut your images is to hold the tip of the scissors away from you, keep the scissors steady, and move the paper.
- Apply a coating of Mod Podge® to the reverse of a trimmed decoupage or wrapping paper image.
- Press the paper onto the wine bottle, smoothing out any bubbles or wrinkles that appear in the paper. Don’t worry about any excess adhesive that oozes out onto the bottle.
- Repeat this process for several more trimmed images, placing them at varying angles and varying distances apart. Let the Mod Podge® dry.
- Brush a coating of Mod Podge® over the entire bottle. Let this dry.
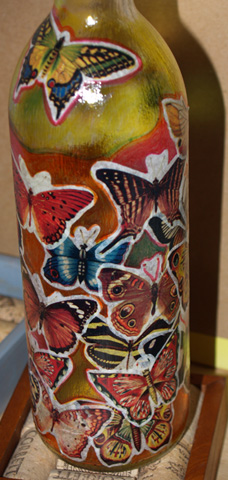
- Repeat the process, overlapping the trimmed images, and building up the layers of pictures and Mod Podge®.
- Even though you’re overlapping the images, be sure to leave spaces between some of them.
- After all of your images have been adhered to the bottle, let the Mod Podge® dry.
- Apply a few additional coats of Mod Podge® over the entire bottle, letting each coat dry thoroughly before applying the next one.
- After the Mod Podge® has dried, fill in the space between images on the bottle with a selection of stained glass marking pens. These pens will add translucent color to the bottles, providing a nice glow while letting light shine through.
- Your wine bottle can either be used as a decorative item on a shelf as a vase filled with a few tall flowers.
Have you ever used the decoupage technique for any craft projects?


