Bearded Iris Woodblock Carving


Iris Inspiration
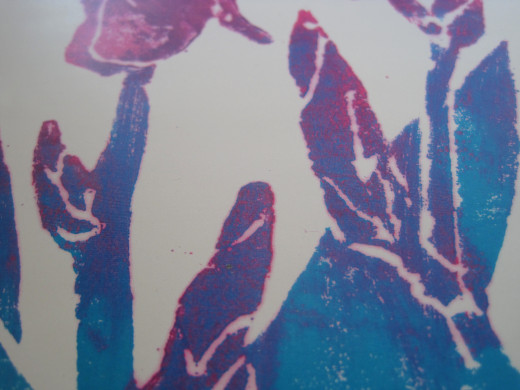
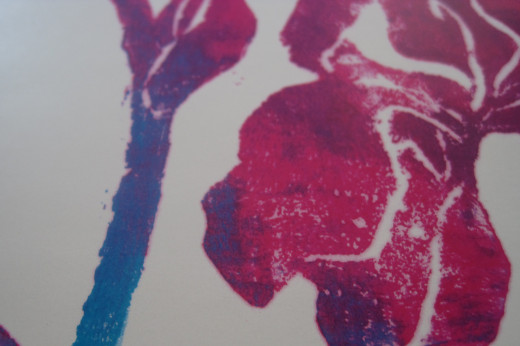
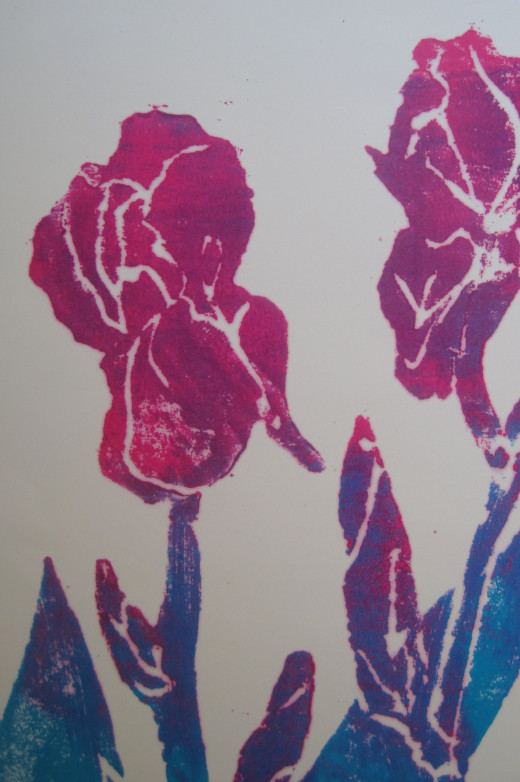
A row of beautiful purple and white Bearded Iris grew on the side of my home in Madison, Wisconsin. Inspired, I sat down and drew a line drawing of a group of them. Wanting to see the flowers in blocks of color I decided a woodblock carving was the way to go. I found a perfect piece of wood to work on and the process continued.
The next step was to transfer the drawing onto the block of wood. I did this by first tracing the original drawing onto tracing paper. I then laid a sheet of carbon paper face down onto the wood. The tracing paper went on top of that and with a pencil I traced over all the lines checking occasionally to be sure the carbon was reaching the wood. The carbon and tracing papers were then removed. I used a permanent marker to make the lines even darker and filled in the solid areas to be printed.


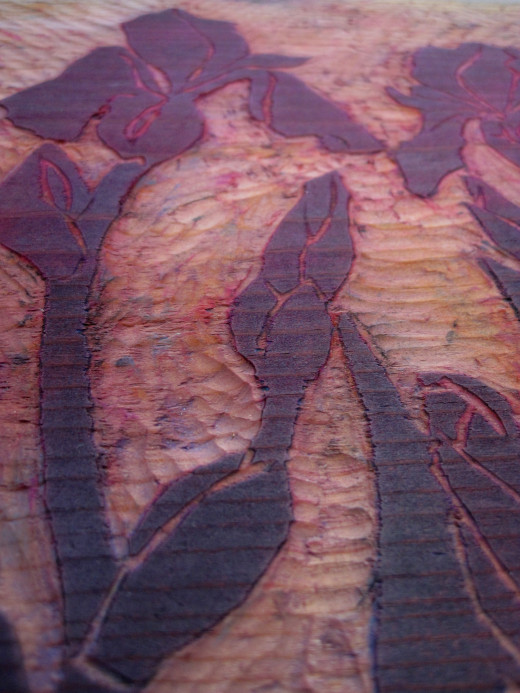
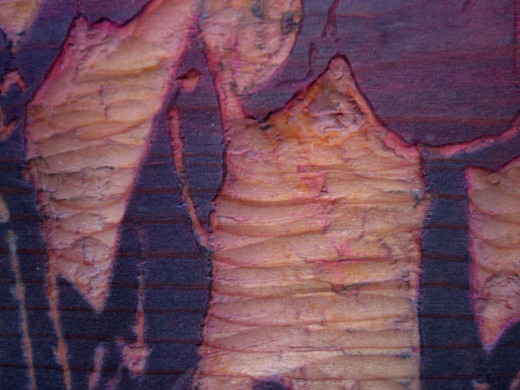
Carving a Woodblock
Carving a woodblock takes time and patience. I originally learned how to carve woodblocks back in high school during a printmaking course. The first thing taught was never to carve towards yourself to avoid injury. Second to carve with the grain of the wood, not against it otherwise it will crack or splinter. Last of all, only carve away the areas that you want to be white. The wood left over is the area to be printed.
- Video: Applying Ink to Wood Block for Relief Printing | eHow.com
Applying Ink to Wood Block for Relief Printing. Part of the series: How to Make a Relief or Block Print.

Printing Process
I used sheet of plastic to roll the ink onto but glass can work as well. It doesn't take much ink to make a print so use it sparingly. The brayer I rolled the ink onto the woodblock with was a Speedball brayer. Roll the brayer back and forth over the ink until it's tacky before applying it to the woodblock. If the ink is too thick and sloppy it won't roll smoothly onto the surface causing ink to drip into the areas you want to remain white.
When your roller is evenly covered with ink start inking your woodblock. The wood will soak up the ink the first time so you'll need to go over it twice before printing.
Next lay your paper on top of the woodblock. I like using a Japanese Rice paper to print with because it absorbs the ink nicely. I then use a flat wooden spoon to gently rub the paper to transfer the ink. Keeping the spoon primarily horizontal will prevent it from accidentally digging into the paper.
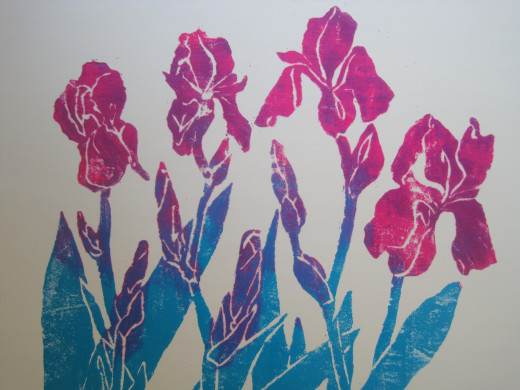
Passion for Printing
Creating multiple prints of an original idea is exciting. The fact that you can print one image in different colors and on a wide variety of papers is also appealing. The entire process starting with an idea, to making a drawing, carving a woodblock and printing is so rewarding. Each step has a life of its own and builds up to the next step. This is truly a special art form to be passed on.
© 2012 Laura Ross


")