Create a Child's Disney Memory Book
Create a memory:
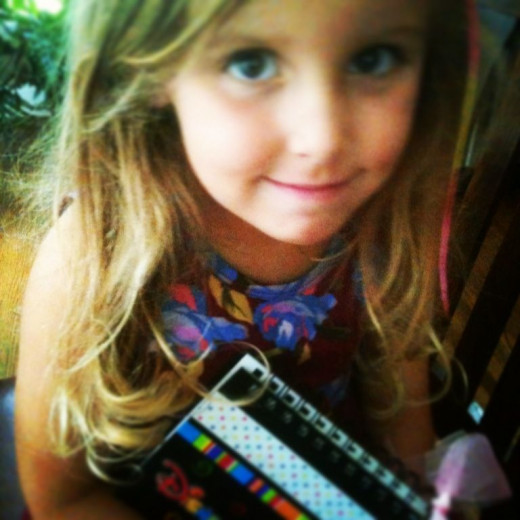
This 4 year-old Princess made her own Disney Memory Book:
A years ago, I made 2 Disney Autograp/Memory book for my grandchildren. Unfortunately, I did not make one for the beautiful child you see in the photo here. She was less than one year old when I made the first memory books and I thought I would wait to make one for her when she was old enough to go to Disneyworld. Well, I am glad I did wait because she helped me make hers!
My little one was so excited about going to Disneyworld for her 4th birthday! I asked her if she would like to make an autograph book to take on her Princess vacation. Her eyes lit up because she just loves to make stuff. (Actually, she is quite advanced for her age when it comes to cutting, coloring and pasting! She could color in the lines when she was only 2 1/2! Honest.)
She is an only child so we did not have to worry about making a non-gender-specific book. This one could be for a "princess"!
Assemble your supplies for this craft project:
It might take a few days to get all the Disney supplies you need for this autograph/memory book. It is best to have your supplies together and ready on the day you first mention the project to your child. Young children seldom have patience.
Luckily, I had some stickers left over from the first Disney Memory books and did not have to purchase many new ones. I did buy some Disney Princess specific packages, though. I also had quite a stash of ribbon and scrapbooking paper in my craft closet. Since I have 7 grands (4 girls and 3 boys) my stash of crafting supplies is pretty good for making stuff for boys or girls.
I had a very difficult time finding a good sketch book to use for this memory book. First of all, the memory book needed to have a board cover, just like a hard back book. (Most of the sketch books at craft stores have flexible plastic covers--glue will not stick really well to plastic!) The book needed to have dimensions to fit printed photos but not so big that it could not be carried in a backpack or purse. Next, I wanted a wire bound book that would open flat and adjust easily for the photos added later. Finding an affordable hard back blank book in a color other than black is a difficult thing to do. You might get lucky.
Tips on how to make the Disney Memory Book with a child:
The day my 4 year old and I were to begin the project, I gathered the stickers I thought she would like (princess and girlie) and found ribbons that matched the colors in the stickers -- it is best to limit choices when doing a project with children. That way, YOU can still be in charge and your child will think THEY are making all the choices.
I then showed her pictures of the first books I had made for her cousins and explained to her what the purpose of the book was to be--a memory book to hold photos and autographs of the Disney Characters she would meet at Disneyworld. The concept did not quite sink in, I must be honest to say. She thought SHE could draw pictures in the book, too. I told her that she could draw her memory pictures in the book when she got home from her dream vacation because she had to have enough blank pages for the Princesses to sign. As it turned out, her mom had to buy another sketch book for her child to draw in NOW. Get the picture?
Depending on your craft closet, this project could be relatively inexpensive. The most expensive items will be the sketch book and the "Disney" stickers. If I were you, I would purchase whatever you need without the child being there. Kids have no concept when it comes to money limits. Your child might want every sticker pack, but you can actually get by with very few stickers. I had enough stickers for my granddaughter to put stickers on almost every page (80) of the sketch book. I would call this project a "medium" difficult level for a child. Some supervision is necessary. It is an easy project for an adult.
The memory book could be made in one day, but I wanted the glue on the ribbons to be really dry before I put in the faceplate papers and the stickers on the inside.
(all images Mickie_G - all rights reserved)
Step by Step Process for making the Disney Book:
Time required: A few days
Difficulty: medium
Cost: $10 - $30
Materials:
- Wire-bound Hard Covered Sketch Book
- Assorted ribbon
- Disney stickers
- Assorted paper (can be scrapbooking or wrapping paper)
Tools:
- glue stick
- scissors
- bone folder (optional)
Instructions:
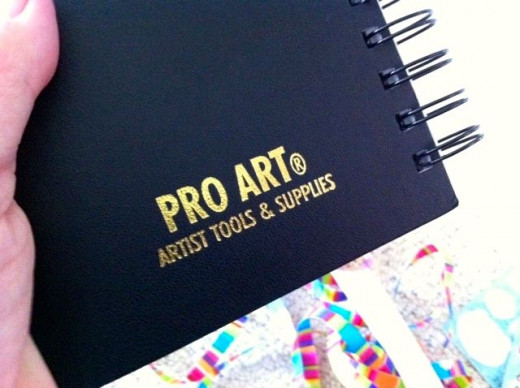
1. I ordered this book from Amazon because I could not find the kind of book I wanted at a craft store locally. I was surprised when I opened the package and saw the embossed company name! I used acetone-free fingernail polish remover and a cotton ball to remove the gold. Rub gently! I let it dry for a few days before we began the project.
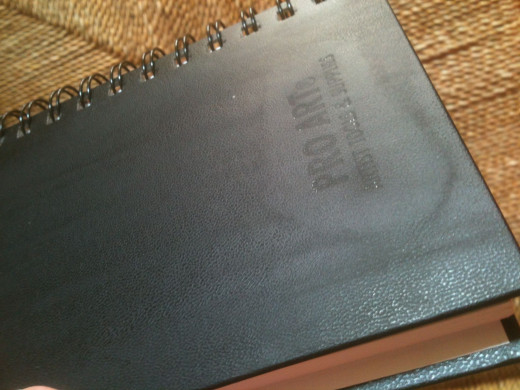
2. This is what the back of the book looked like after I got the embossed gold off. Not perfect, but you could put a sticker on it. Better yet, just don't point it out to your child.
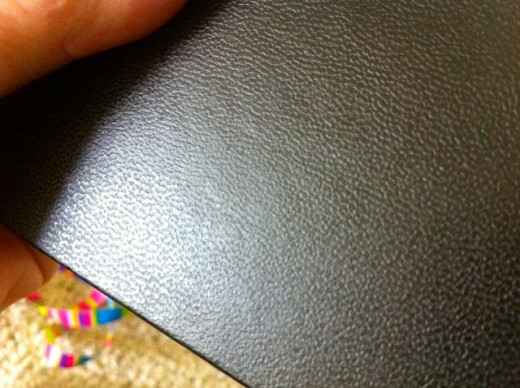
3. This is a close up image of the "board" cover of the sketch book. I would have liked a non-textured cover, but this will have to do. Remember, do not buy a flexible plastic covered sketch book for this project!
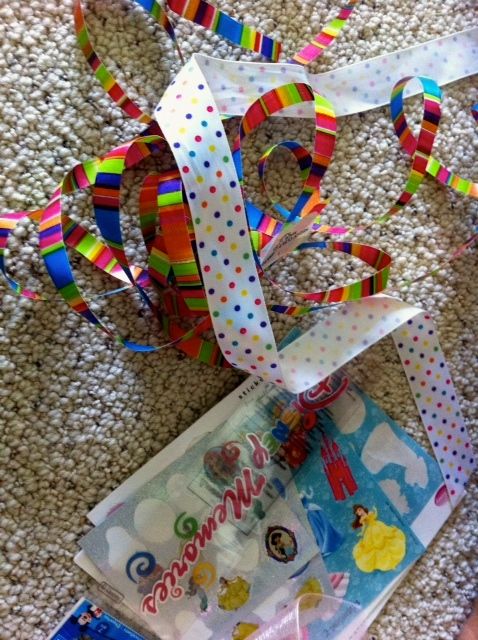
4. Assemble the supplies. I knew that my grand-daughter loved Disney Princesses, so I pre-determined what stickers and ribbons would work for her. It is best not to give a youngster too many choices. It is far better to limit the color combinations so your child will have no trouble "matching" the ribbons to the stickers. I am a "type A" when it comes to being in control of projects and so is this particular grand-daughter. If the project is to be truly theirs, it is best for you to stand back.
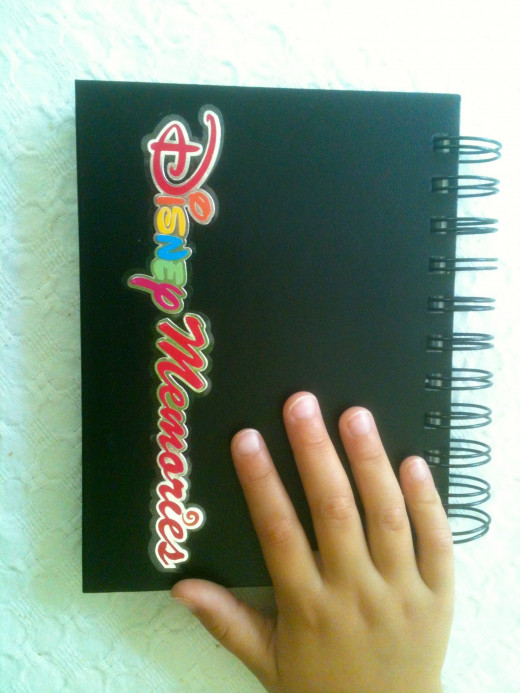
5. We experimented with where to put the stickers and ribbons. The Disney sticker has adhesive on the back. After you decide where to put it, make sure you rub the edges of the sticker very well so it will adhere. This is best done with a bone folder by an adult.
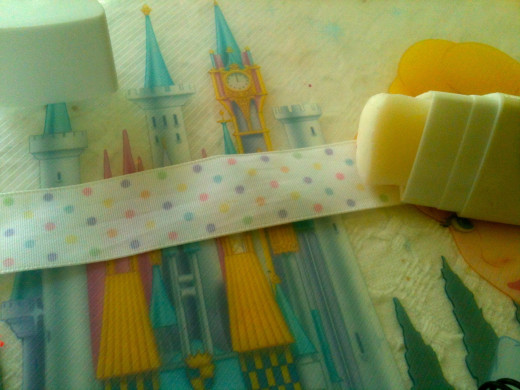
6. Measure the ribbon and cut it two inches longer than the front of the book is wide. Use the glue stick on the entire back of the ribbons. Kids are good at applying the glue if you just trust them.
I happened to have a Princess plastic place mat that I put under the ribbon when I let my grand-daughter apply the glue. Waxed paper sheets are a good substitute.
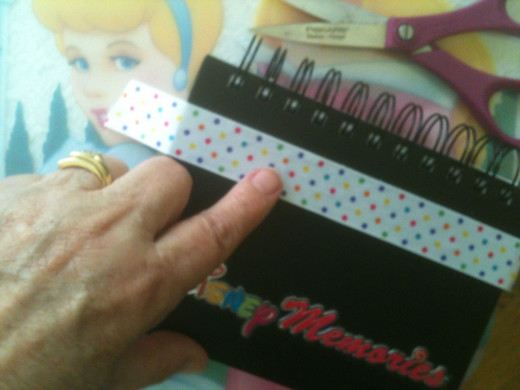
7. Apply the ribbon and rub.
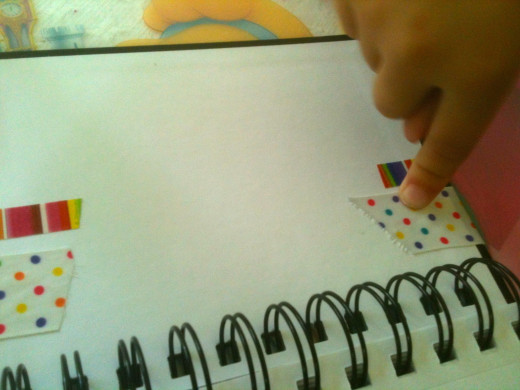
8. Remember to wrap the the edges of the ribbon to the back side of the cover. Rub to make the glue stick really well. Kids are good at rubbing! See her cute little finger?
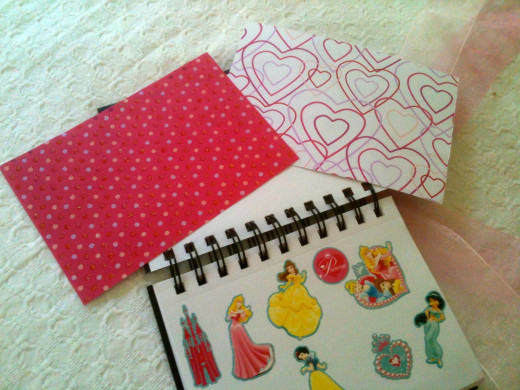
9. Choose the paper to use for the faceplates. Measure and cut carefully to fit the inside covers.
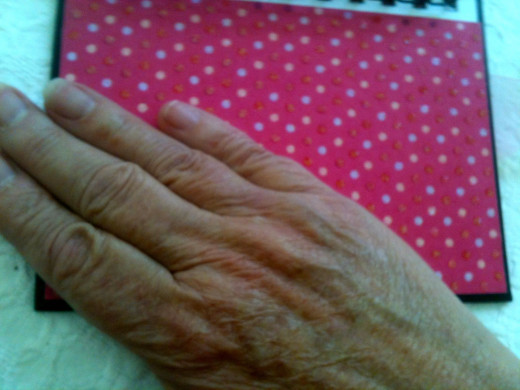
10. After my young partner applied the glue to the paper, I showed her how to gently rub the paper to make it stick and not come off. Pay particular rubbing attention to the edges of the paper.
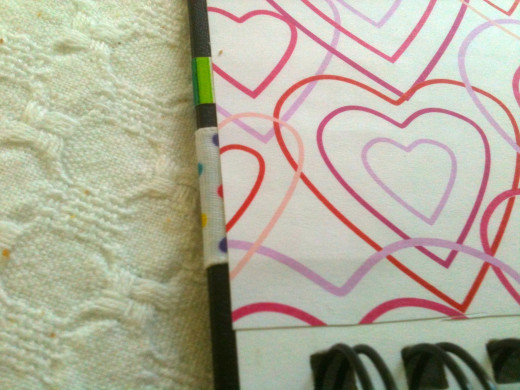
11. Here is a detail image of the inside of the front cover showing how the paper covers the edges of the ribbon we wrapped around in an earlier step. I let my grand do most of the rubbing, by the way. She needed just a little bit of supervision, particularly in the placement of the cut-to-fit paper.
I saved some money by not buying special Disney paper. My young crafting partner did not know this. She was just excited that I had paper with sparkles and hearts. She could not decide which she liked better, so I let her use both, one for the front faceplate and one for the back.
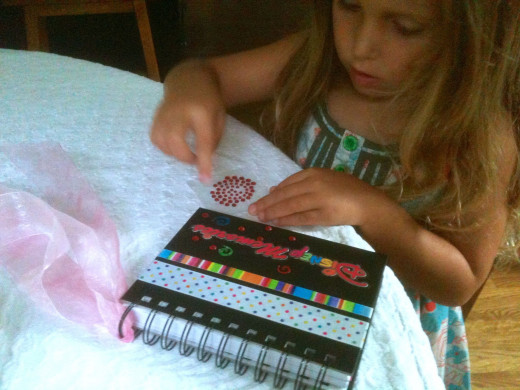
12. One can never have too many rhinestones!
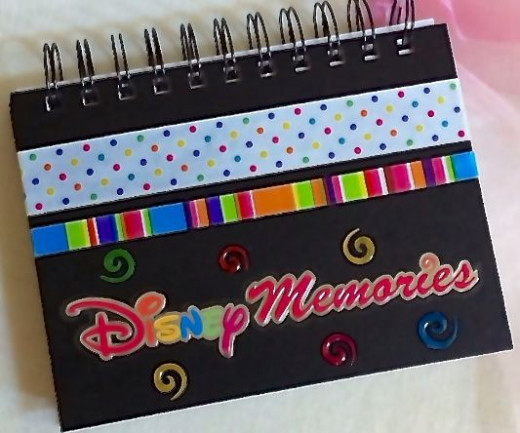
13. The finished Disney Memory Book. We added some ribbon to one of the wire loops just for fun.
Shopping List

Thanks for reading about how we created a Disney Memory!
Feel free to leave a comment or ask a question about the process of making a Disney Memory/Autograph book. It was such fun doing this craft project with my grand-daughter and we definitely made our own memories and bonded in the process.
On the back faceplate of the memory/autograph book, I wrote "This book was made by Gigi and LV in July 2013".
If you want to see the original Disney Memory Books I made several years ago, you can click How to make your own Disney Autograph Book. You can also share this page with your friends by clicking the icons at the top and the bottom of this page. Don't forget to click the "heart" icon if you do not wish to leave a comment. That will show me you enjoyed this page.
© 2013 Mickie Gee


