A Tutorial on clara web application

“Modelling” Yes, today I am here to talk about “3D modelling”. Most of them are aware of 3D character as both animated 3D characters and the latest 3D animation software technology has invaded the film industry.
3D modelling software like Maya, Houdini, 3ds Max and Zbrush has already made their mark in the Hollywood movies. Now a day’s movie without VFX and animated characters are less in number.
I love modelling and have already worked in Maya, Houdini and in 3Ds Max, but I won’t say that this one is better than the other. According to my view, every application is having few unique features to make them odd from the list. And today I am not here to say anything about the above mentioned applications as you might be already aware of those applications.
So my friends have you heard about the web application called clara.io?
If your answer is “NO”, then you have to know about this web application, because this application is having few features which make the application unique from the above mentioned applications.
So you wish to know more?
Clara.io is web-based 3D computer graphic software where you can create 3D models and animate them like the way you do in 3D animation software. Now the good news about this application is that you don’t want to install any plugins and also no need to be worried about the PC or laptop hardware configuration.
As you know, most of the 3D animation software required higher system configuration for its smooth working, but in the case of this web application all you need is a web browser and an internet connection. That’s cool right?
And one of the features of this application is that the application uses cloud based rendering which help the user to render his animation without using their local machines hardware configuration.
Now we will go through the key features which the application is offering for the end user.
- Polygonal modelling
- Key frame animation
- Skeletal animation
- Texture mapping
- Photorealistic rendering
- V-ray materials
- Collada, STL, FBX, OBJ and Three.js import/export
I have only mentioned few key features about the application while checking the application you will find that the above mentioned list is too small.
Where I can find the Tutorials?
Now you might be thinking “OK, application is there. But where I can get the tutorials?”And the answer for the question is right there in the clara.io webpage itself. Yes I really meant it.The webpage is not only providing the work place for your create 3D animation, but also provides the required tutorials and help with in the webpage and so you don’t want to waste your time in searching the tutorials. The team is providing both Video tutorials and User guide for the End User.
So my friend, what are you waiting for? Lets begin.
Now its time for some fun
Let’s model something
Step 1
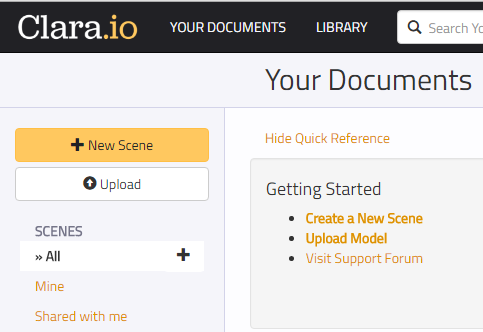
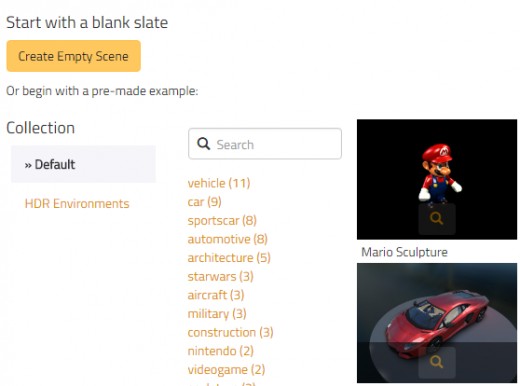
Click the button “New scene” and select the button “Create Empty Scene” or you can select any of the free available models and re-edit according to your wish.
I always go for “Create Empty Scene”, as per your wish you can select the desired one.
- Now you have to give the name to your scene, I am giving the name “Bullet”.
- Select the desired Render type, I always select the “Generic”
- Access control can be selected by your wish. (Read it carefully before selecting)
Now Hit the button “Create”
Congrats you have created the scene.
Step 2
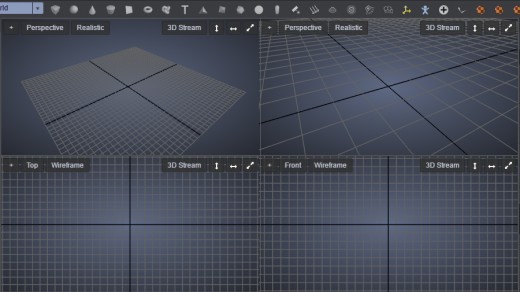
Arrange the view port according to your wish. I always select the first window as perspective.
Step 3
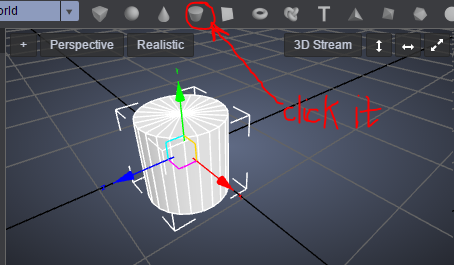
Today I am modelling a bullet, so I will select the default polygon primitive "cylinder" which the application provides.
Step 4
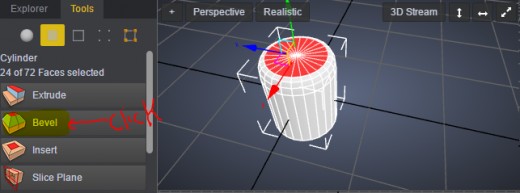
Now I want to make the tip of the bullet. so I need to bevel the upper face, for this click the face as shown in the below figure.
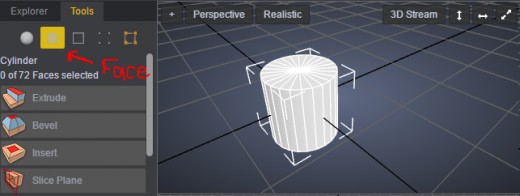
After selecting the top face of the cylinder. Click the “bevel” as shown in the below picture.
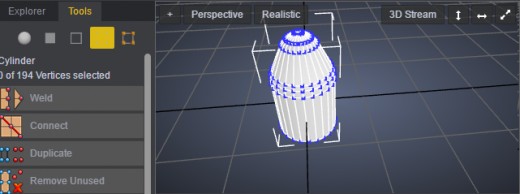
Now it’s your turn to arrange the vertices to get the correct shape of the bullet tip.
Step 5
I am using the extrude button to make the bullet shell little more realist.
In the same way make use of the “Extrude” and “Bevel” button to make the bottom part of the bullet as shown below. (This task should be completed by you)
Step 6
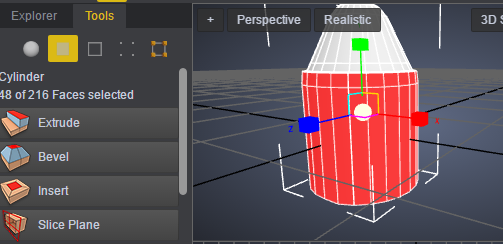
I need to create a copy of the bullet, for that I have selected the bullet and clicked “Edit” button near to the file button on the top as shown in the below picture.
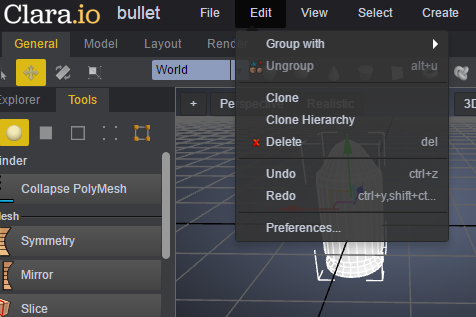
Now click "clone" to get a copy of the bullet.
Step 7
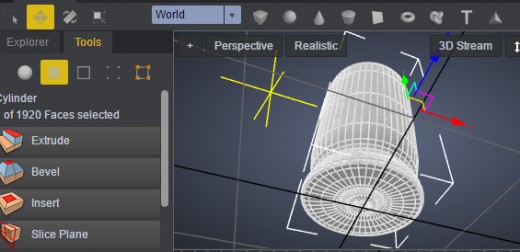
Today I am not going to show you, how to give materials for the created model, Instead of that I am rendering the model to get the final output.
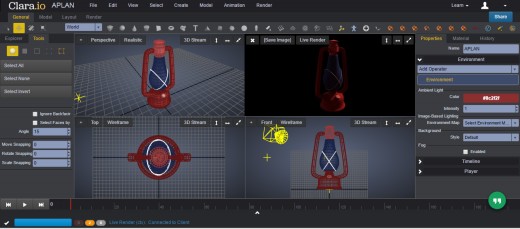
Click the button “3D stream” as shown in the below picture and select fast preview to render the model.
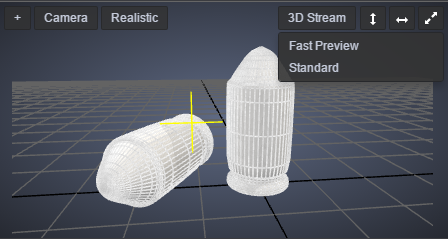
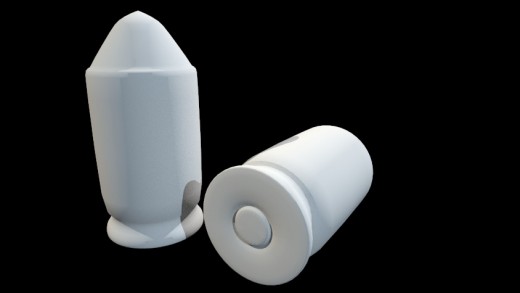
OutPut
Please check out the final output of my model.