Bedroom Renovation on a Shoestring
Using Recycled Wood to Keep Costs Down
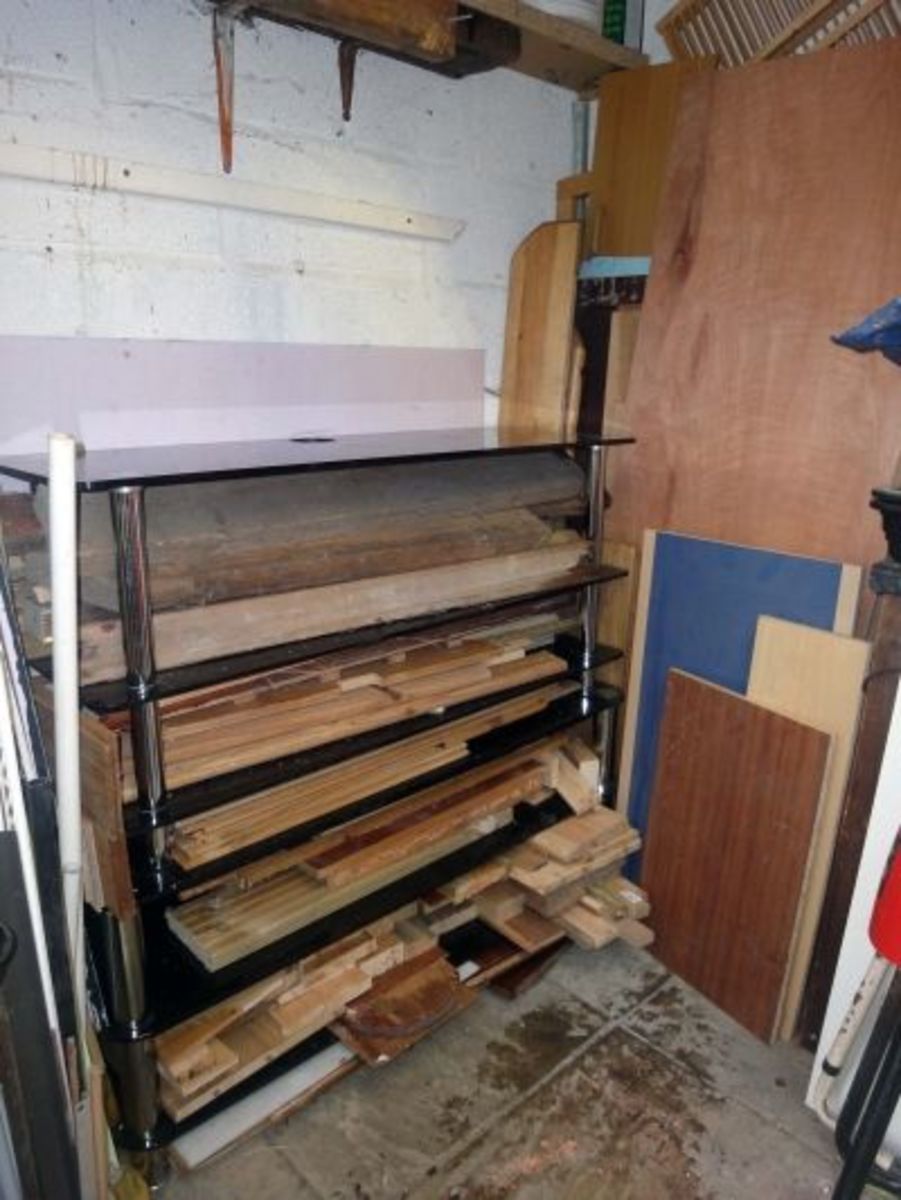
This article is about the makeover of my son’s bedroom on a shoestring budget where the only wood I needed to buy was a couple of large sheets of 12mm (half inch) plywood. The rest of the wood I used in this DIY makeover project was from salvaged and recycled wood; wood predominately from an old solid pine wood wardrobe, a pair of matching bookcases and part of an old solid teak wood door frame. I also needed to buy some hinges and bolts but kept the costs low by drilling large circular holes in the drawers and cupboard doors to use as door-pulls rather than fixing handles or cupboard knobs.
The Precursors to a Successful Bedroom Makeover
- Before embarking on any major makeover of this type the first thing you need is a plan (an idea of what you want to achieve). To help formulate your plan you will need an idea of what resources you have available e.g. materials, time and budget. You will also need to decide on the quality, aesthetics and functionality, and what your limits are plus any risks.
- The planning stage is the most crucial part of any good DIY Project, and by its very nature is often the larger part of the project. Provided you plan well, assess your resources, source you material in advance and plan to mitigate any risks the chances of success (a job well done, and which you are fully satisfied with) are greatly enhanced.
- Part of that planning process is ‘Lessons Learned’, for this project, taking account of how my son’s bedroom has been modified over the years to meet his changing needs, what worked well, what hasn’t worked so well, what has stood the test of time and what needs modifying to meet current and potential future needs.
- Above all, to help guarantee the success of this project it was most important to talk to my son (the client), and listen to him, to understand his needs and desires; and of course involve my wife (an interested party) in the discussions to get her views.
Adapting the Bedroom to Changing Needs
Originally the bedroom was our home office but when our son started primary school it was time to make the bigger bedroom his, and to make his nursery bedroom our home office. At that time I did a makeover of the bedroom, altering it to suit his then requirements, and modifying it over time to meet his changing needs. Over the years it has served him well, but now he’s grownup, graduated at university with his degree and embarking on a career as a professional photographer, his needs have changed. So now came the time for a major facelift of his bedroom, making it into something that meets his current needs; time moves on.
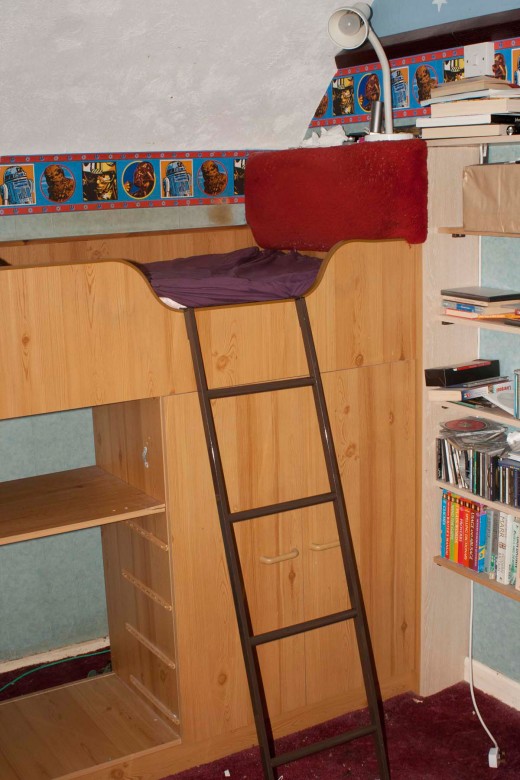
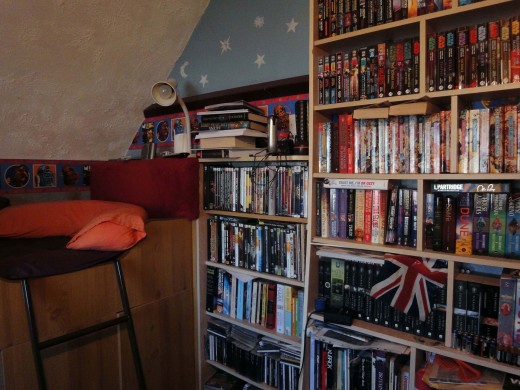
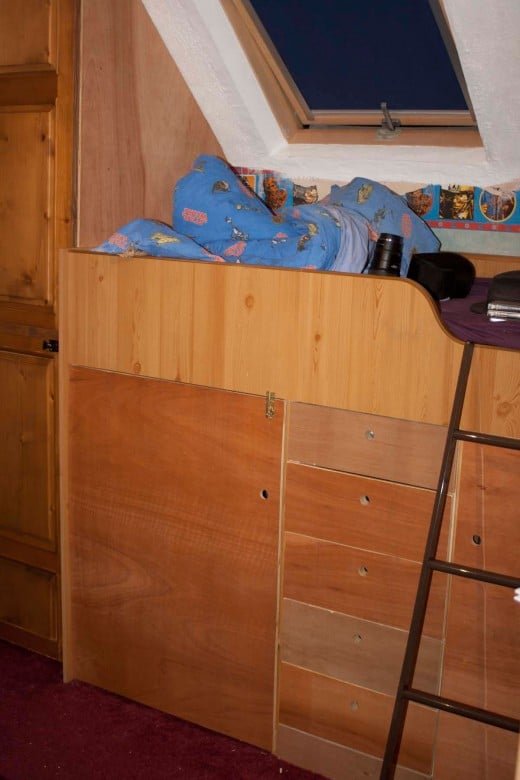
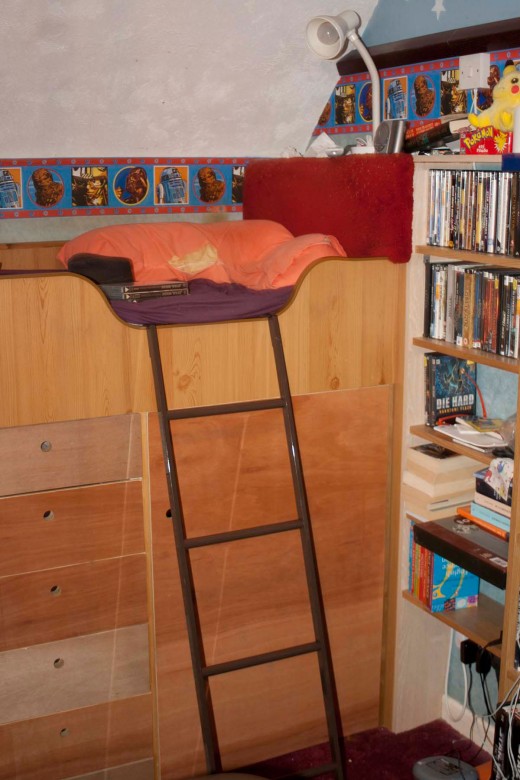
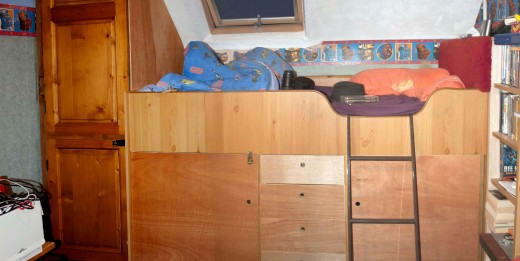
While my son was still in primary school we bought a cheap cabin bunkbed that was just made from contiboard (veneered chipboard); a great space saver because of the wardrobe, cupboard and drawer space below the bunkbed. Although the bunkbed was freestanding I made modifications to the manufacturers design to construct it as a built-in piece of furniture in the corner of the room; adding a headboard (covered in foam and material) fixed to the wall, with a shelf above and extending to one side for his alarm clock, drink and reading book etc., and small shelves down the side for a small collection of paperback books.
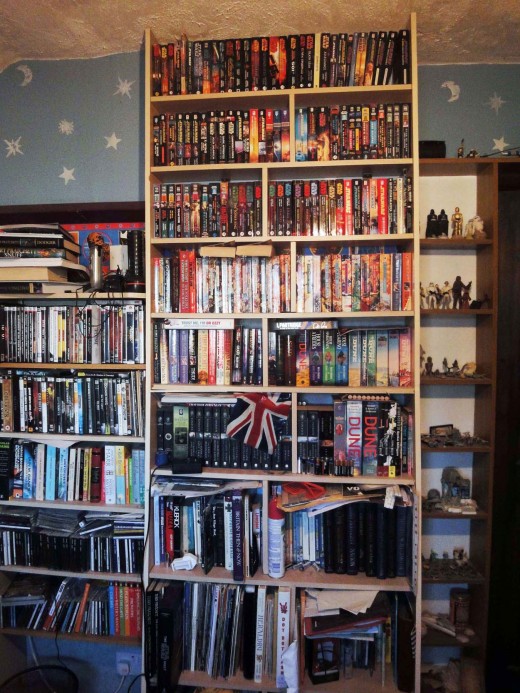
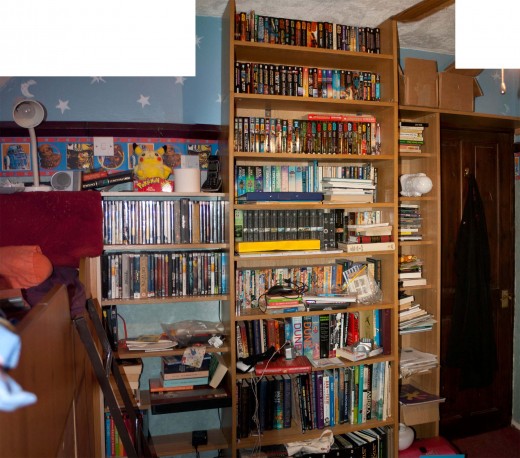
When he was older, and going to Secondary school, I replaced the free standing computer workstation with a built in desk stretching the full length of the bedroom to give my son ample of study space; and later (as his book collection increased) I added a wall-to-wall built-in bookcase on the other side of the bedroom; constructing it from recycled contiboard.
Original Cabin Bunk Bed and Bookcases
Click thumbnail to view full-size

UK vs US Bedrooms
Unlike the USA, British homes don’t have built-in closets in their bedrooms; some British people may install built-in wardrobes (especially in the main bedroom) but most British homes just have free-standing wardrobes in their bedrooms.
Also, British homes don’t have air-conditioning, largely because we don’t have the weather for it and also because British people like to open the windows in the summer for the fresh air.
Establishing the Key Requirements for the Bedroom Renovation
The only wardrobe space my son had in his bedroom was the wardrobe in his cabin bunk bed. So on the top of my agenda was creating wardrobe space more suitable for an adult and to maximise on space usage.
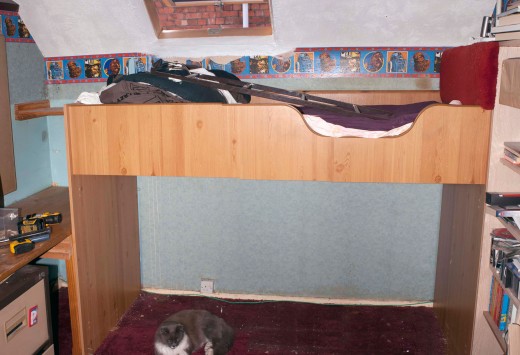
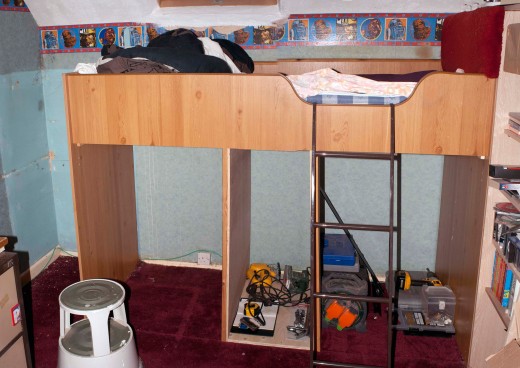
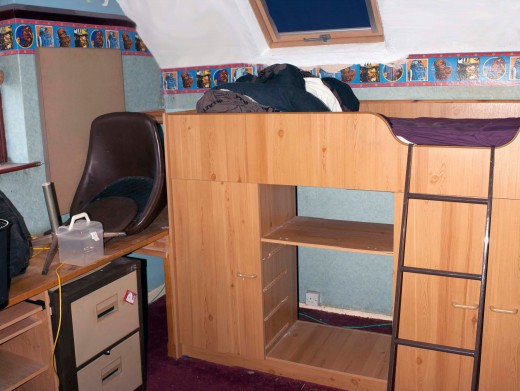
The original wardrobe space in the cabin bunkbed is suitable for a child but far too small for an adult, and the storage space under the bunkbed only went halfway back; creating a massive void (wasted space) behind.
To meet the primary requirement of creating a more suitable wardrobe I decided to remove the section of desk in front of the window to give walk-in access to a new built-in wardrobe that I would construct in the corner of the bedroom; at the end of the bunkbed. One immediate bonus of this is that it would also give easy access to the window; making it easier to use the window for ventilation during the summer months.
The other considerations for this DIY renovation project included recycling and repurposing wood and other materials where desirable for the project while balancing costs with functionality, quality, durability and aesthetics:-
- On consulting with my son this would include some minor modifications to his workstation desk to better meet his functional needs.
- And as it turned out I would also rip out the existing built-in bookcases on the other side of the room and replace them with a set of bookcases given to me by a friend (towards the end of the project) which although only veneered chipboard, are durable and good quality and which would enhance the aesthetics of the room.
But the main consideration, second only to building a full size wardrobe in the corner of the bedroom, was to utilise the whole of the space under the bunkbed, and not just the front half; thus doubling the storage space by reclaiming the wasted space behind the existing cabin area. This would be achieved by ripping out the guts of the existing space under the bunkbed, reinforcing it to give structural support to the bunkbed above, and then building in new cupboards and drawers.
Wasted Space Behind the Cupboards and Drawers
Sourcing the Material for the Bedroom Renovation
The four key areas for this bedroom makeover in order of importance are:-
- Construct a full size built-in wardrobe
- Repurpose the storage area under the bunk bed, doubling the storage space by reclaiming the wasted space behind the old storage area.
- A revamp of the workstation desk to make it more functional for current needs, and
- Replacing the built in bookcases to improve the overall aesthetics of the bedroom.
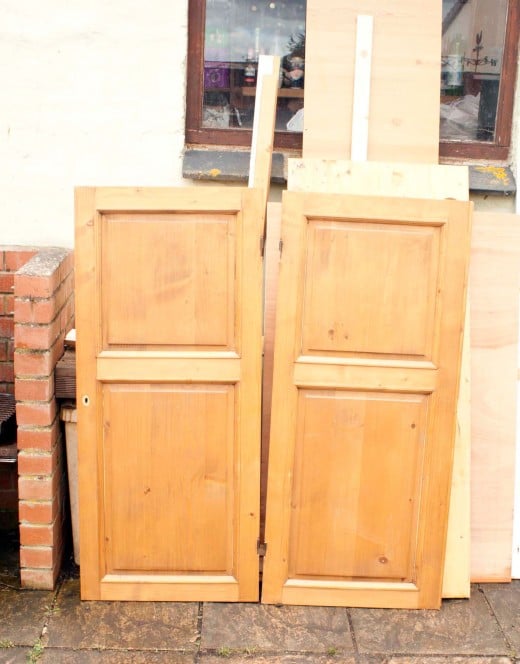
For the wardrobe I decided to use salvaged wood for the frame and any shelves and cupboards and 12mm (half inch) plywood for the wardrobe door and the side panel. However just as I started this DIY makeover project a close friend of mine, who was in the process of clearing out his house in preparation of moving, offered me one of his old wardrobes (solid pine) to use as raw material in my bedroom makeover. I snapped him up on his offer because I could visualise repurposing the pine doors from his wardrobe to make a bespoke door for my son’s wardrobe, and other pieces of pine from the dismantled wardrobe could also be salvaged and utilised in various parts of the project, including the making of a new pine wall unit above my son’s desk to replace the existing workstation desk furniture.
For the doorpost to hinge the wardrobe door I utilised part of the teak doorframe I salvaged when we replaced our old wooden teak French doors with a new uPVC French door as part of a previous DIY Project to build a conservatory leading out from our living room.
For the cabin bunkbed conversion I would be using a mixture of salvaged wood for the structural work and the new drawers and 12mm (half inch plywood) for the cupboard doors; the existing cupboard doors were only veneered chipboard and were the worse for wear after years of use, so they needed replacing anyway. Although revamping the bookcases wouldn’t cost anything because I would be using two identical bookcases I’d been given to make a new bespoke built-in bookcase and surrounding shelving to match.
The rest of this article will be concentrating on the step by step process I took to renovate my son’s bedroom, starting with partially dismantling and rebuilding of the cabin bunkbed, creating the new built-in wardrobe in the recently created space in the corner of the bedroom, minor alterations to the desk area and reconstructing the built-in wall to wall bookcase and shelving by repurposing two free standing bookcases.
Recycled Wood From an Old Pine Wardrobe
Gutting and Adding Structural Support
When, many years ago, we bought a new free standing cabin bunkbed I fixed it to the back and side wall to create a bespoke built-in bed and under bed cupboard unit. The biggest disappointment with the storage space (which included a child’s wardrobe) was that it only went halfway back (about 18 inches) so there was always a large void (wasted space) behind the cupboards.
My main aim was to rip the whole lot out from underneath the bunkbed and create new cupboards and drawers that would utilise the whole space. The back of the storage space I was ripping ran down the middle of the underside of the bunkbed and was structurally the backbone of the bunkbed; acting like a spine supporting the bed. Therefore in replacing it the new design would need to give structural support to both ends of the bunkbed and support it in the middle.
The support for the mattress is three quarter inch thick structural chipboard, with the facing panel to the bunkbed coming down by just over an inch lower than the bottom of the bed support; giving sufficient space at either end to firmly fix support beams for the bed base to the end panels, and the middle of the bed base would then be supported by the carcass for the new (full length) drawers.


Creating Space for the New Built-in Wardrobe
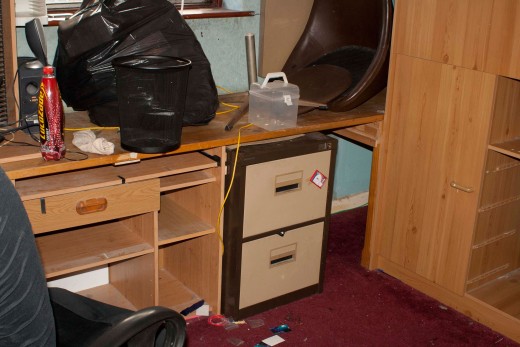
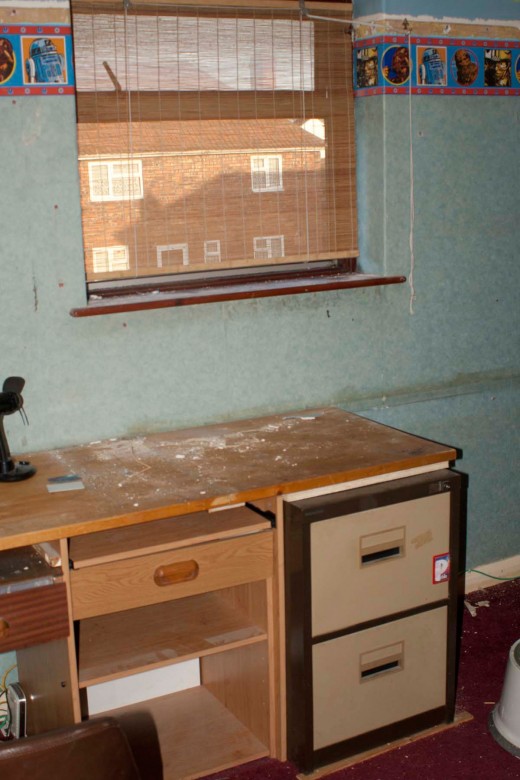
To make the space for the new wardrobe and associated access space it was a relatively simple case of cutting and removing a section of the wall to wall desk and removing part of the under the desk cupboard to create the space to shift the metal filing cabinet along by about six inches, so as to create a wide enough gap for easy access to the wardrobe.
To make a clean cut I temporarily moved the metal filing cabinet, marked out a line on the desktop and ran a circular saw along the line towards the wall, and to finish off used a sonic saw which gives a clean cut in areas that ordinary power tools can’t reach.
The under desk storage space was a bit trickier in that it was originally the bottom half of a standard computer workstation desk repurposed as a structural support for the desk, and therefore firmly fixed in place. This cupboard space comprised of two sides, the larger side on the left (originally for leg space, and repurposed as storage) and the smaller shelving on the right. Having moved the metal filing cabinet out of the way it was a simple case of brutally knocking out the right side panel and ripping out the shelving in the smaller half to the under desk cupboard.
Shortening the Desk Area to Make Space for the Wardrobe
Click thumbnail to view full-size

Repurposing Old Pine Wardrobe Doors for the New Wardrobe
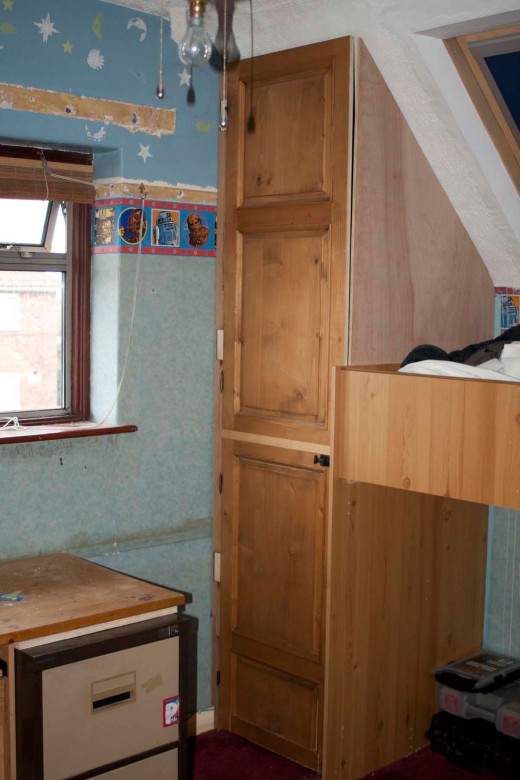
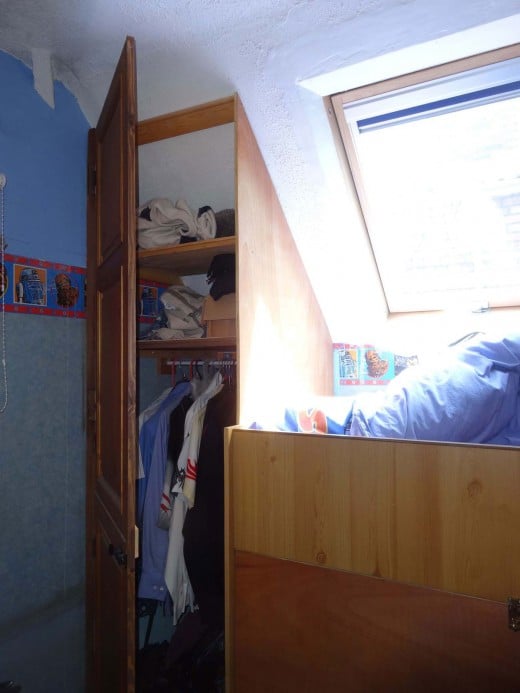
The new bespoke wardrobe I made to measure to fit the available space is two feet square, and being built-in (which maximises on space) only required a side panel and front; as the back, the other side and the top all butt up against the corner walls and ceiling. I used recycled timber salvaged from the doorframe of our old solid wood teak French doors as the door post to hinge the wardrobe door; and a piece of 12mm (half inch) plywood as the side panel. The side panel was cut to size and fixed into place by screwing it to the end panel of the cabin bunkbed and fixing it in place up the sloping ceiling with batten.
Inside I furnished the inside of the wardrobe with some shelving at the top (using recycled from a pine wardrobe), a clothes rail recycled from the old wardrobe from the cabin bunkbed, and at a bespoke built-in shoe rack in the bottom of the wardrobe made using 12mm (half inch) dowel.
The door itself, was constructed by joining the two doors from a pine wardrobe, one on top of the other; fixing the two doors together with dowel and glue joints and strengthening with a piece of batten on both sides. I had to shorten one of the doors to make them the correct height for the space, and I did this by knocking out the bottom piece of wood, marking up and cutting the panel to the correct height and re-joining the bottom panel support. In shorting the door I made an allowance of half an inch so that when the modified door was fitted it wouldn’t be dragging on the floor or snagging on the ceiling. As regards the width, as it happened the doors I was repurposing just happened to be the correct width to fit the space, so I didn’t need to make any changes to them in that respect to make the fit.
Buying a sturdy, and aesthetically pleasing bolt (black with a rustic finish), and drilling a hole in the end of the cabin bunkbed provided a convenient way to bolt the door closed when not in use.
New Bespoke Built-in Wardrobe
Click thumbnail to view full-size

Making Dowel Joints with a Jig
To join the two pine wardrobe doors together (one on top of the other) I used the Wolfcraft Dowling jig, as demonstrated in the video below. Although any suitable Dowling jig would do the job just as well.
Demonstration of the Dowling jig I used for the wardrobe door
Reconstruction of the Cabin Bunk Bed Storage Area
To maximise on cupboard space under the bunkbed I just simply hinged a piece of 12mm (half inch) plywood to either side of the drawers to create doors and drilled a one inch hole in each to act as pull-handles. The only addition I needed to make was to fit a piece of timber (from recycled wood) on the outside of each side of the drawer carcass to act as door jambs.
The old drawers I was replacing were of flimsy construction, using cheap veneered chipboard, and broke one by one over the years. Therefore, to ensure the new drawers would be solid, study and durable, I made them with solid wood salvaged and recycled from the same pine wardrobe which I used to repurpose the doors for the new wardrobe; and faced the drawers with plywood to match the two new doors.
I opted for holes as pull-handles rather than buying cupboard door knobs or handles for three main reasons. Firstly, it keeps the costs down because I didn’t need to fork out for seven handles; secondly, it’s part of a rustic style which is functionally and which I particularly like; and lastly (although a minor point), there are no protrusions (door knobs) to knock into anything when open or for anything to snag on.
As an extra indulgence (as I hate wasted space), inside the cupboard at the head end I cut a large square hole in the end panel of the cabin bunkbed to gain access to the hidden space. That end of the bed is about six inches away from the wall to give space above the headboard for shelving and space down the side for shelving next to the bed. To cut a neat hole in the end panel I used my sonic saw which is ideally suited for this type of work; and as the end panel is structural, once I’d cut-out the opening I reinforced the end panel with solid wooden props and support beam with recycled wood.
To give a good natural finish to doors rather than painting, varnishing or wood staining them I liberally rubbed teak oil into the wood and left it over night to soak in and dry; and the following day rubbed in bees wax (that doesn’t contain silicone) and buffed up the surface with a soft cloth.
Under Bed Storage Area Reconstructed
Click thumbnail to view full-size

Revamping the Wall to Wall Bookcases and Shelving
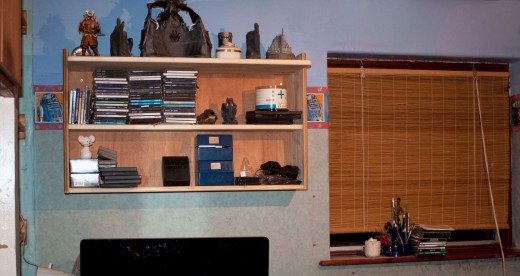
This was only a minor facelift as the original bookcase and shelving was already quite respectable, and it was just a case of replacing like for like; with a few minor differences. The only reason I decided to replace the bookcase and shelving is because a friend offered me a pair of matching bookcases that happened to be the same width as the one I built but was made from thicker and stronger veneered chipboard; and as I was being given the bookcases it cost me nothing to make this revamp.
He offered me the bookcases when he was having a clear-out in preparation to moving and the bookcases were surplus to his needs. I had built the original bookcase and shelving either side, and above the bedroom door, from recycled contiboard (veneered chipboard), it was only 12mm (half inch) thick, so needed central support for the wide shelves, and the contiboard used for the small shelves by the door and over the door was a darker colour finish to the other shelving.
The bookcases he offered to give me was made from much thicker 18mm (three quarter inch) contiboard; much stronger, and more than strong enough to hold books without any central supports. And as he was giving me a matching pair (which happened to be the same width as the main bookcase I made) there was more than enough chipboard wood to use as a raw material to replace all the shelving; and have it all matching.
Each bookcase was 2 metres (six feet, six inches high); the room is eight feet high, so by cutting 18 inches off the bottom of one bookcase and fixing it with dowel and glue joints to the top of the other bookcase I created one tall (floor to ceiling) bookcase which I could firmly fit to the wall; and then there was enough contiboard leftover to cut to size for the rest of the shelving.
Bookcases and Shelving Made From Recycled Wood
Click thumbnail to view full-size

Revamping the Workstation Desk Area
This was the simplest and quickest of all the tasks to renovate my son’s bedroom; and it cost nothing as I recycled salvaged wood from the solid pine wood wardrobe that my friend gave me specifically to use in my DIY projects.
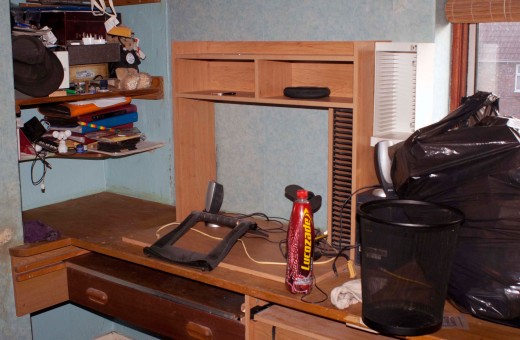
The purpose of this task was to replace an old workstation desktop storage unit that was no longer functional. This furniture was originally the top half of a computer desk that we bought our son when he was at primary school. When our son went to secondary school he needed more desk space, so I bought a couple of long pieces of solid wood kitchen worktops to make one long wall to wall desk. I then repurposed the original computer desk by cutting it in half, placing the top half on the new desk and the bottom half underneath as storage space.
Originally, the computer screen would have sat in the recess of the unit with storage space on the side and above. However, over the year’s computer screens got bigger and became too big to fit in the recess; so the unit ended up at the back and inaccessible.
Therefore, what my son was asking for was for me to replace this desktop storage unit with shelving fitted to the back wall above the computer, giving him more usable desk space and shelving that he could make better use of.
Using solid pine salvaged from an old pine wardrobe I made the new wall unit as a simple box with one shelf, backed it with a solid piece of pine and rounded the edges with a sander to give an aesthetically pleasing finish.
Replacing the Desktop Shelving
Click thumbnail to view full-size

When you do a room makeover
Do your repurpose and recycle
This content is accurate and true to the best of the author’s knowledge and is not meant to substitute for formal and individualized advice from a qualified professional.
© 2016 Arthur Russ

