Shooting HDR Photos with the Canon T2i

HDR of Downtown Houston
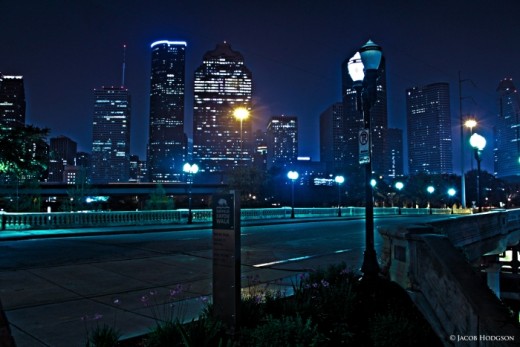
If your intested in learning how to shoot great HDR photos with your Canon T2i digital camera, then you've come to the right place. I've had my camera for little over 2 years now and I have to say that shooting HDR photos is the most fun I've had so far. The photos look great and they are on par with what you will see at Shutter Stock and other professional photo selling websites. To the right you will see a HDR photo that I took with my Canon T2i. The process is the same for everyone, just getting your camera setup properly and going out and shooting. Below I've posted a video of the basic setup process. There is some trial and error that you will need to do as well. You will see that every situation is different and each photo will need it's own setting.
HDR with the Canon T2i
Creating your HDR Photo in Photoshop CS5
Once you have your photos shot and the 3-5 tonal range variations of the same photo, It's time to combine them in your favorite photo manipulation program. I use photoshop because with the new CS5, photoshop has tools to merge your HDR photos together to create an HDR ( High Dynamic Range ) photo. What's happening is that photoshop is taking the underexposed photo, the regular exposed photo, and the over exposed photo and combining them in to a photo that has all of the information of the 3 photos. The human eye, and even cameras today are not equipped to see in HDR. That's why they look so beautiful when they are done.
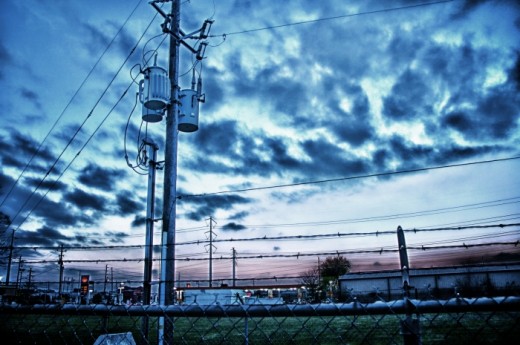
Sky HDR photo with Canon T2i

![Adobe Photoshop Elements 2018 [Old Version]](https://m.media-amazon.com/images/I/51AQ4wl7eOL._SL160_.jpg)


