Easy Craft Idea, Go Green With Tiny Trees
Tiny Trees For All Cute Inexpensive Crafting
This article will show you the wonders of using tree shaped air fresheners for wonderful craft ideas! The tiny trees are just the right shape for many different projects. On this lens, I'll show you step by step how to make them into a cute decoration to adorn the front of a journal.
Recycled Air Freshener Crafts make fun projects for Adults and Kids, you can use them at Christmas for adorning a small card or gift! I have used them as gift tags and even here, to adorn a journal!
Christmas Tip: Buy journals for the new year, and adorn their covers with a special and unique embellishment for everyone on your list! Each tiny tree will have their own personality as you create something unique for the person in receipt of the gift.
Tiny Tree makes for Cute Embellishment!
Easy Craft Idea
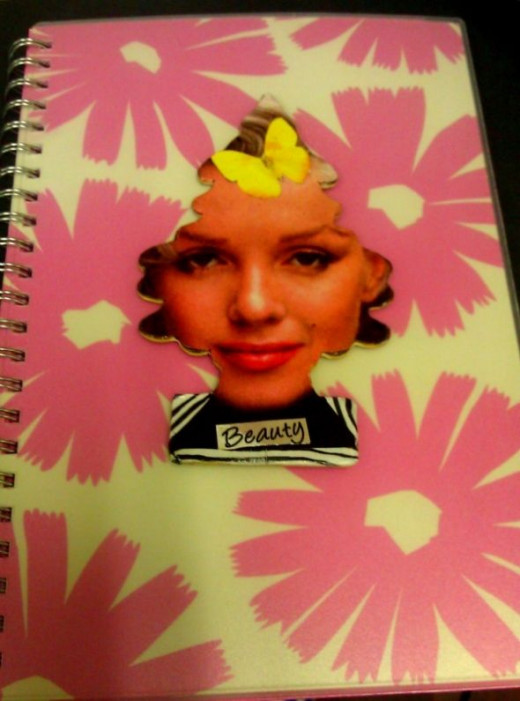
Follow these steps and this is what your project will look like.You can rest easy knowing you are using old magazines, and upcycling air fresheners into a creative craft projects.
TIP: Each summer, I keep my car smelling fresh with air fresheners. I make a pile of them after they are "dead" and keep them in my craft room for when it's time to make projects like this!
List of Items
Here is a list of items you will need.
- Air freshener ( Tree Shaped )
- Scissors
- Old Magazines of Paper Items below.
- Pencil
- Small Paint Brush
- Glue (I prefer Mod Podge)
- Journal
- Optional: Brayer
Things You Can Use For the Background and Embellishment of Your Tiny Tree
- Magazines
- Dictionary Pages
- Encyclopedia Pages
- Bingo Cards
- Wrapping Paper
- Tissue Paper
- Satin Flowers
- Fake Butterflies
- Stickers
- Embellishments
- Carnival Tickets
- Used game cards or Play Monopoly Money
- Newspaper
- Old Books
- Post Cards
- Fabric (definitely you will want to use the brayer and pay close attention to mod podging the edges so that the fabric doesn't fray.)
- Old Greeting Cards
Step One: Snip Your Cord - Time to Cut Loose
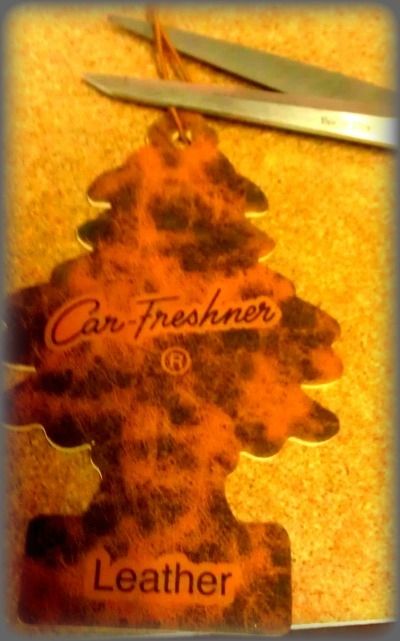
For this project, you will want to get your Little Tree air freshener and snip the cord off. The cords are stretchy and even if you choose to make these into something else, the cords will only get in your way. Snip Snip, and off to step two!
In Case You Are Wondering What Kind of Air Fresheners I Use

Step Two: Find Something Interesting to use as Background
Step Three: Outline the Tree with Pencil
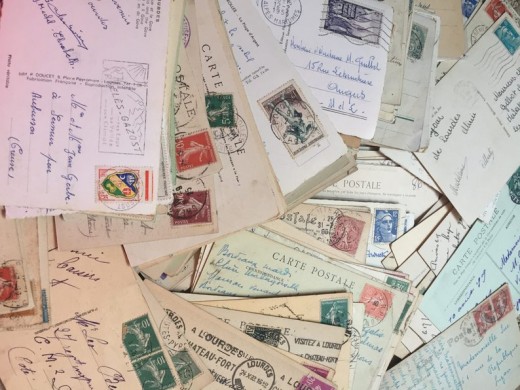
Use a pencil and draw the outline around the tree onto the paper or background you wish to college. Advertisements, old magazines, grocery store ads, even old books provide a great little background for your tree. I just use a pencil lightly barely visible to trace the outline of the tree.
Step Four: You are Ready to Cut Your Design Out
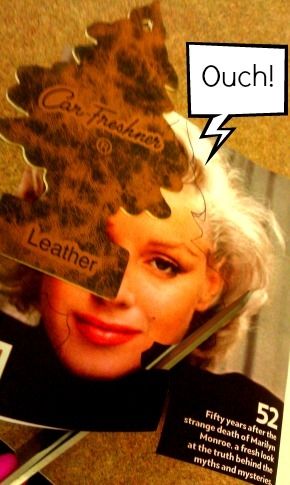
Don't worry, there is no right or wrong for the background of your Little Tree. You may choose to use one big image (like I've done) or many little images in a collage. For me, it was easier to start by tracing and cutting a large image and building off that.
Step Five: Apply Glue with Small Brush
Gently apply glue to the face of your tiny tree using a small brush. I use Mod Podge but you can use any glue so long as you do light layers. Making the layer of glue too heavy may damage or bleed through your paper and you don't want that.
I brush the glue directly onto the Air Freshener in thin layers, coating the paper all over. I wait for it to absorb a bit before placing my image on top. Remember, the glue is water based and the magazine paper is thin. You don't really want it to ripple, so don't glob it on. You will want to wait for drying time in between layers.
Step Six: Apply and Layer Your Designs to the Front of the Tree
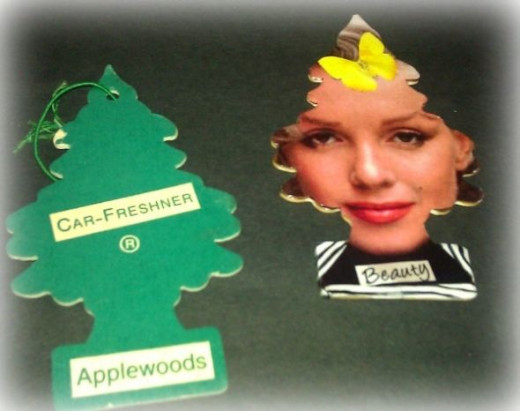
As you are applying and layering your designs to the front of tree, you want to smooth it out by hand. The Little Tree should be small enough to handle, smoothing it with your finger. However, if you find it rippling you will have to move on to the optional next step.
When working with Mod Podge you want it to fully "cure" before giving the gift. Otherwise the item may stick to the wrapping paper or whatever you use to adorn the gift.
You can really get personal in this step. This little journal is going to a girl who is keeping notes for a cosmetology class, therefore, I picked the word Beauty. I added some zebra stripes out of a clothing ad since zebra is her favorite animal. She loves butterflies, so I stuck a butterfly in the model's hair. You could do names on the front, or cut out magazine letters to form a special message.
Optional Step: Smooth With Brayer - If your Little Tree Ripples, Get Some Help. One of these will do!

Step Seven: Glue to the Front of a Journal and You are Done!

Which of the following would you be most likely to make with these Little Trees?
This content is accurate and true to the best of the author’s knowledge and is not meant to substitute for formal and individualized advice from a qualified professional.
© 2019 Cindy Fahnestock-Schafer

