How to Create Art out of Sand
Fun, Easy, & Affordable
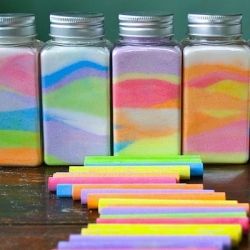
This type of craft caught my eye when a kit was given to me as a gift from my children when they were little, and in elementary school. I still have them and I will cherish these gifts forever. If you love the rainbow, you will definitely love this. I am sure you have come across a design yourself, or own one or two, or even more.
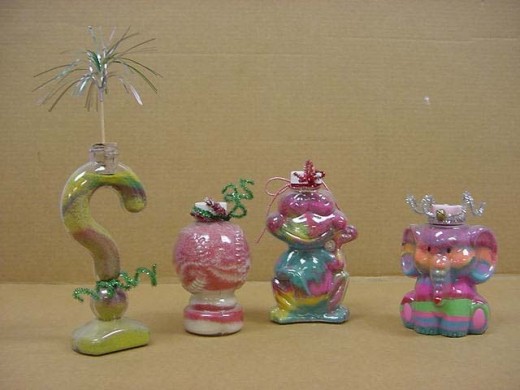
What makes this kind of craft fun is that it is so easy to create, even a child can do this. The products that you need are so affordable that anyone can afford to do this. You can buy or use old bottles of different shapes. With that create a colorful rainbow design with the shape of the item that you are using. Another fun thing to do is to try it in a classroom, making it a project for a group of children, and yes, even adults would love this. I am positive that all would enjoy this and would love the outcome.
There are many ways to go about creating art out of sand, as well as many options to use. I will now share with you a couple of options and also show you how you can go about it. So hang tight and let me hold your attention just a bit longer. Thank you for your patience. You might want to get pencil and paper to jot down what I am about to share.
Remember that this is:
1. Fun, Easy, & Affordable.
2.This craft can be used for individual hobbies or a group of people in a classroom setting.
3.You can make fun gifts for any occasion, and they can be used for a decorative piece anywhere in your home.
Like I have expressed in other lens blogs it is completely up to you "not to limit your imagination", because this is a type of craft that can be used for almost anything and/or anyone. As I show you a few of my ideas please feel free to use your own ideas that may come into play, and together let's create an awesome project.
Pre-Made - Art bottle sand kits
I would prefer that you try this yourself or have someone else do this, rather than go out and buy pre-made bottles. These are just a few here at Amazon that do sell it already pre-made. What I am showing you today is how easy it is to come up with different ideas for almost anything. From toy dinosaurs to sports, jewelry and pictures, the options are not limited which makes it very cool. But if you don't have the time to do this project then by all means purchase one for a gift, or to arouse an interest to either create your own, or have someone create with you.
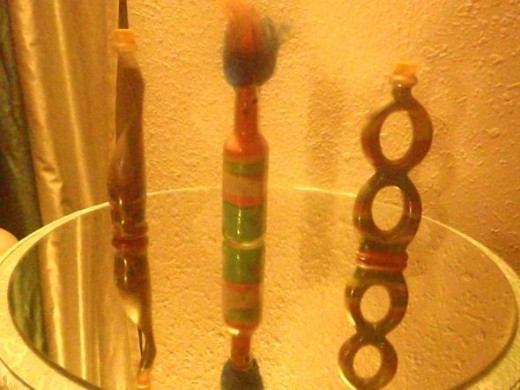
My Children's - Gift To Me
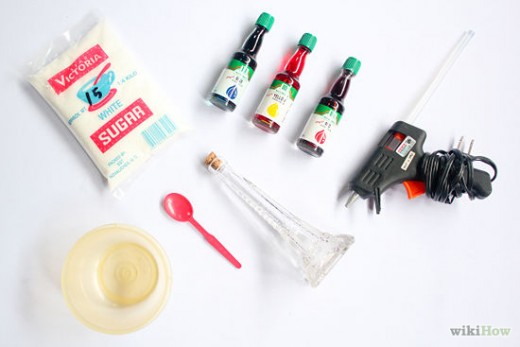
- sugar
- food coloring
- plastic bowls, spoon
- corks and plastic or glass bottle
- hot glue gun or just glue will work
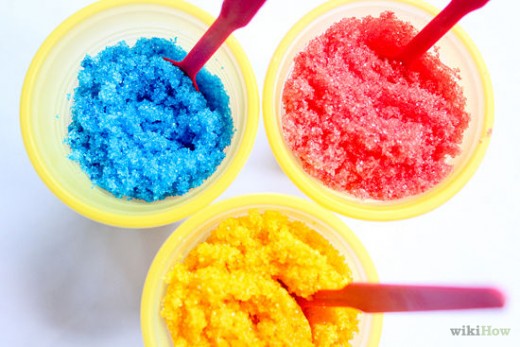
- Put the sugar into the plastic bowl
- Choose your food coloring and pour it into the bowl with sugar, mixing it with your spoon.
- Once the food coloring is completely soaked into the sugar make sure you mix it well with your hands by kneading it. Then start with the next plastic bowl and pick a new color after the sugar is already poured into the new bowl. Repeat the same step with each color.
- Make sure that all the bowls with the different coloring have different spoons. Don't use the same spoon on them.
- Get bottle that you choose for this project and start filling the glass with the different colors of sugar. Make sure that it is filled to the very top so that it won't get mixed up.
- Using your hot glue gun you put it on the cork and on the rim of the bottle and stick it on secure.
- Let it dry for a few minutes and remember to use with caution if you are using a hot glue gun.
- It is finished now have fun, you can even put stickers if it is for a certain occasion on the outside, it is up to you so make it fun.
Everything that you will need to make your sand art
minus the sugar and plastic bowls and spoons
Single High Temp Gun
Option 2. - Things You May Need
So simple and very affordable! Yet fun to do!
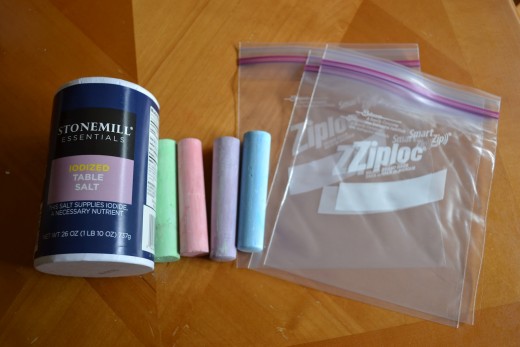
- Colored chalk
- salt
- plastic bowls or baggies
- paper or funnel
- spoon
- First of all have a sheet of paper handy because you will be pouring the salt on it. Unless you prefer to use the baggies illustrated instead.
- Assemble your colored chalk
- You will take the chalk and row it on the salt as shown in the video below it is so easy. If you prefer to use the baggie then simply put the colored chalk in the baggie with the salt and sake it around until the salt is fully covered.
- Have your bottle or container ready to pour the finished color in. You can use a folded paper or just pout it carefully from the baggie with a small plastic funnel on top of the container.
- Make sure you layer it as such so that the colors can separate and not get all mixed up.
- Once it is full to the top then put the lid or cork on and see the finished touch.
- There are so many things that you can do with sand art. There is no limit. It can be done with pictures but that is another illustration, and right now I am just giving you the simple basics.

