How to Colorize B&W Photos Using Paint.Net
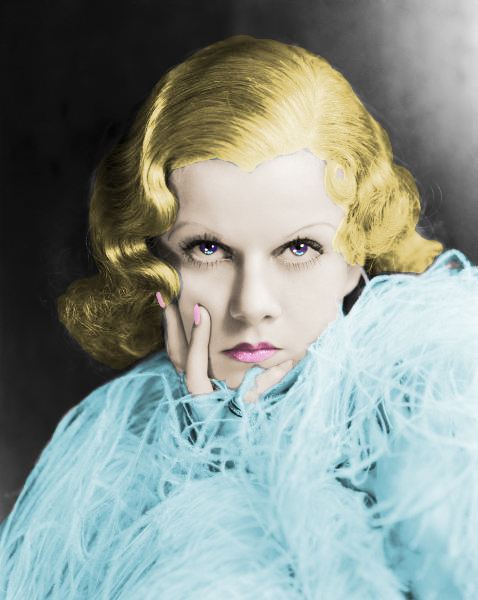
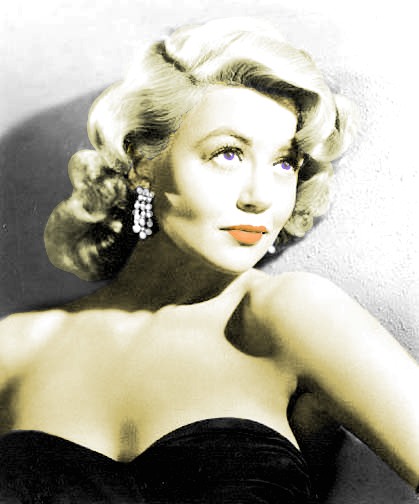
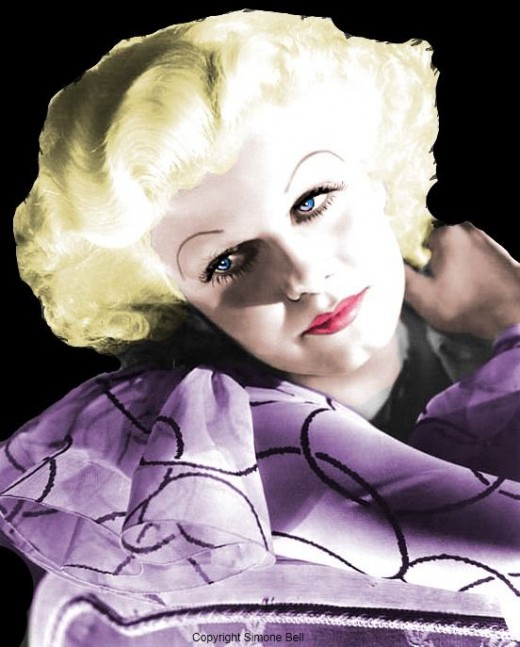
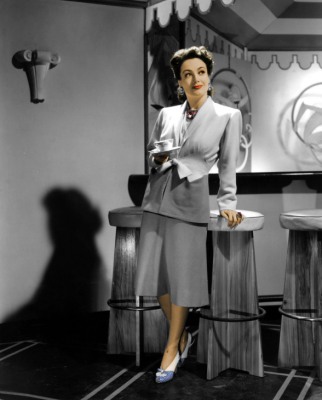
Photos I Have Colorized with Paint.Net
Click thumbnail to view full-size


Instructions
How to Colorize B&W Photos Using Paint.Net
It's easy. it's simple, it's fun.
When I wanted to learn how to colorize B&W photos, I wondered what sort of
photo editing program I needed - I already had Paint.Net, as well as 4 or 5 other
programs.....I wondered what sort of program I needed to buy.
Then I suddenly realized that "it can't be that difficult!"
The good news: it isn't!
How to colorize with paint.net:
Open paint.net and open the photo you want to colorize.
Go to the top toolbar and click on "Layers," then "Add New Layer," from the
drop-down menu.
Use whatever colors you want on the layer - you can use multiple colors.
You do not have to color around edges, apply the color all over the object (when
you do a person's face, apply the skin color all over the face - it will look okay
when you're done, because you're creating a translucent layer).
When you are done with that layer, click on "Layers" again, then select "Layer
Properties" from the drop-down menu. Note: for realistic skin tones, I almost
always select "Overlay" as the mode, as it looks very natural. Use the slider to
adjust the saturation.
Add layers as necessary.
When you're done, you will need to flatten the image to compress the layers,
but paint.net will do that for you.
I usually save my photos as a jpeg file.
Viola! Your colorized photo is now complete.
Classic Stars Online
- Classic Stars Online
Classic Stars of the Silver Screen

