Cornstarch Painted Bags for Kids and Adults
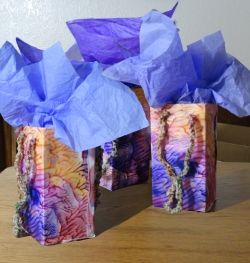
Samples
Click thumbnail to view full-size

Crafting a Bag
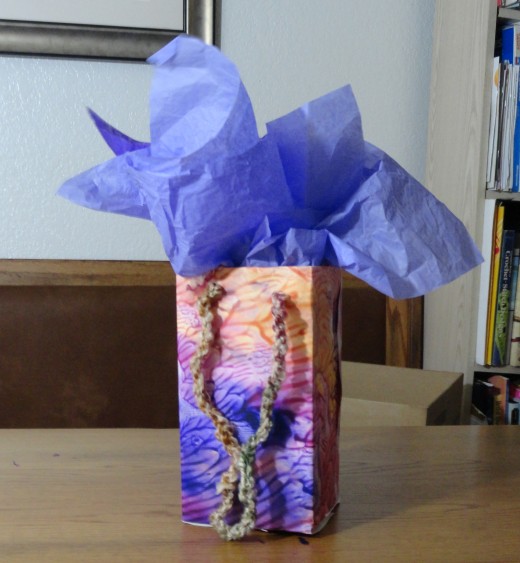
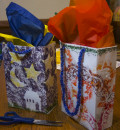
Crafting a bag from Cornstarch printed paper. You'll love it.
Ralph Waldo Emerson said that the only gifts worth giving and receiving were those gifts that require you to give something of yourself. I think he meant those you make yourself. Though gift-giving is at an all-time high in this country, gift-making is not. But even if you buy the gift you intend to give, how clever and creative you look to give it in something homemade like a bag or box.
This project takes a little time to prepare and to dry, so plan to create several sheets of paper for future gift-giving opportunities.
The project is simple enough for children to do it (with supervision for the cooking cornstarch part), and fun enough for teens and adults to get into too. We have had cornstarch bag making parties with fun print paper drying all over the house. It would be perfect to have a clothesline dedicated for drying wet paper. Careful they don't touch because they will stick to each other and tear when you try to get them apart. It's worth the trouble though. Everyone loves the great colors and patterns you get totally by accident.
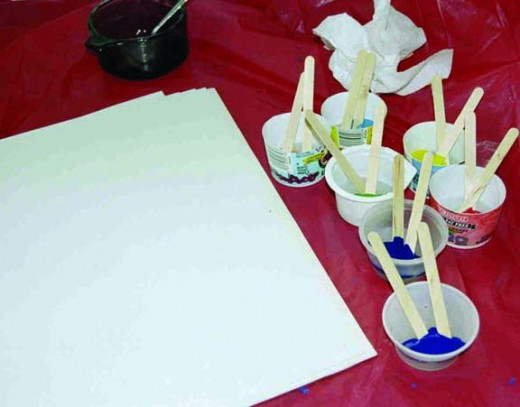
Materials you will need are:
Cornstarch
Various colors of Tempera paint or tubes of watercolor paint
Spoons for stirring and measuring
6 to 8 small bowls for mixing different colors of paint
Plastic tablecloth for easy clean-up
Medium weight paper like Butcher paper
Scissors and glue
Cook the Cornstarch Pudding
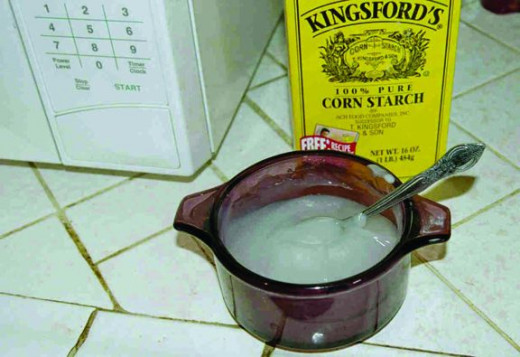
Measure one cup of cool water in a small microwave bowl and stir in 1 heaping teaspoon of cornstarch. Stir until the mixture is smooth. Stir well, as you won't want any lumps in your paint. Microwave on high for 2 minutes or until you have a creamy, gravy-like pudding. I find it's a good idea to set the microwave for one minute, stir the pudding and then cook it again another minute. Allow the bowl to cool for half an hour.
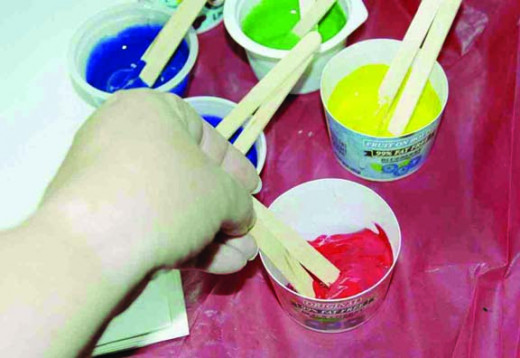
Mixing the Paint
Spoon out the “pudding” into the small bowls. Mix in a few drops of tempera paint (or watercolor from tubes), in each and stir with a popsicle stick until evenly mixed. I like to use old yogurt cups or applesauce cups so that I can throw them away afterward to minimize clean-up.
Applying the Paint
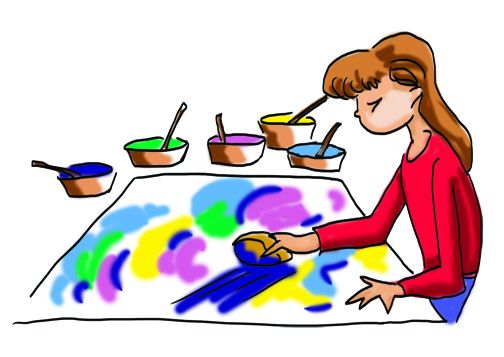
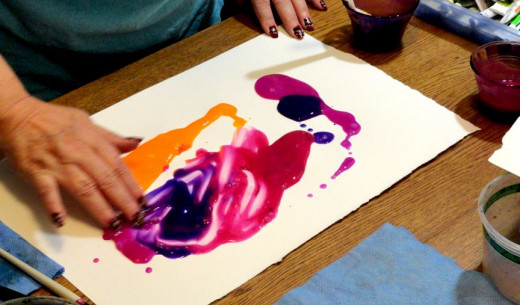
With your sticks, scoop out small piles of the paint onto the paper. With your fingers or a sponge, spread the colors evenly over the whole paper. If your paper is too thin, the pudding will soak into the paper and cause it to tear. I suggest you use fingerpainting paper or drawing paper.
Gravy
"It does not matter how badly you paint, so long as you don't paint badly like other people." George Moore: "Confessions of a Young Man"
Pull Apart
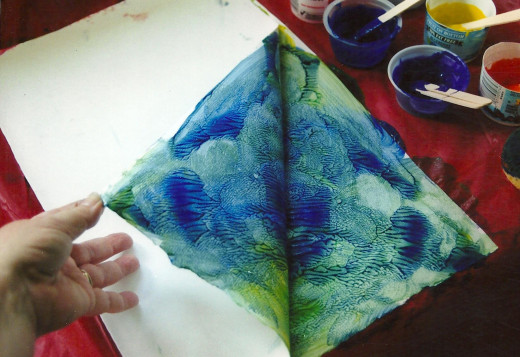
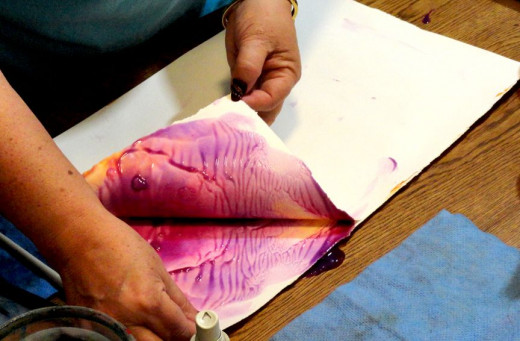
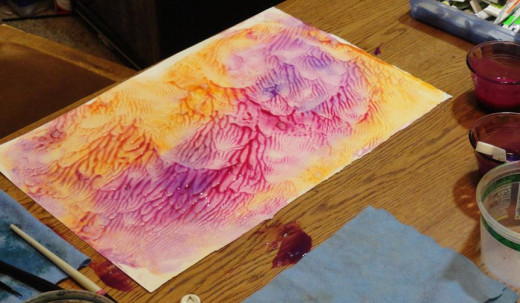
Next, fold the paper in half (wet paint to wet paint) and press lightly. Carefully pull the paper apart and you will see the “mono-print effect.” Paint several pieces of paper, using up all the paint because it does not store well. You can sandwich two sheets of paper together instead of folding one sheet in half.
If you press too hard you will see obvious fingerprints in the pattern. That could be nice if that's the effect you want so beware. Once you see what the sandwiched paper will do, try pressing patterns with different objects in the home like glasses or cookie cutter patterns.
The Pattern
The Creative Texture
Folding the Bag
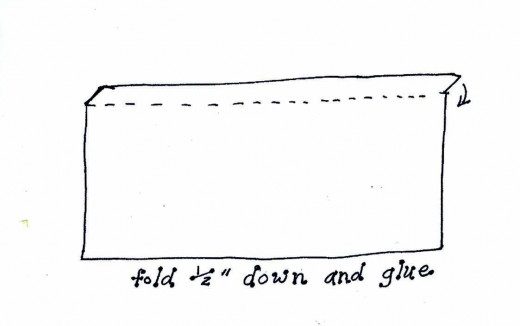
Allow the paper to dry overnight. The next day, cut a long strip of paper about 12 inches by 18 inches for the gift bag. Fold the top edge inside about half an inch and glue as in the diagram.
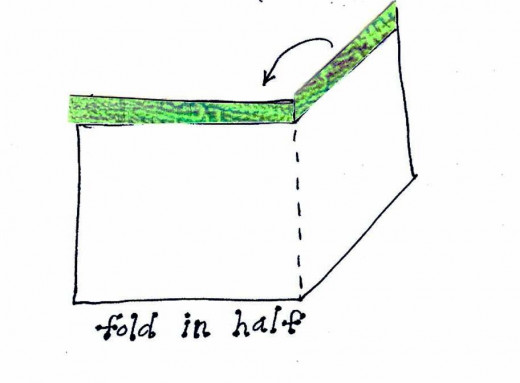
Fold in Half
Now fold the paper in half and open it back up again.
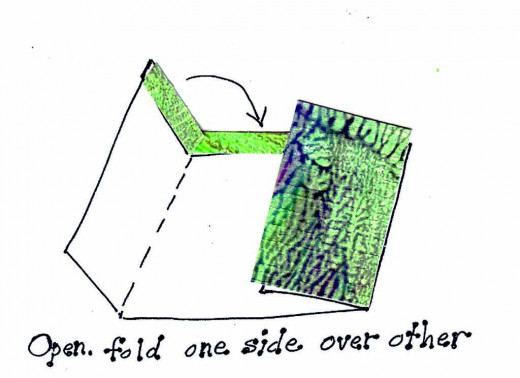
Fold Sides Into Center
Fold each side into the center but fold one side slightly over the center (about half an inch) to give room for gluing.
"Art is long and time is fleeting." Henry Wordsworth Longfellow
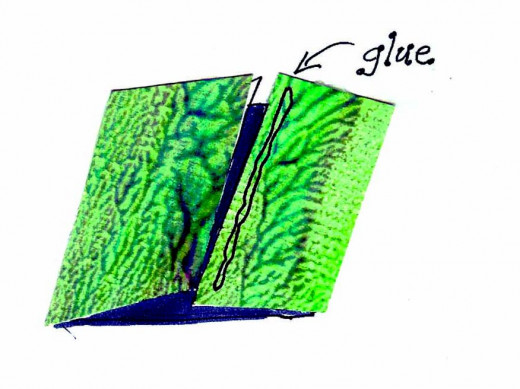
Glue
Glue these two ends together. Hold them until the glue has bonded well. This usually takes about 30 seconds.
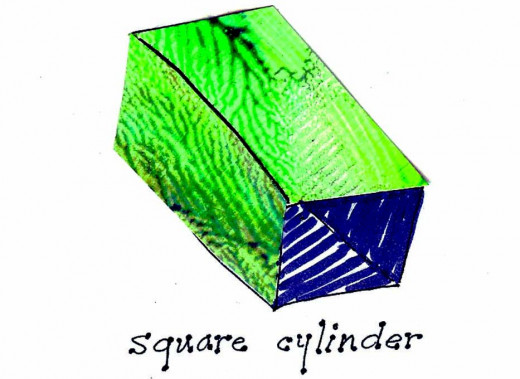
Open
Open the bag and crease along the glued edge. You should have a square cylinder.
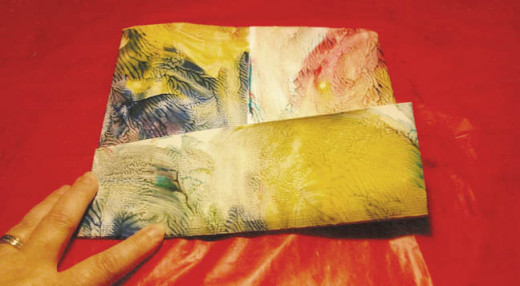
Crease the Bottom
Take the bottom of the bag and fold it up about 2.5 inches to make a crease.
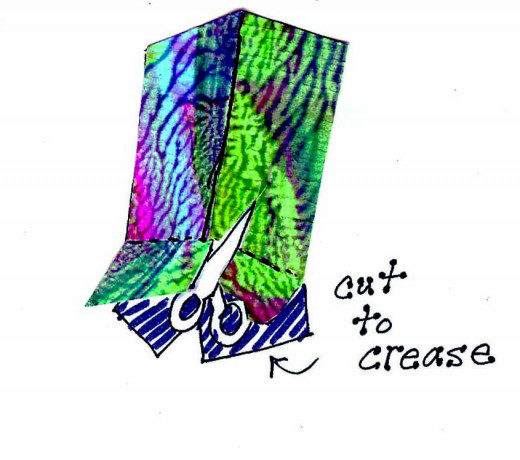
Cut
Now that you have a crease at 2.5 inches from the bottom, open it back up and cut each of the four corners up to the 2.5-inch crease.
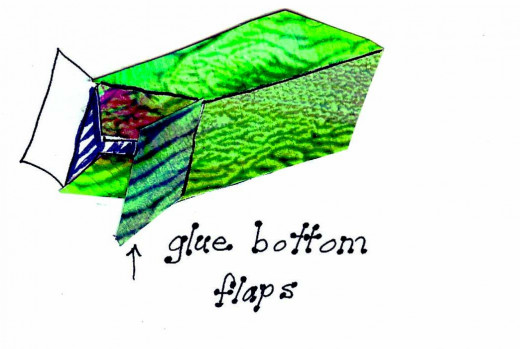
Fold Flaps
Now you can fold these four flaps over each other and glue.
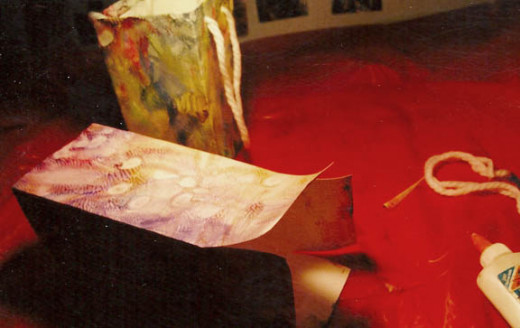
String Yarn
Next punch two holes on one side of the top and two holes on the opposite side. Take the yarn and string it through the holes and tie them on the inside, as in the diagram.
You can crochet a chain using decorative bulky yarn or soft chunky yarn, or just use decorative ribbon for the handles. Your choice. Add some buttons, pins, or silk flowers just for fun.
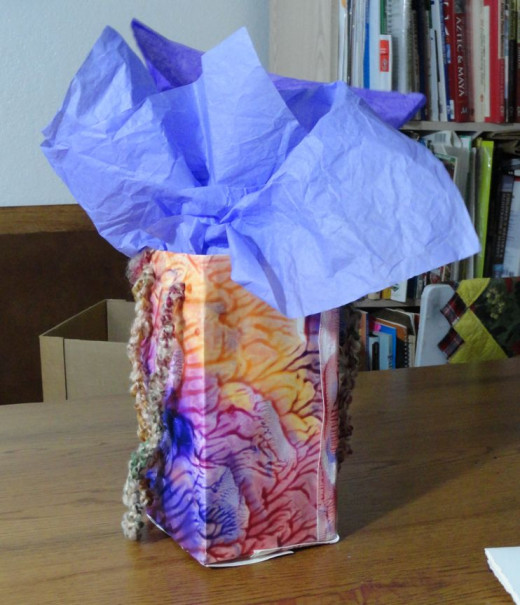
Ready for Gifts
Now your bag is ready for a gift and a party. Everyone will be impressed with your creativity. Make a matching gift card using leftover pieces of the cornstarch print paper.
"Teachers open the door, but you must enter by yourself." Chinese Proverb


