Craft Your Own Silhouette Gift Bags
My Silhouette Bags
Craft Your Own Holiday Gift Bags
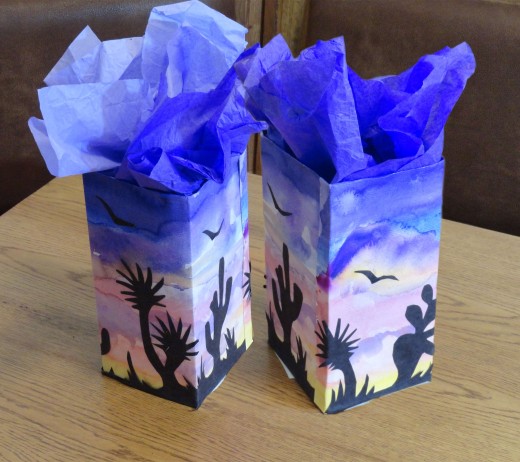
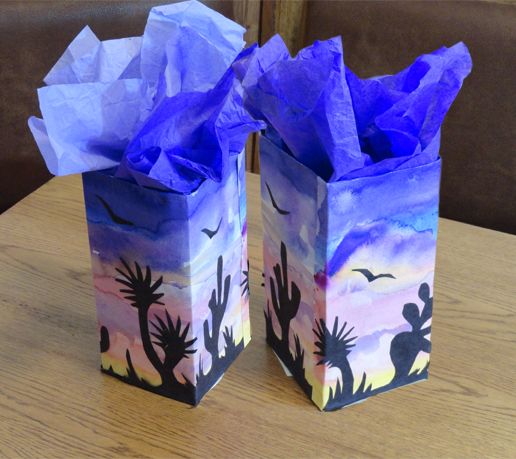
Easy to paint, fun to cut and fold, this craft can be enjoyed by the whole family. The silhouette is cut out of black construction paper. The sunset sky is painted on watercolor paper, then they are folded to make a gift bag. Several parts to this one make it an ongoing project to keep the kids and teens interested for a couple of days. Try making a haunted house silhouette and use the bags for Halloween. Use for gifts for birthdays, holidays, Christmas, baby showers, wedding showers, or any other gift-giving event. But be careful. Your friends might just like the bag more than the gift you put inside!
“Art is the most exact transcription possible of my most intimate impression of nature.”
— --Edward Hopper
They Are Thoughtful
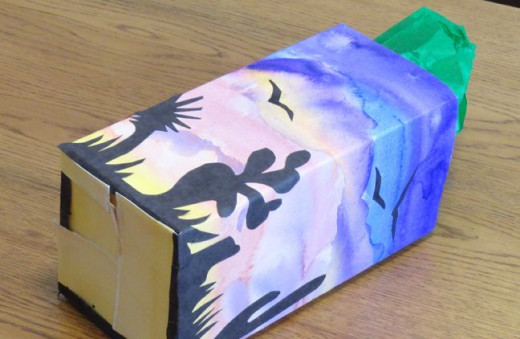
Gift bags at the dollar store make them very affordable but there is something about the handmade that makes them more valued and thoughtful. Bags are easy to construct with a few folds and a little glue, so why not? Not just for girls, boys can get a lot of use out of them too.
“Art flourishes where there is a sense of adventure.”
— --Alfred North Whitehead
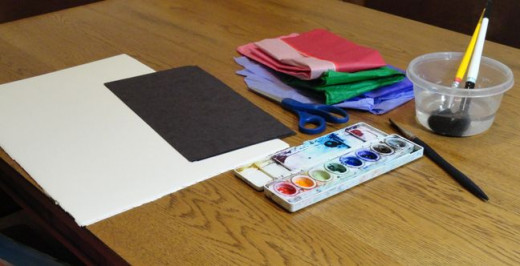
Materials List
The materials you will need are:
Black construction paper (12x18 or larger)
White colored pencil to draw design on black paper
White watercolor paper (12x18 or larger)
Watercolors and large 1" brush
White glue, scissors and a hole punch
2 twelve inch pieces of yarn
Decorative tissue paper
Step 1. Painting the Paper
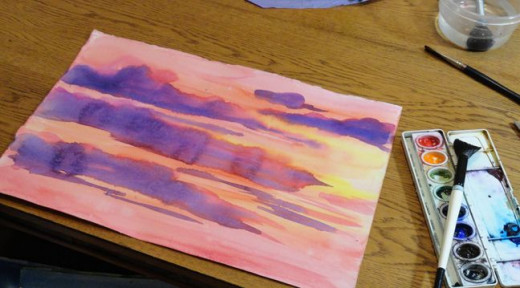
Open your watercolors and drip one drop of water into each of the paint wells. Leave them for a few minutes to absorb the water and get soft and rich. With your large brush, paint clear water over the whole piece of watercolor paper. Now using long horizontal strokes, start with purple or blue at the top and change colors every couple of inches. The sunset should be purple or blue, then red, orange and finally yellow at the bottom, or a light yellow-orange. Allow the paper to dry thoroughly. For fun, you could paint reddish-purple clouds in the upper sky. Painting vertical strokes make a sky look like something is falling out of it like rain or snow. Knowing this you can use that stroke for effect.
“The final test of a painting, theirs, mine, and others, is: does the painter’s emotion come across?”
— --Franz Kline
Step 2. Silhouette
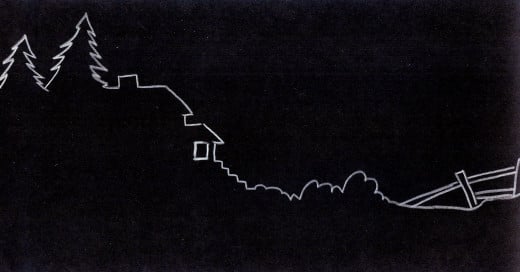
While you are waiting for your painting to dry, draw some trees, bushes, or houses near the bottom edge of the black paper for your silhouette. Cut out the silhouettes along with about half an inch strip along the bottom edge of the paper. Don't worry about the pencil marks showing. Set this to one side.
“You can never do too much drawing.”
— --TontorettoStep 3. Glue To Dry Paper
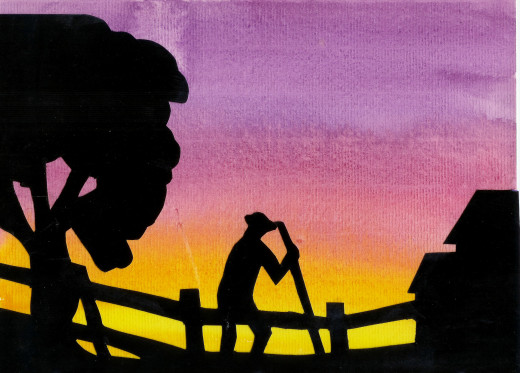
Next glue the black silhouette onto the watercolor paper about 2.5 inches from the bottom edge. Leaving that space of 2.5 inches is for the bottom of the bag. Put the glue on the white pencil side of the black paper and turn the silhouette over to glue to the sunset.
Step 4. Folding the Bag
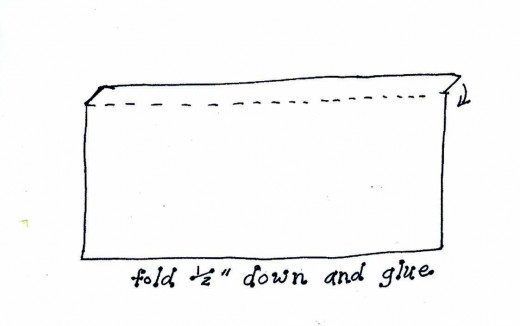
You are now ready to fold the decorated paper into a gift bag. Put away the paints. You will not need them anymore. With a clean dry space in front of you, turn the paper over, face down. Next, fold the top edge of the bag down about half an inch and glue it. This is to give the bag strength so it won’t tear when you carry something inside it.
Folding the Bag
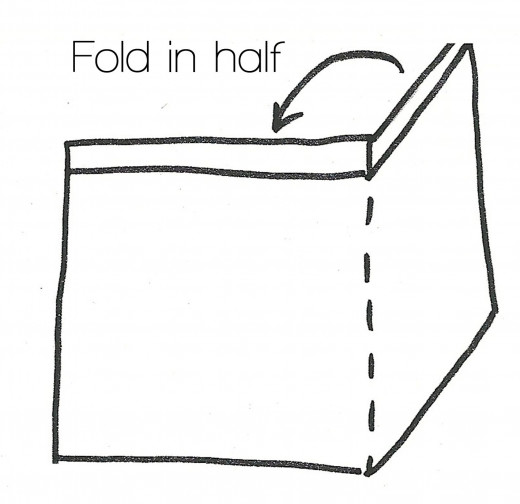
Now fold the paper in half to make a crease and open it back up again.
Making 4 Corners
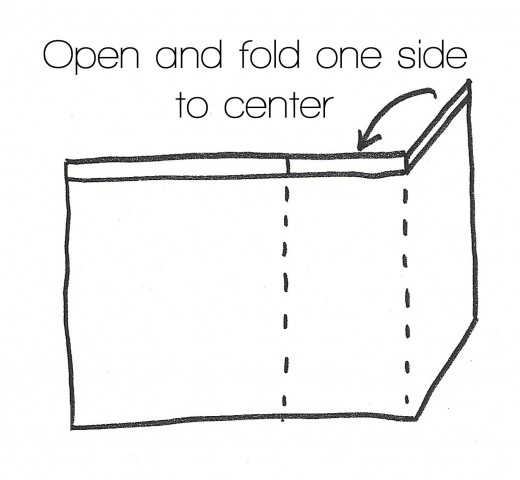
Fold each side into the center but fold one side slightly over the center (about half an inch) to give room for gluing.
Glue
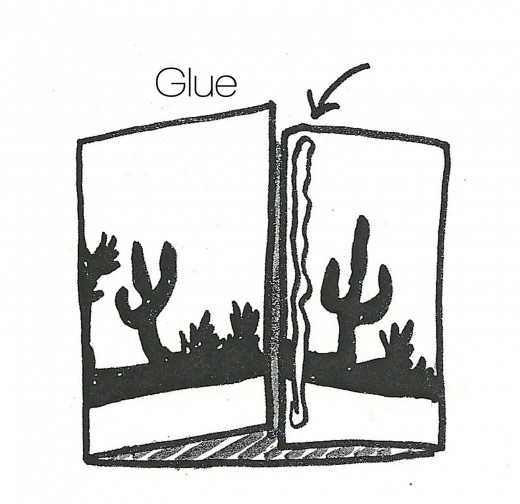
Glue these two sides together. Hold them until the glue has bonded well.
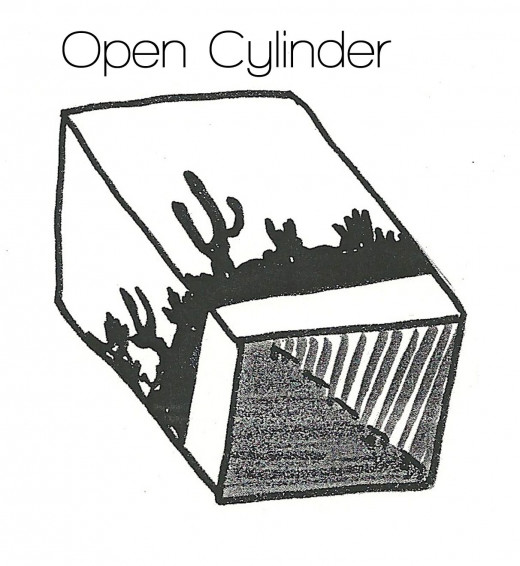
Open Cylinder
Open the bag and crease along the glued edge. You should have a square cylinder.
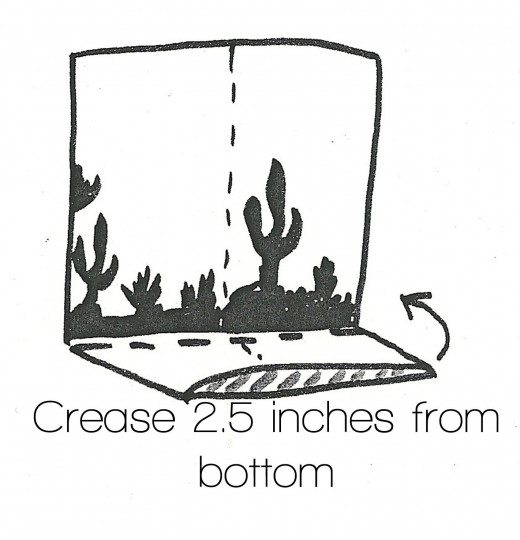
Fold Bottom of Bag
Take the bottom of the bag and fold it up about 2.5 inches to make a crease in the heavy paper.
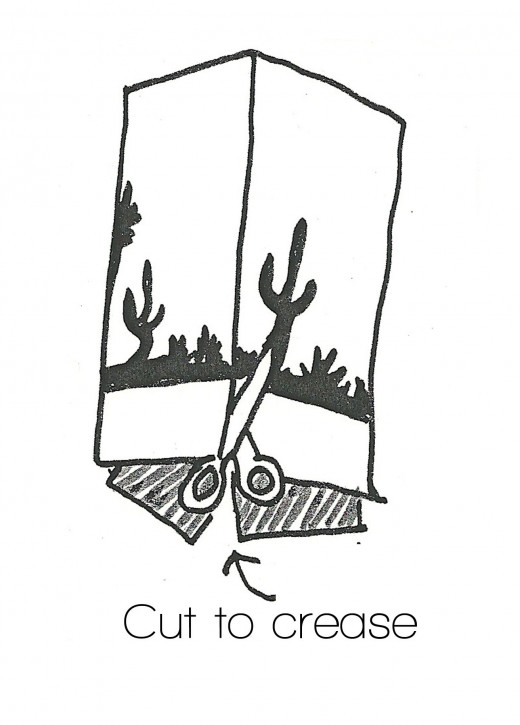
Cut Flaps
Now that you have a crease at 2.5 inches from the bottom, open it back up and cut each of the four corners up to the 2.5-inch crease.
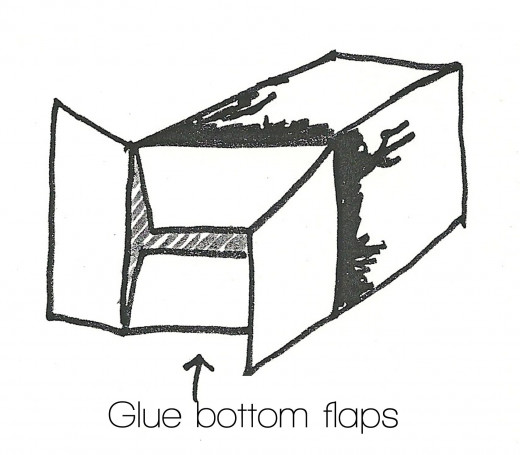
Glue Bottom
Now you can fold these four flaps over each other and glue. Punch two holes on one side of the top and two holes on the opposite side. Take the yarn and string it through the holes and tie them on the inside, as in the diagram.
“Any art communicates what you’re in the mood to receive.”
— --Larry Rivers
Step 5. Ready for a Gift
Take a couple of sheets of the decorative tissue paper and insert them into the bag so that the corners stick out slightly. You are ready to add a gift and impress your friends. The bag is so special they may like it better than the gift! Create a whole bunch of them for special occasions.
Fun Variations
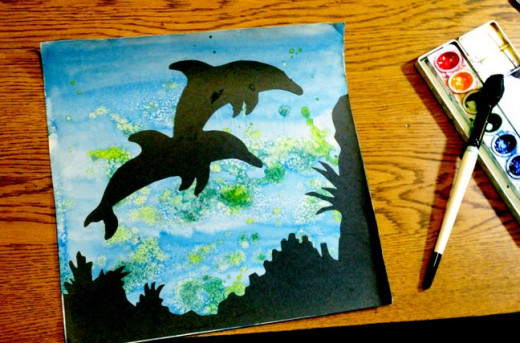
An interesting variation to the sunset is an undersea version where you are only cutting outlines of fish and sea-life from the black paper. No details needed.
Origami Bag for Kids
Five of My Favorite Craft Blogs
There are a lot of clever creative people out there with a lot of great ideas. There's no excuse anymore not to have something to do!
- Dollar store crafts
Perfect for the frugal crafter, how-to's on lots of cheap crafts, plus tutorials on how to make them. - How Does She crafts
“Women sharing ideas”; lots of crafts, time savers, and fashion ideas for women. - Positively Splendid
Positive ideas from a creative crafty enthusiast. Plenty of how to's from making jam to keeping track of sewing patterns. - Makes and Takes
Lovely ideas with generous pictures and simple how to steps. Projects for kids, home, recipes, family, and more. - The Crafting Chicks
A group of ladies dedicated to crafts and being creative. Back to school ideas as well as other crafts.
What's your favorite craft project? I'd love to hear about it.
“How important are the visual arts in our society? I feel strongly that the visual arts are of vast and incalculable importance. Of course I could be prejudiced. I am a visual art.”
— --Kermit the Frog


